Nineteen Reviewed Games, One Question: What Does the Result Teach?
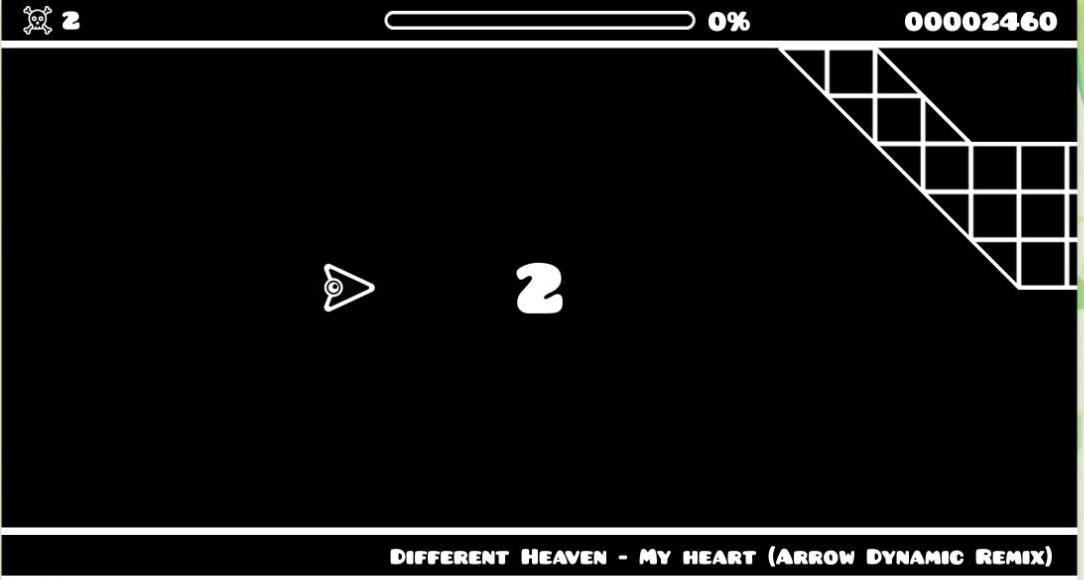
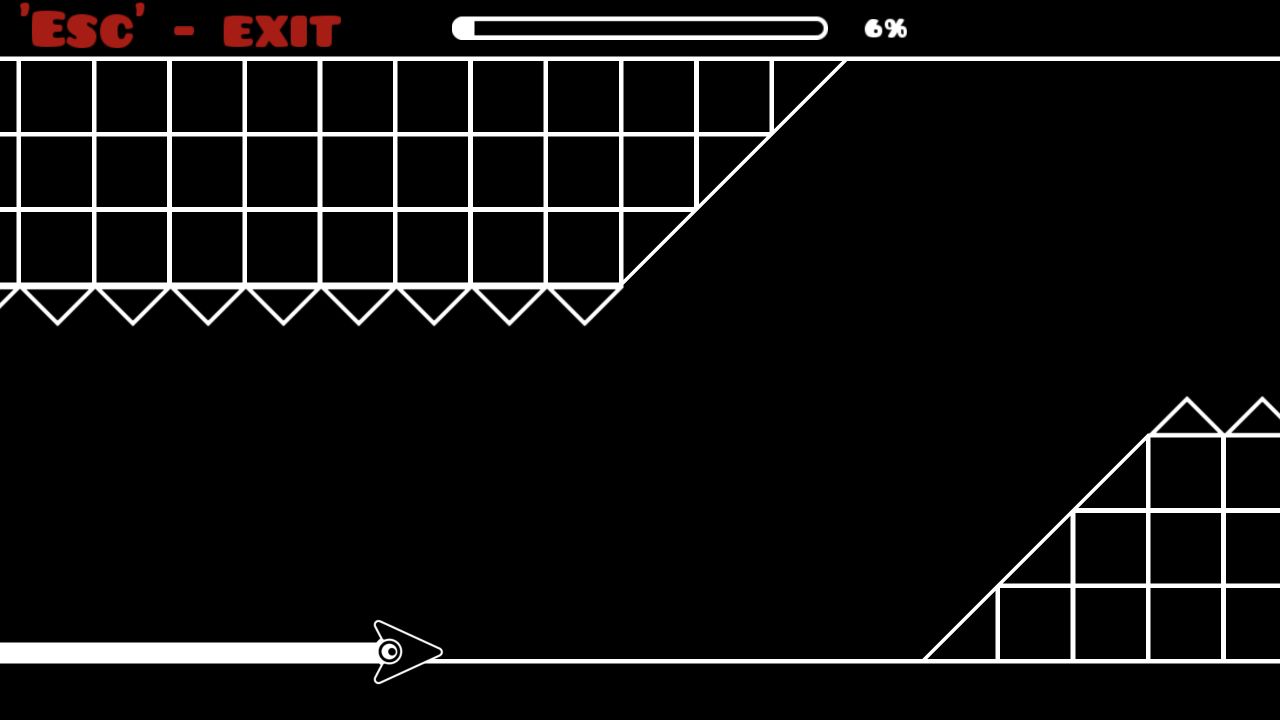
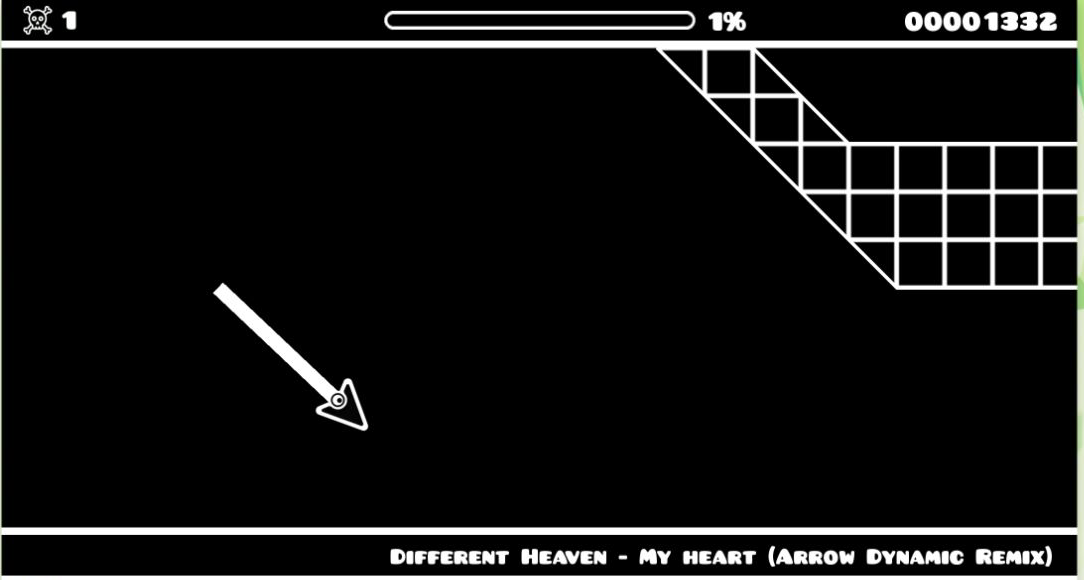
The strictest opening in this nineteen-game set came from Geometry Arrow. The verified desktop best was 8%, and collisions returned the run to Click to Start without a result panel. Geometry Arrow 2 offered a richer retry record: A collision did not bury the next attempt behind menus. Its counter and countdown made one changed press testable within seconds. We use that standard throughout: a short loop becomes useful when its result reduces uncertainty about the next decision.
We compared the nineteen Arcade games with published Playflaming reviews. Some reward one accurate shot, some preserve progress, and others reset immediately after a mistake. The recommendations explain what carried over and where controls or interruptions got in the way. Desktop results do not stand in for mobile tests.
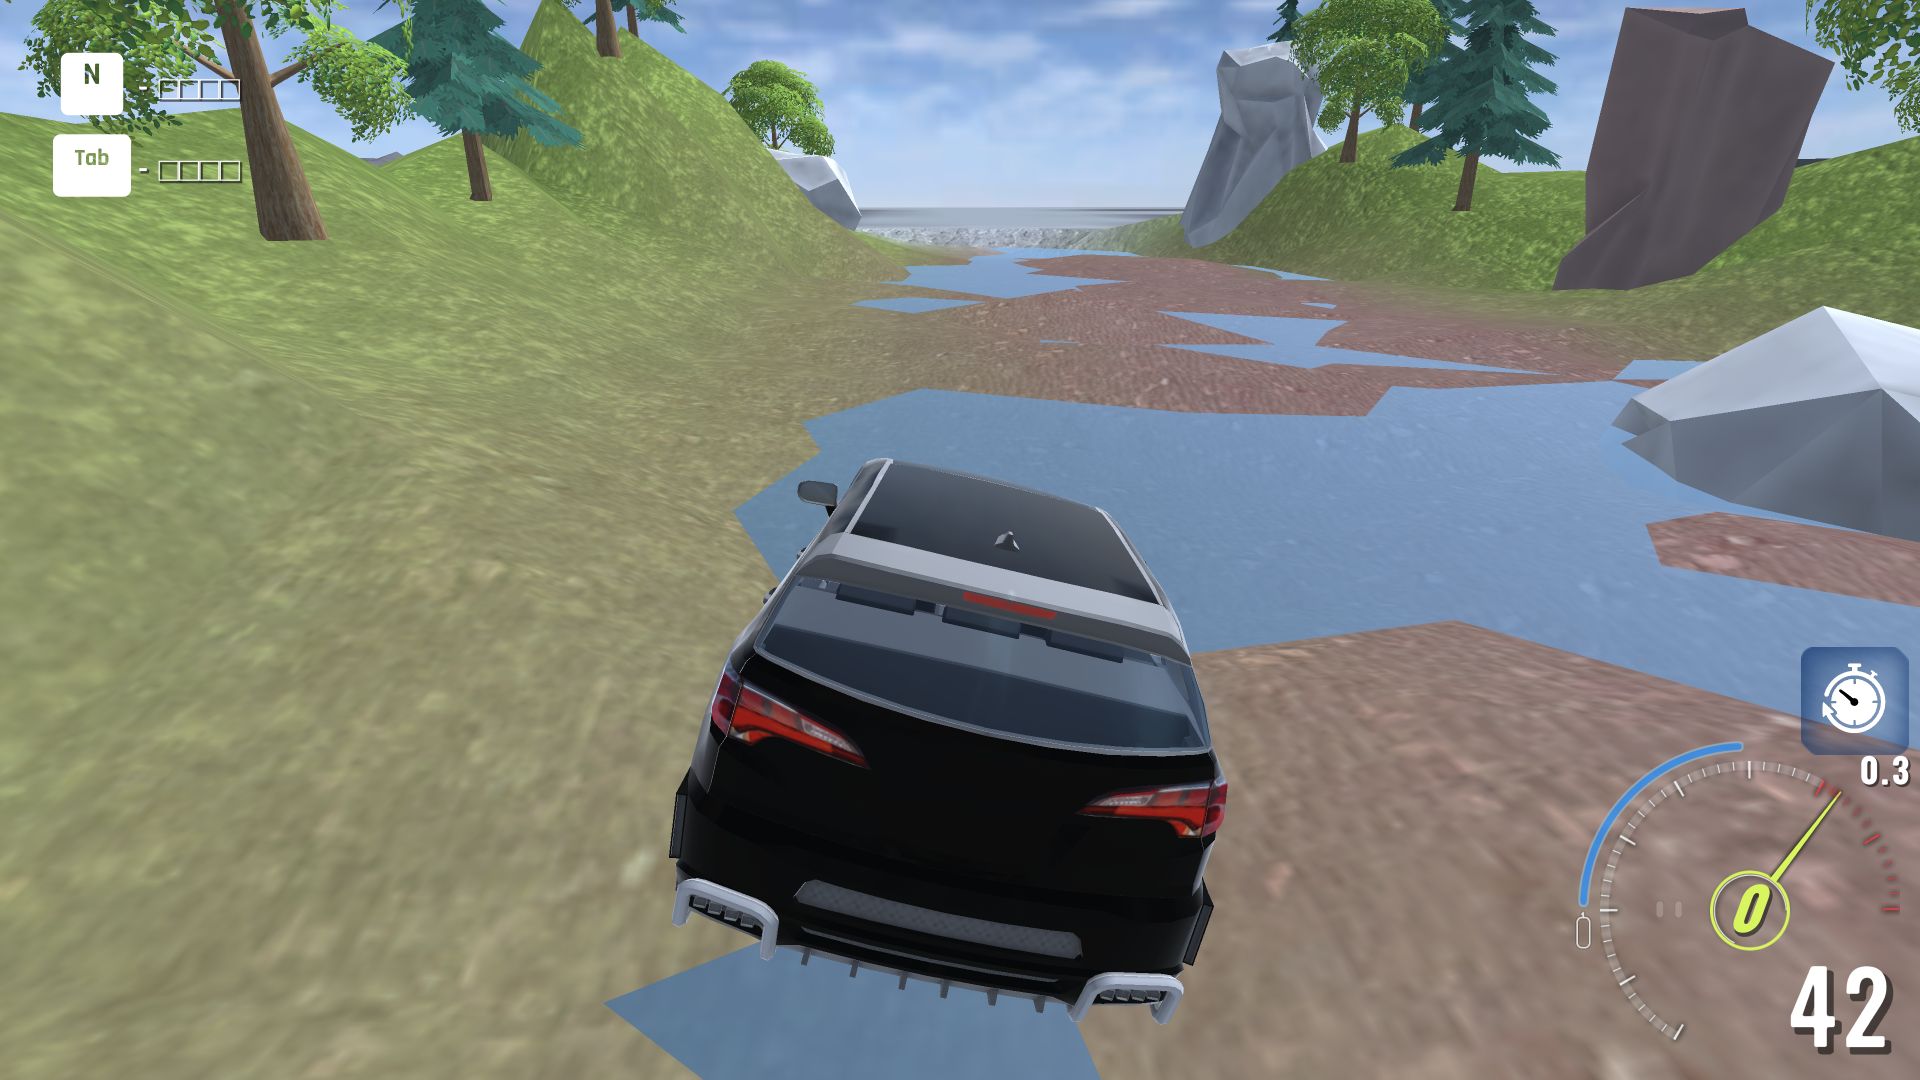
A different kind of recovery appears in BMG Crash Test. The SUV contacted a white rock and settled at 0 instead of glancing away cleanly. Reversing with S, steering right, and accelerating freed it, so the failed line became a positioning problem rather than an instant reset. Choose it for forgiving route experimentation, not for dramatic body deformation or a verified mobile loop.
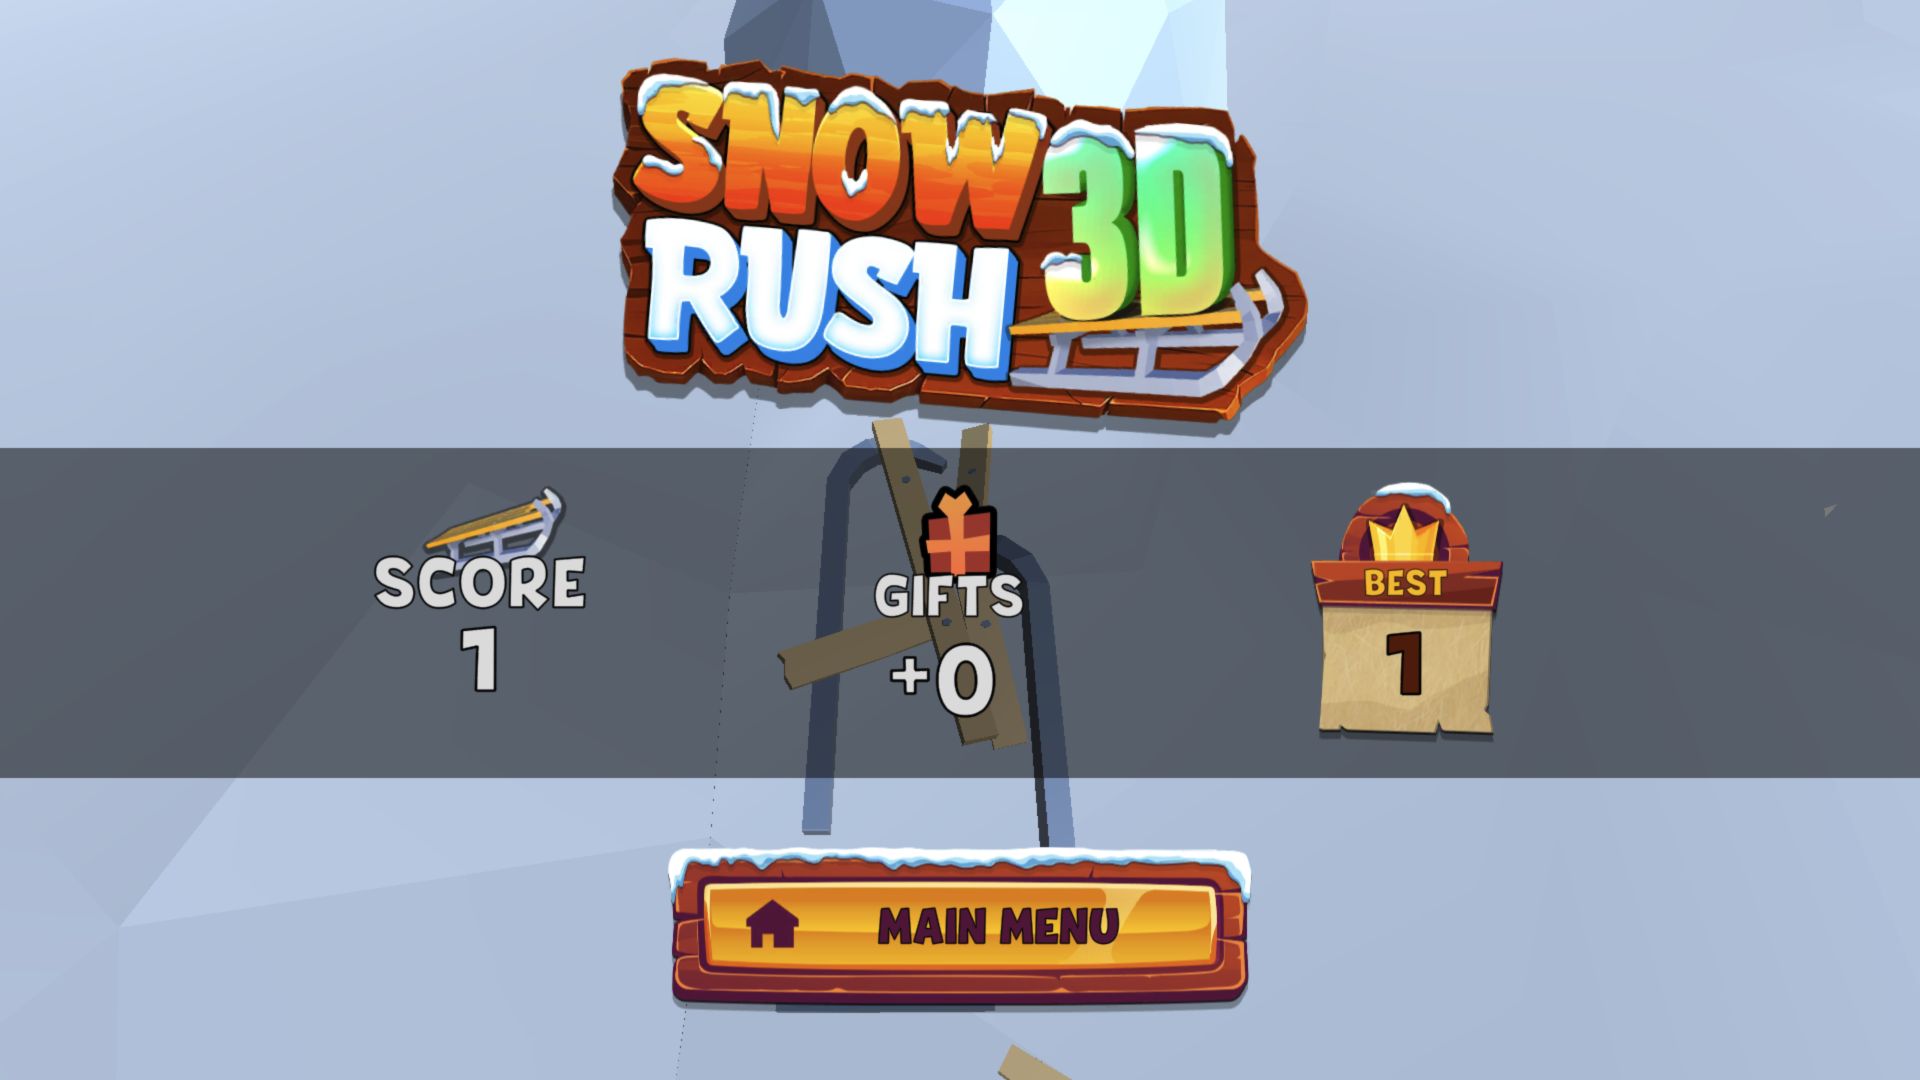
A more limited opening test comes from Snow Rush 3D. The original two desktop runs ended at Score 1 and Gifts +0. Two September follow-ups both ended at Score 2 and Gifts +0: an input trial and a no-input comparison. Matching follow-up scores did not validate a better steering or jump strategy. The three-second video revival and Watch +10 gifts offer add pressure around normal retries. This is a limited desktop first look; mobile gameplay and later-course variety remain unverified.
Basketball Stars Measures the Loss; Deadly Descent Leaves a Hypothesis
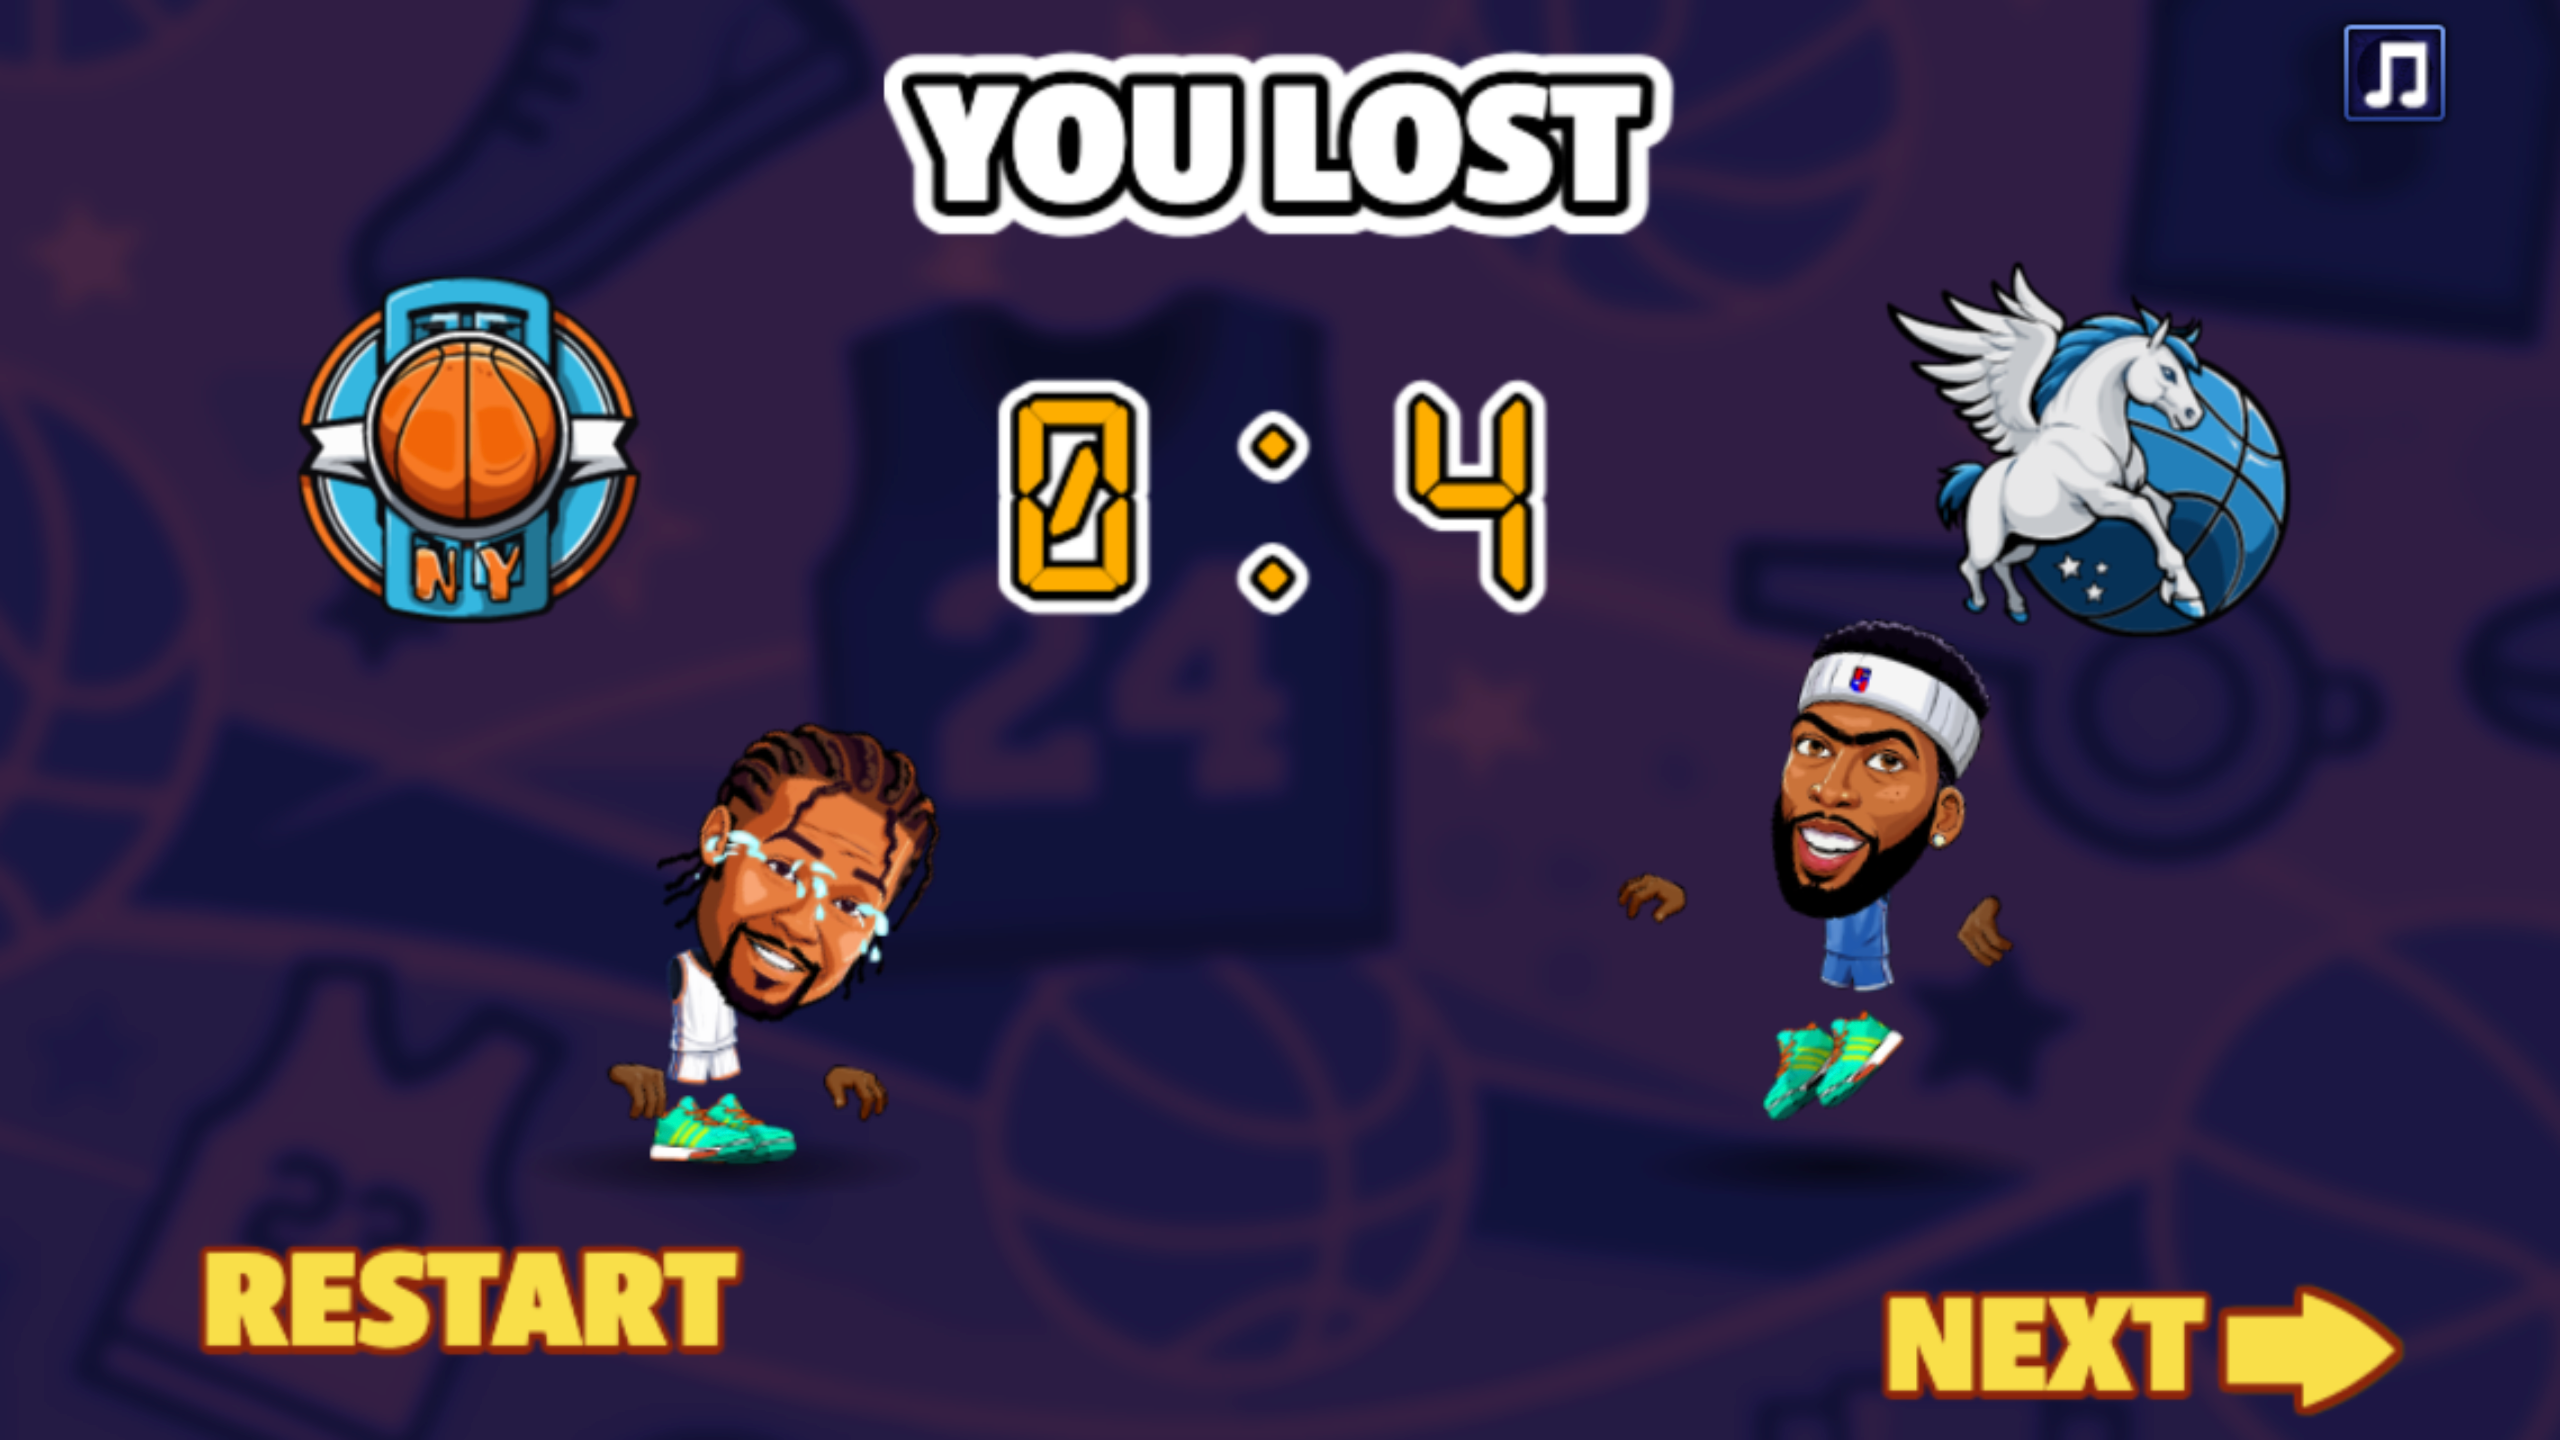
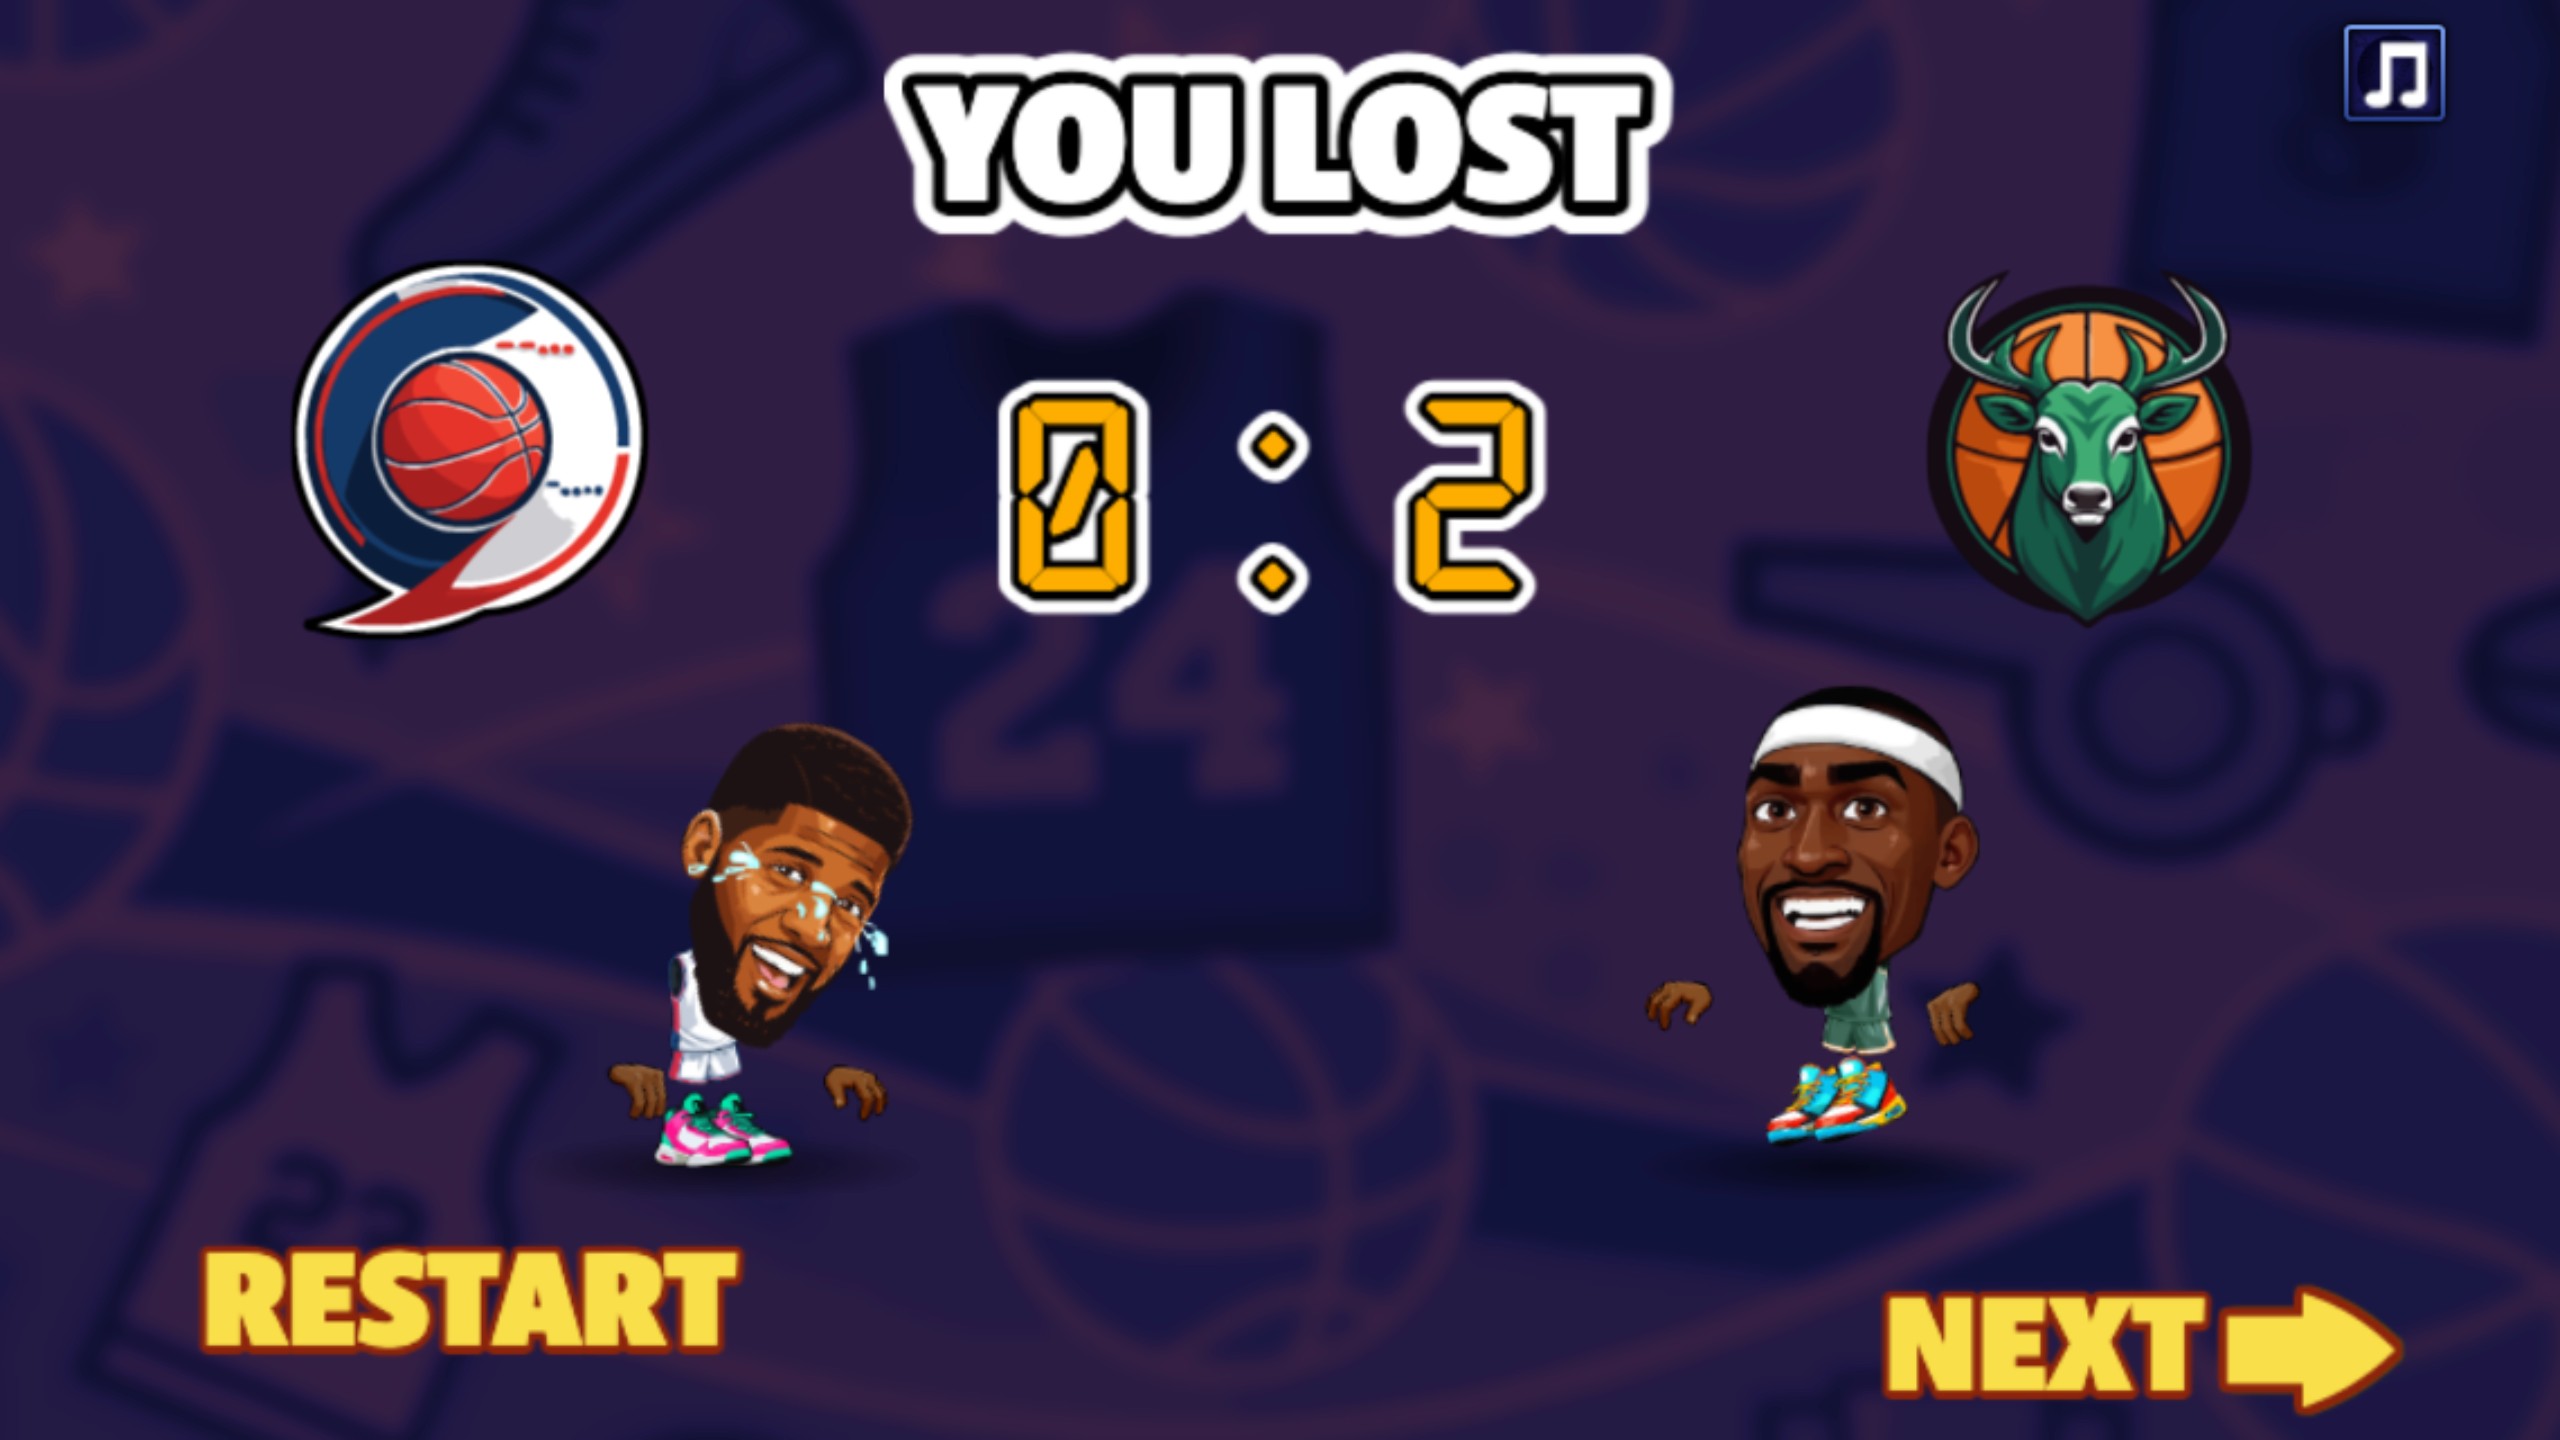
The final panel in Basketball Stars made the failure plain: You Lost, 0–2, with Restart and Next as the only decisions. A replay then fell to 0–4, and a later practice match reached 0–8. Those numbers do not diagnose possession by themselves, but they expose regression while the one-minute clock keeps another test cheap. The useful correction was to move into the ball's path, stop, confirm possession, and press the contextual action once instead of mashing movement and action together.
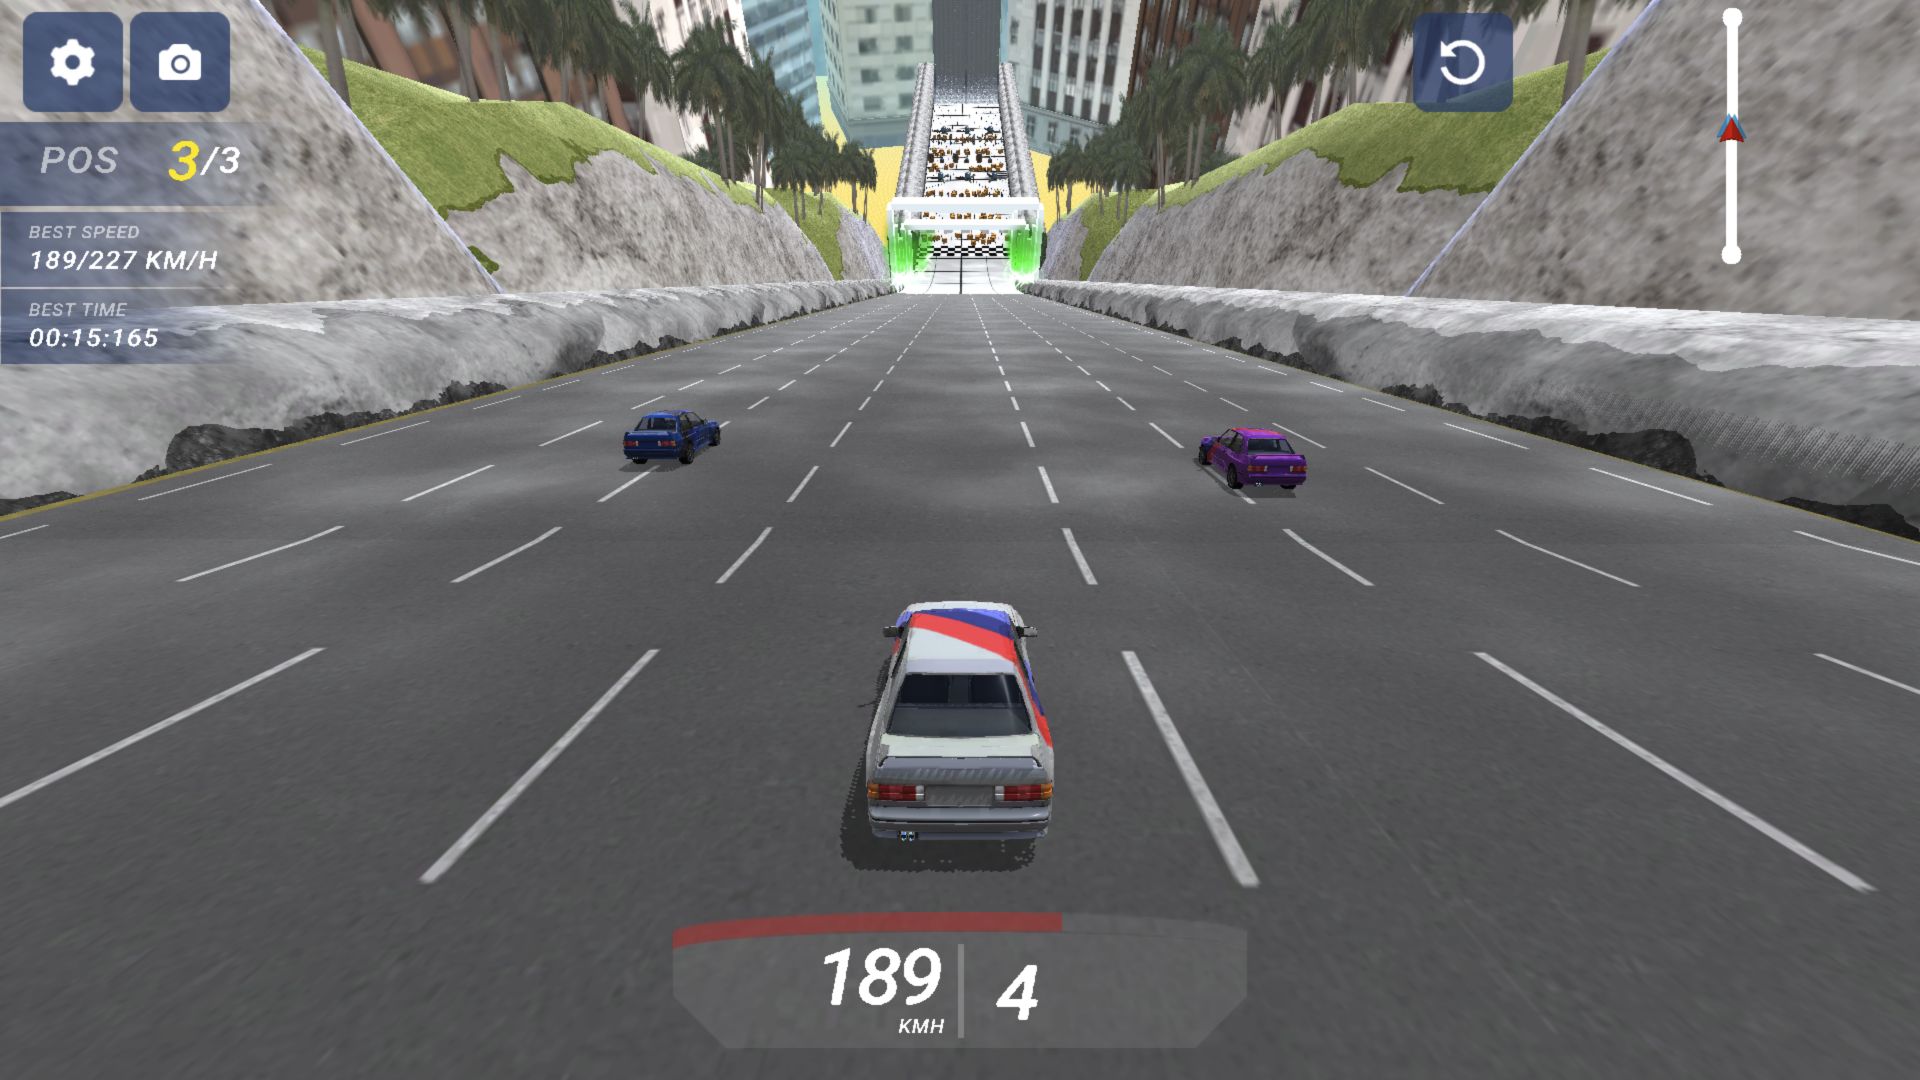
The follow-up in Deadly Descent reached first place with a displayed 112-coin reward offer after the original rollover. A separate low-speed brake test moved from 33 KMH in first gear to 3 KMH in reverse after repeated S inputs. Watch the gear indicator when slowing. One completion does not establish a repeatable obstacle route; the older 00:06:382 HUD reading was not measured elapsed time.
Choose Basketball Stars for short scored matches and Deadly Descent for an exaggerated downhill experiment supported by one completed course. Launch interruptions and untested later levels still limit the driving recommendation.
Golf Orbit Pays the Miss; Chicken Merge Preserves the Plan
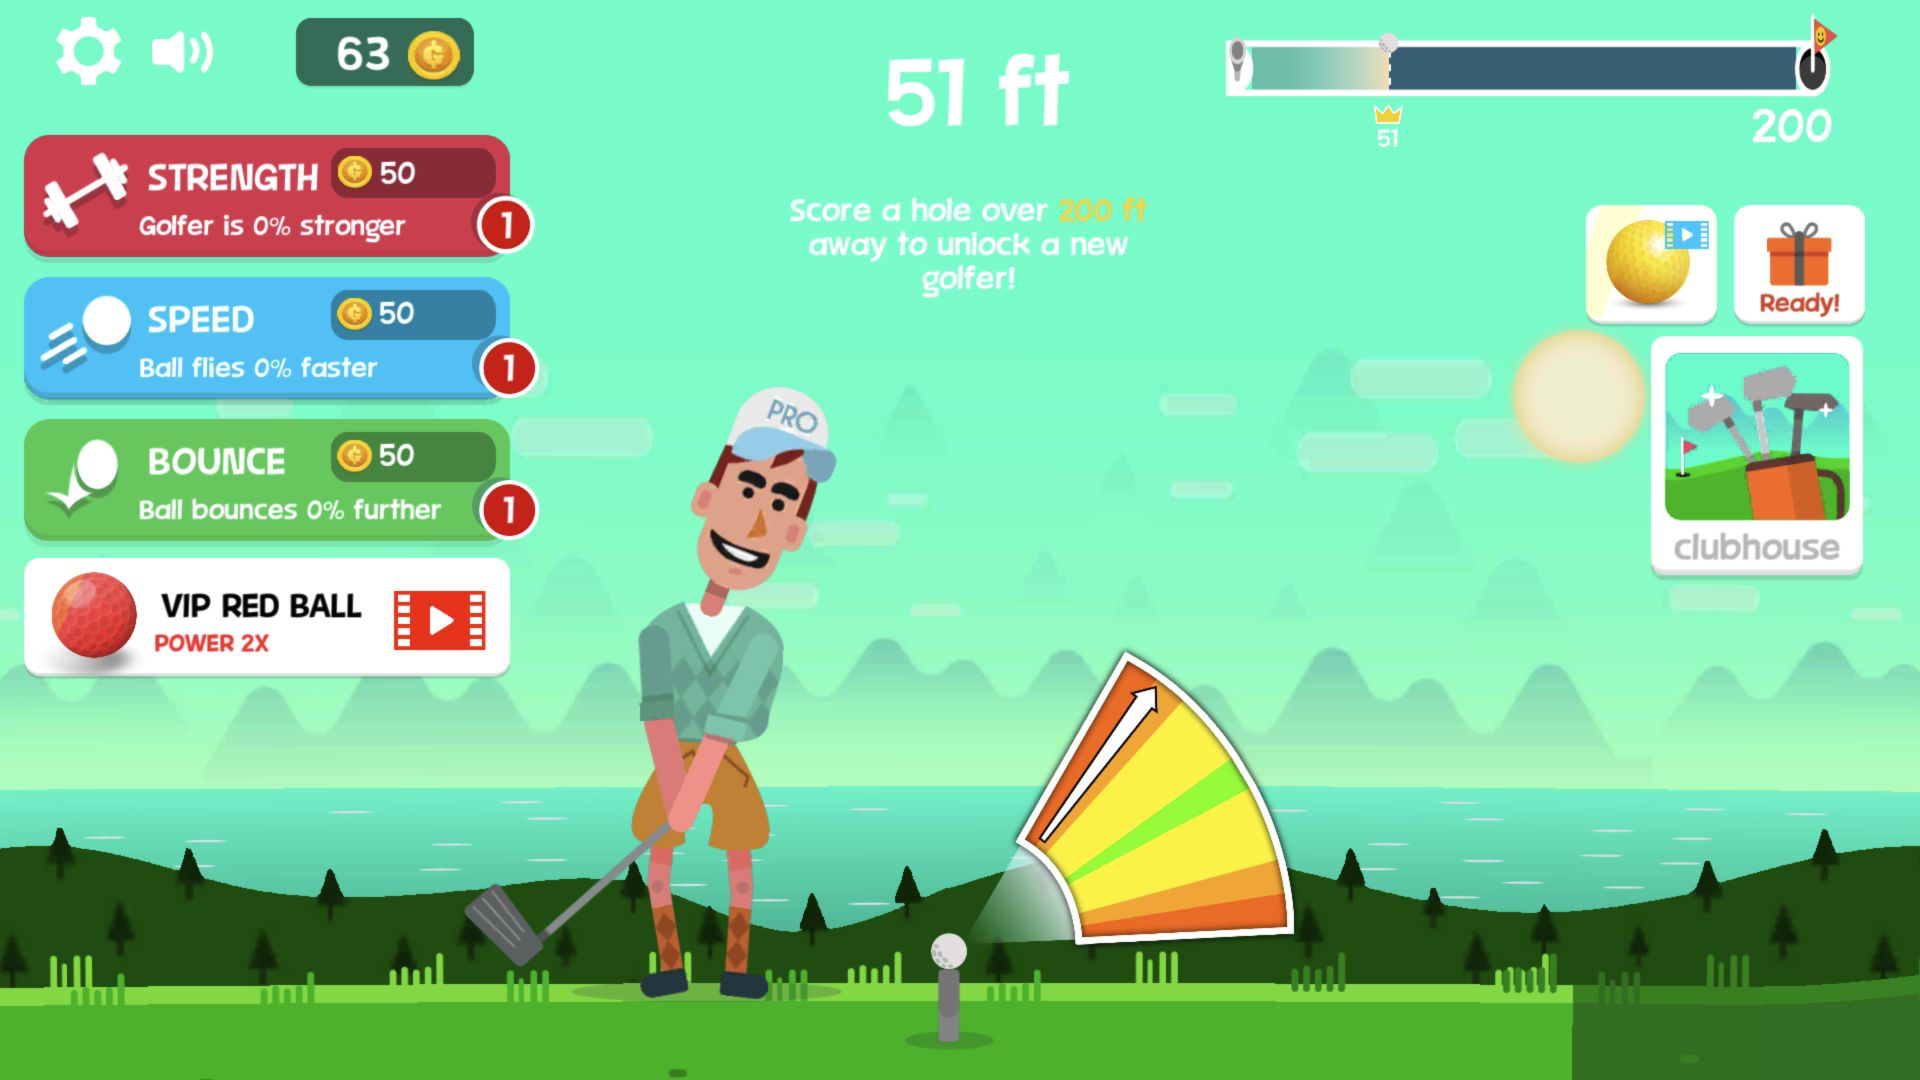
A weak attempt in Golf Orbit still advances something. The landing paid 15 coins, five more than the first fairway result. A later Great release set a 51-foot record, while the first shot after a 5% Strength purchase missed that record because the timing was only Cool. The evidence separates execution from progression cleanly: coins increase potential, but the meter still decides whether that potential becomes distance.
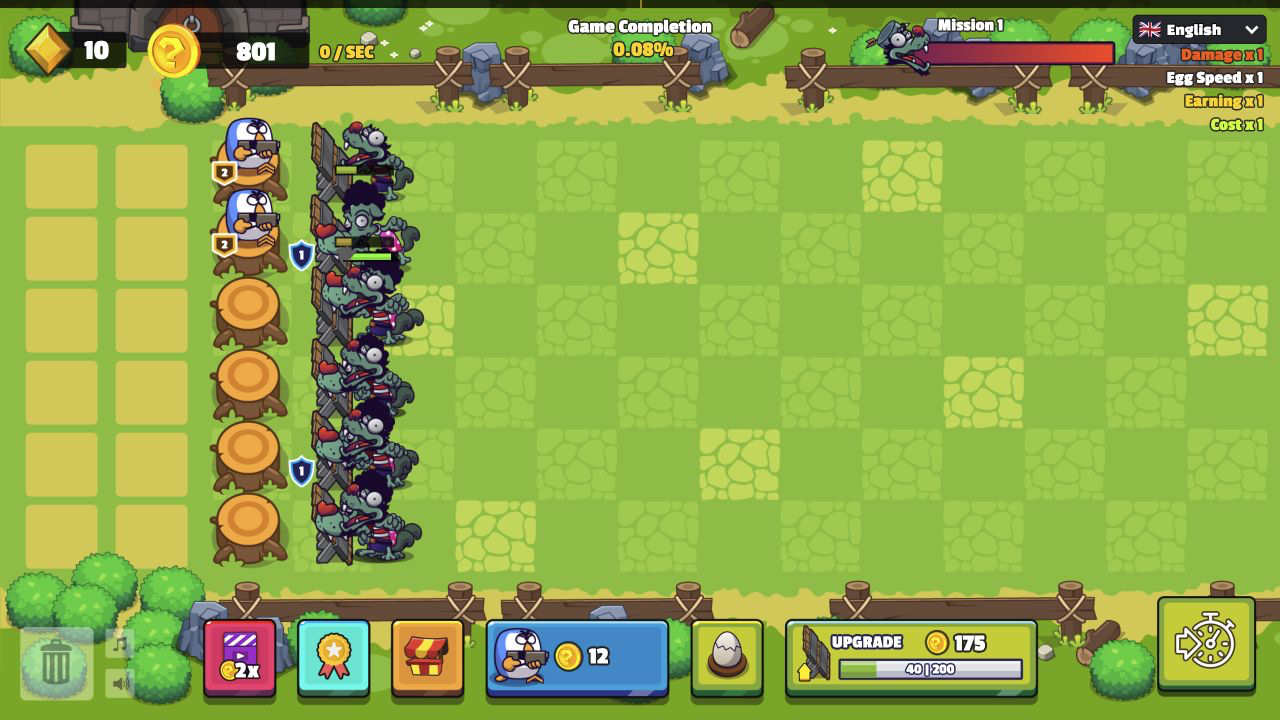
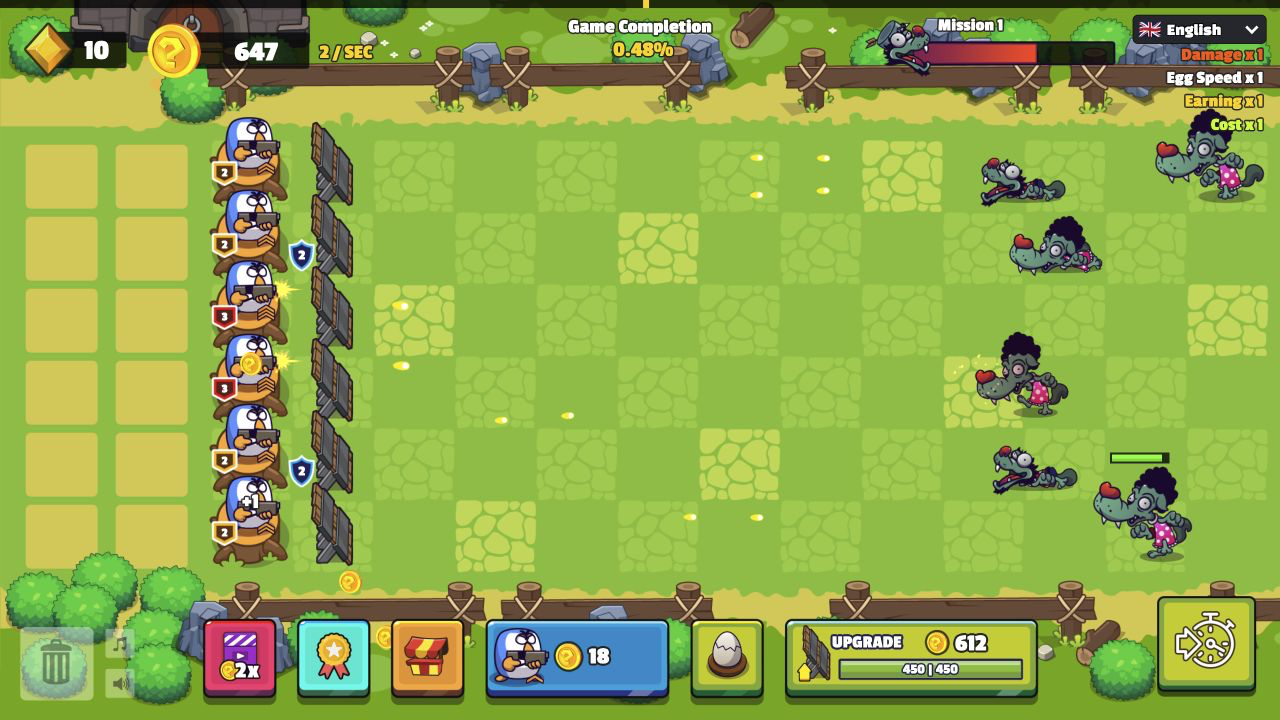
Failure in Chicken Merge preserved more than currency. Two Level 2 defenders left four lanes empty, the 200-point wall collapsed, and the first Mission 1 ended with zero stars. Home kept the roster. After all six stumps were filled, two Level 3 birds were added, and the wall rose from 200 to 450, the result was a three-star win worth 50 coins.
Golf Orbit is the gentler short-session choice: one release yields a rating, landing, coins, and another decision. Chicken Merge suits players who prefer rebuilding coverage and durability after a visible failure. Golf completed on both tested layouts; Chicken's complete recommendation remains desktop-only because its mobile crop hid the reserve grid.
Diamant, Jewel Magic, and Burger Simulator Give Results Different Afterlives
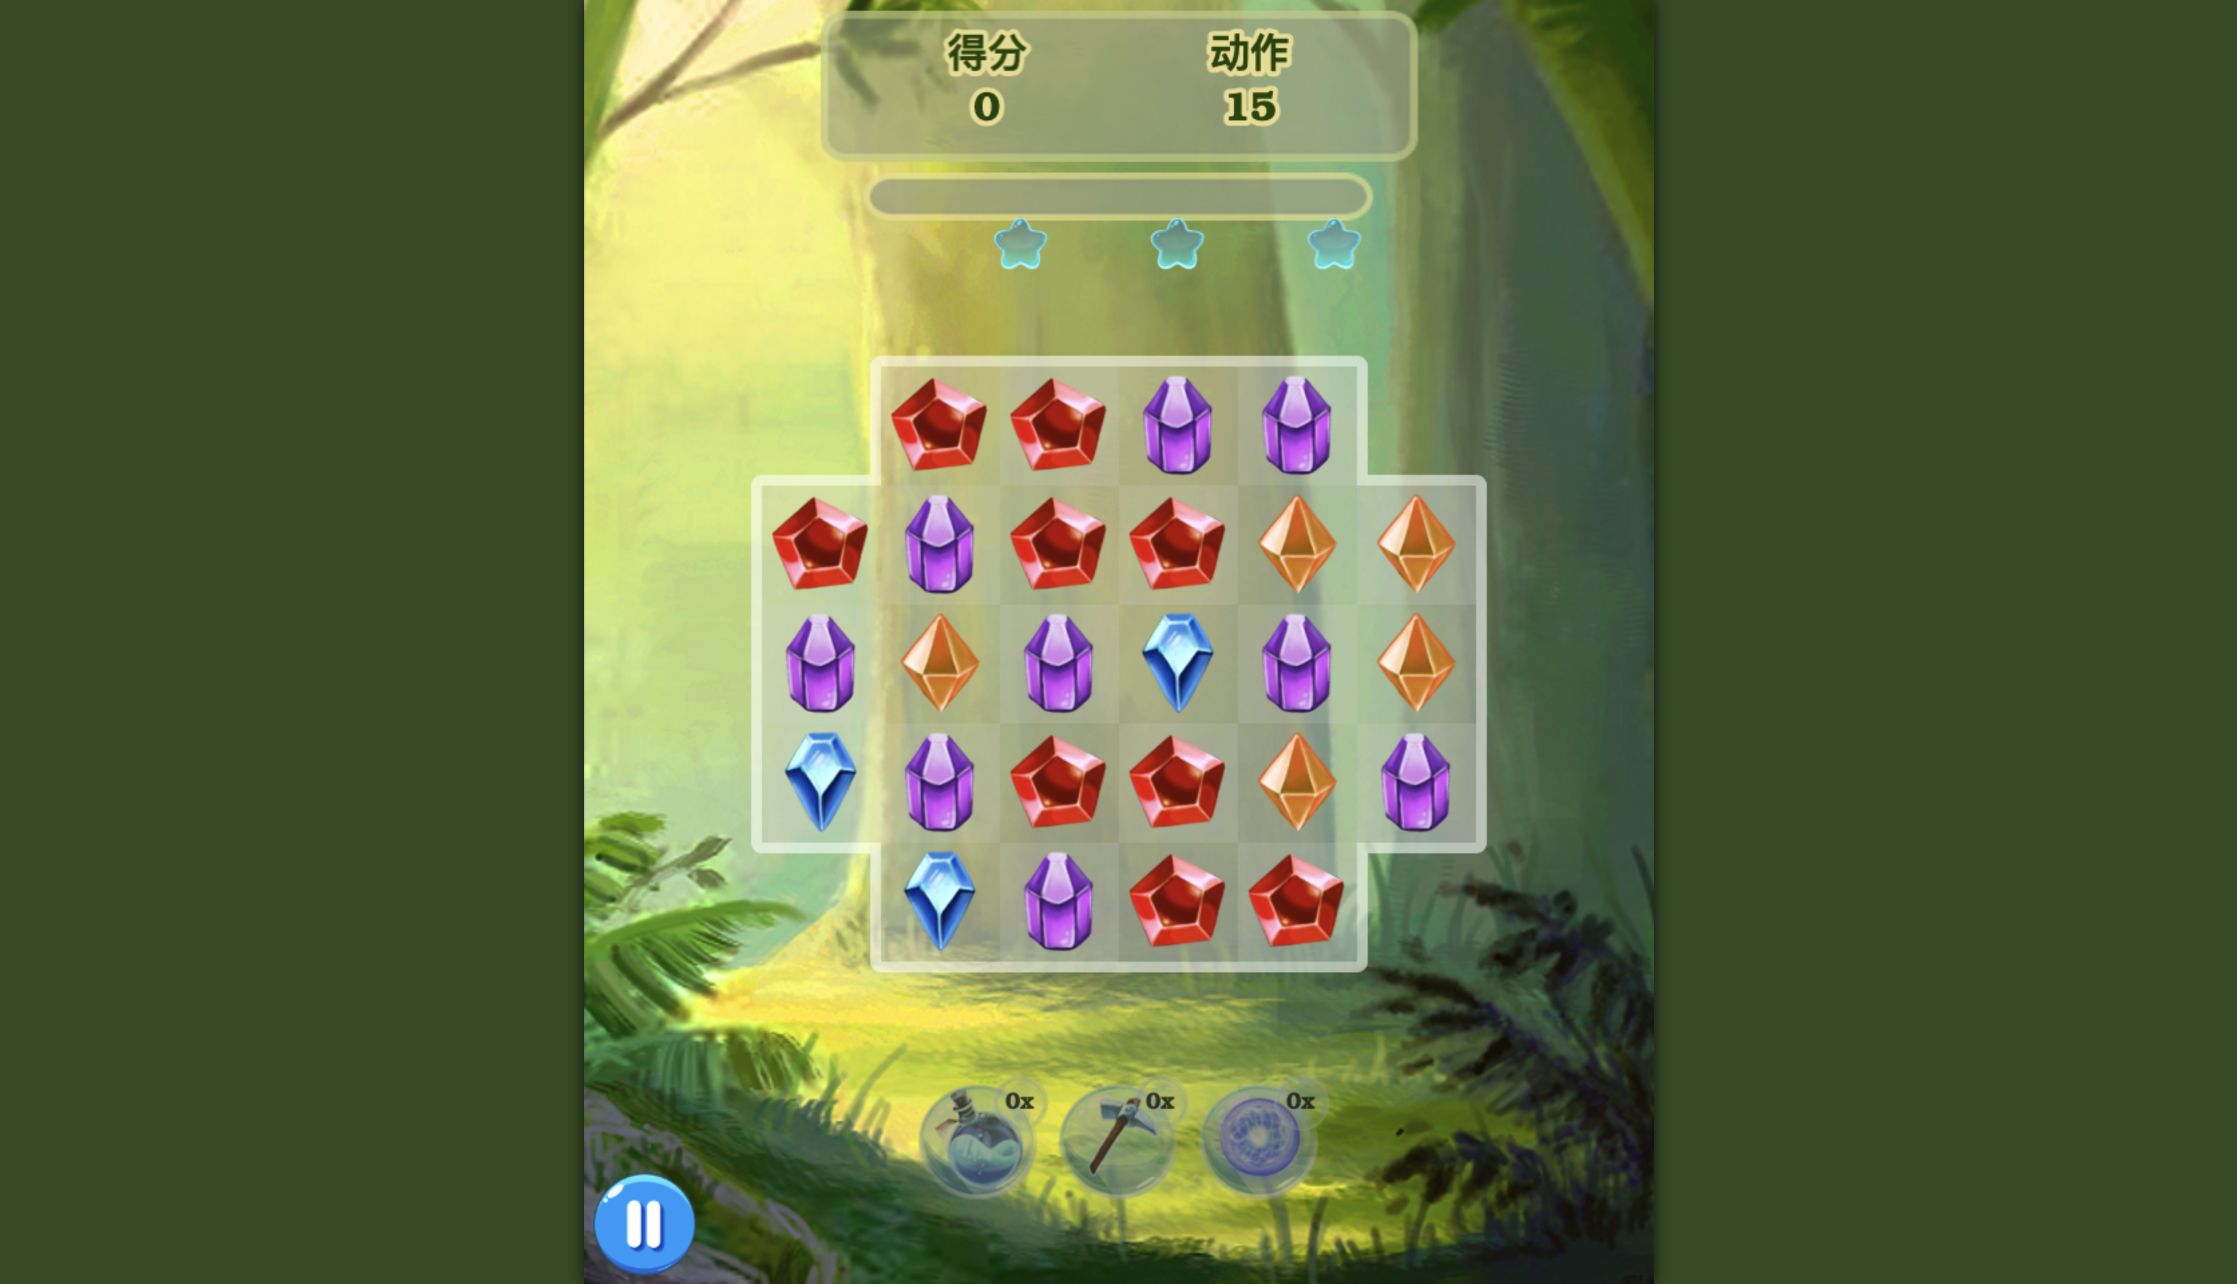
The self-contained board in Jewel Magic ends more cleanly. After the last cascades settled, a dedicated victory panel appeared with three stars, Level 1, 37,840 points. Its mobile run also reached a three-star result after the same 15-move budget, although its score differed. Choose Jewel for a crisp vertical board finish; choose Diamant when the longer island-restoration handoff matters more than immediate replay.
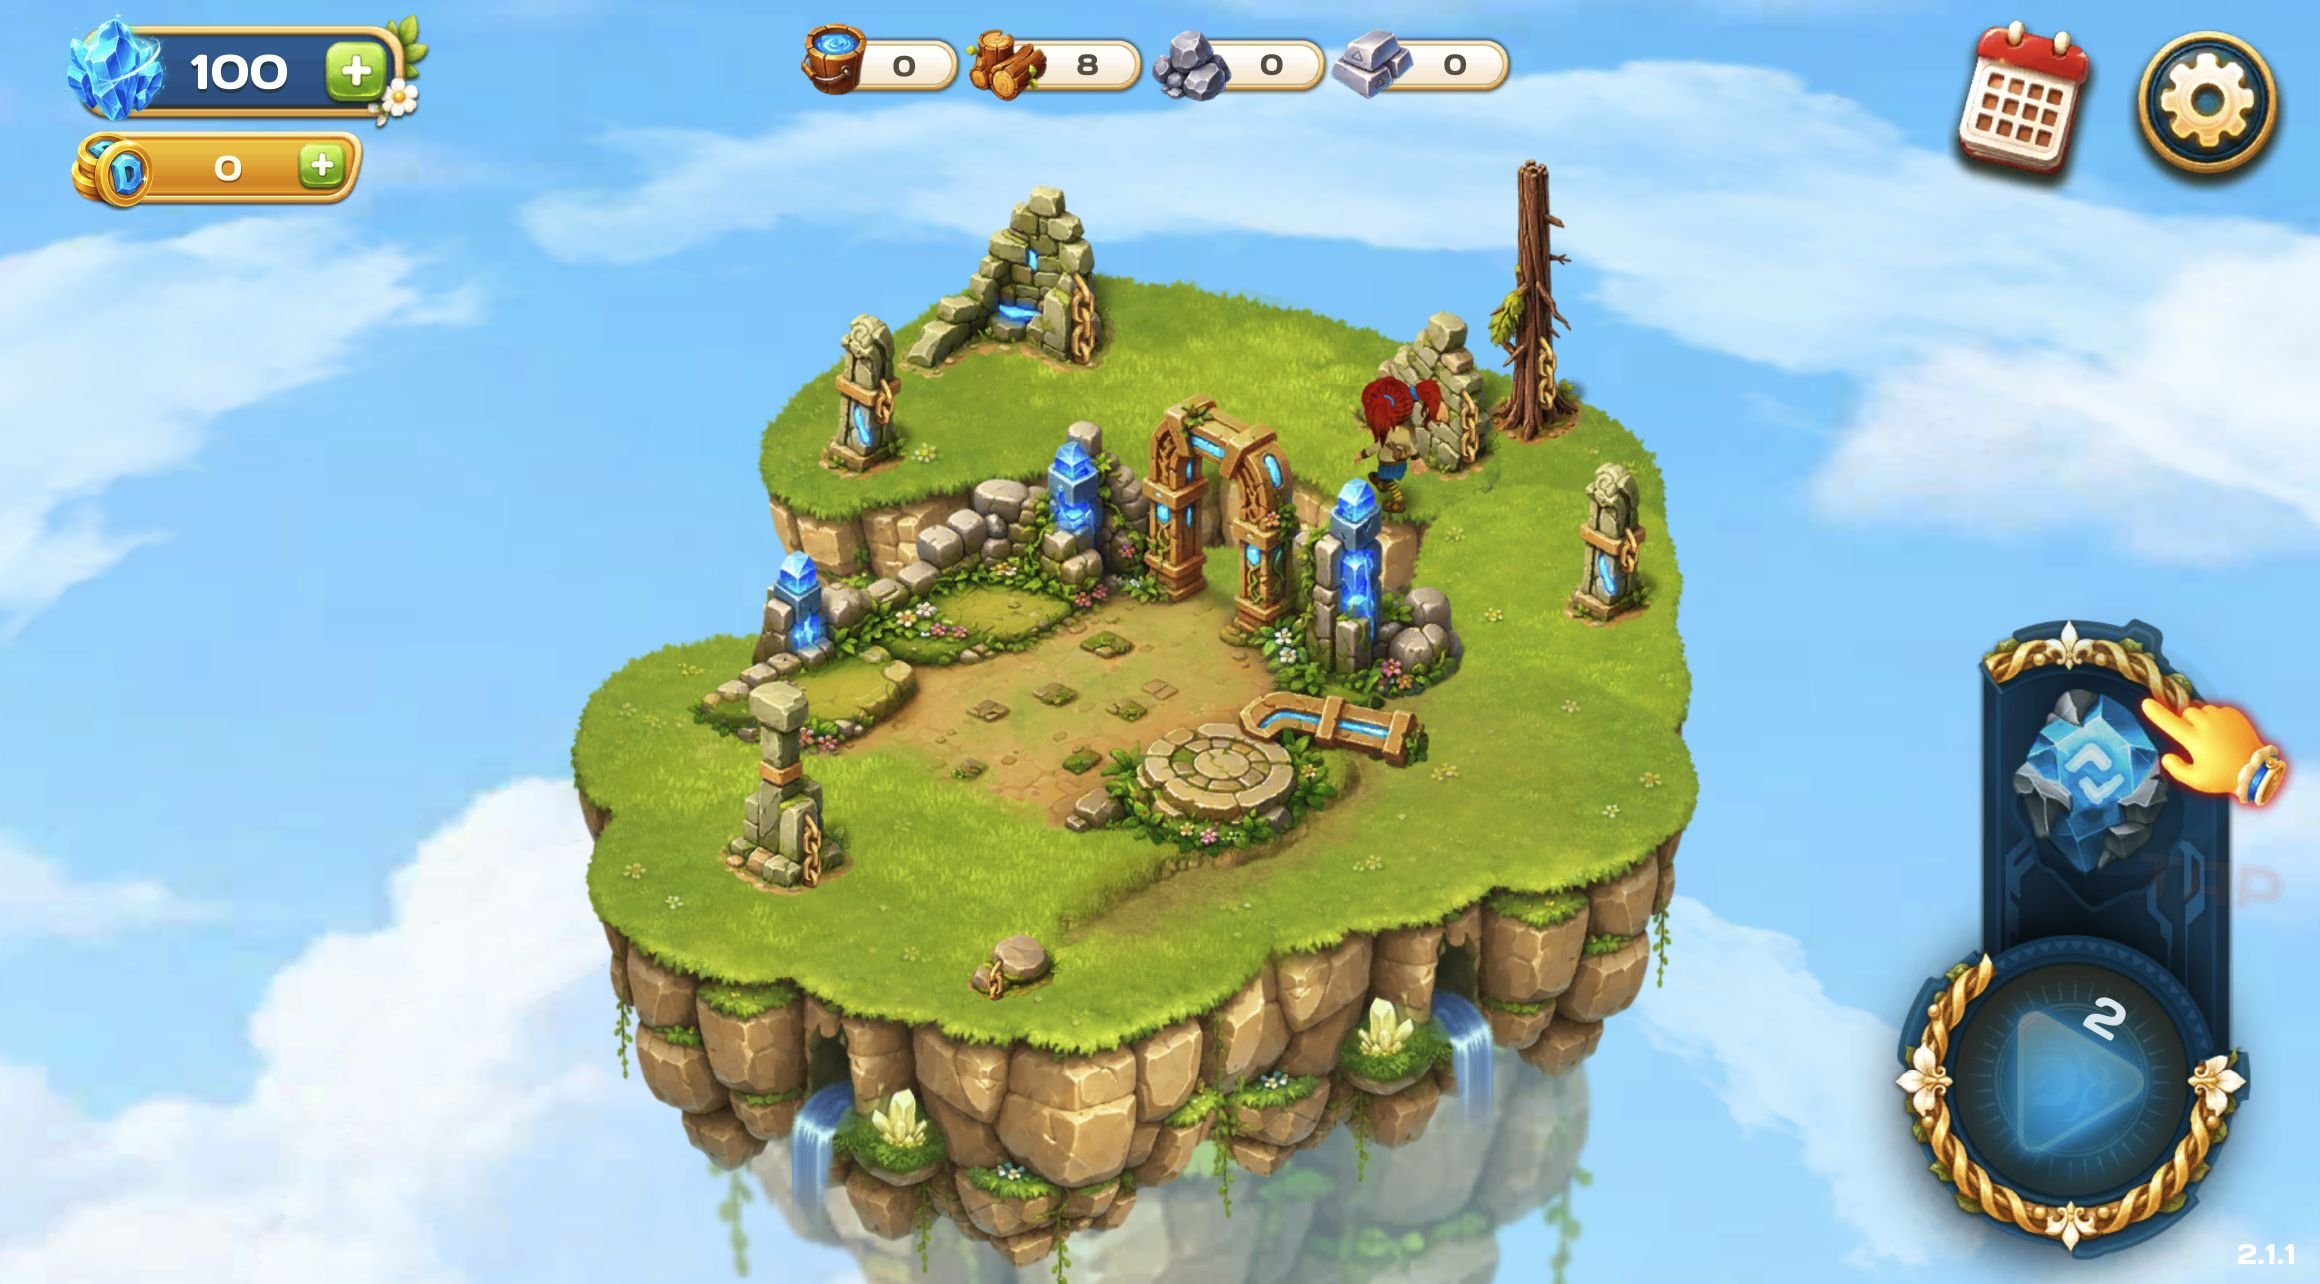
The opening board in Diamant: Match 3 Sky Story asked for 15 yellow gems in 23 moves. I completed Level 1 with 12 moves remaining. The 39,310-point result also paid an Earth Artifact and eight wood, then the island visibly changed when the artifact was used. That makes the handoff more meaningful than a score alone, although the victory, daily reward, artifact, and restoration overlays slow the return to another puzzle.
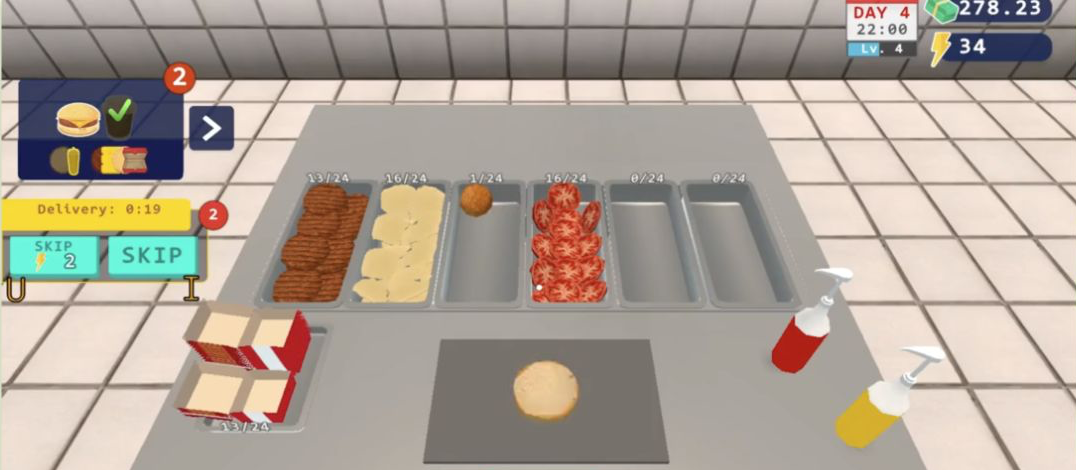
The consequence chain in Burger Restaurant Simulator 3D is slower and more physical. At 22:00 on Day 3, the notice said that no new customers would come at night and exposed a New Day button. Raw patties were still in hand. Earlier, the register required an exact $5.63 card entry. Both moments turn movement and preparation into business consequences: wasted walking can leave stock unfinished, while careless reading can interrupt service.
Diamant suits visible rebuilding, while Burger Simulator suits methodical stock, register, and closing-time work. Diamant's wider island reads best on desktop; Burger's sensitive camera and unverified mobile full-viewport test make it a poor fit for anyone seeking an automatic idle loop.

Training, Rescue, Victory, or Brewing: Four Loops Stop at Different Boundaries
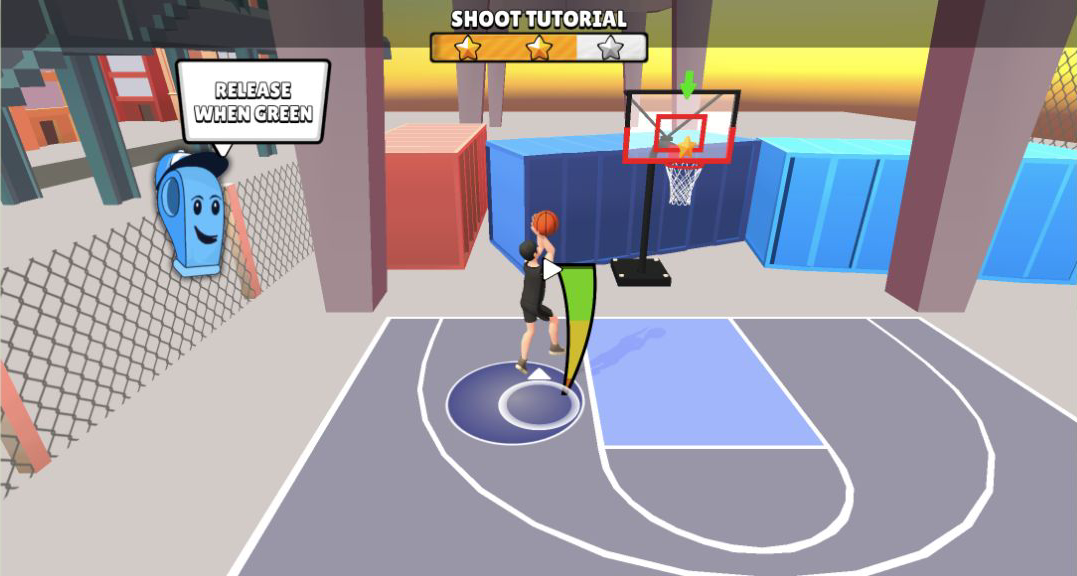
The opening in Basketball Superstars was productive without becoming a competitive result. The source review records that all three desktop tutorial categories were cleared with three stars, and the mobile Move & Shoot lesson also cleared with three stars. The first 1v1 pairing stopped at the matchup screen, however. That supports a recommendation for readers who enjoy compact timing drills and visible early progression, not a verdict on match balance, rewards, or a completed league game.
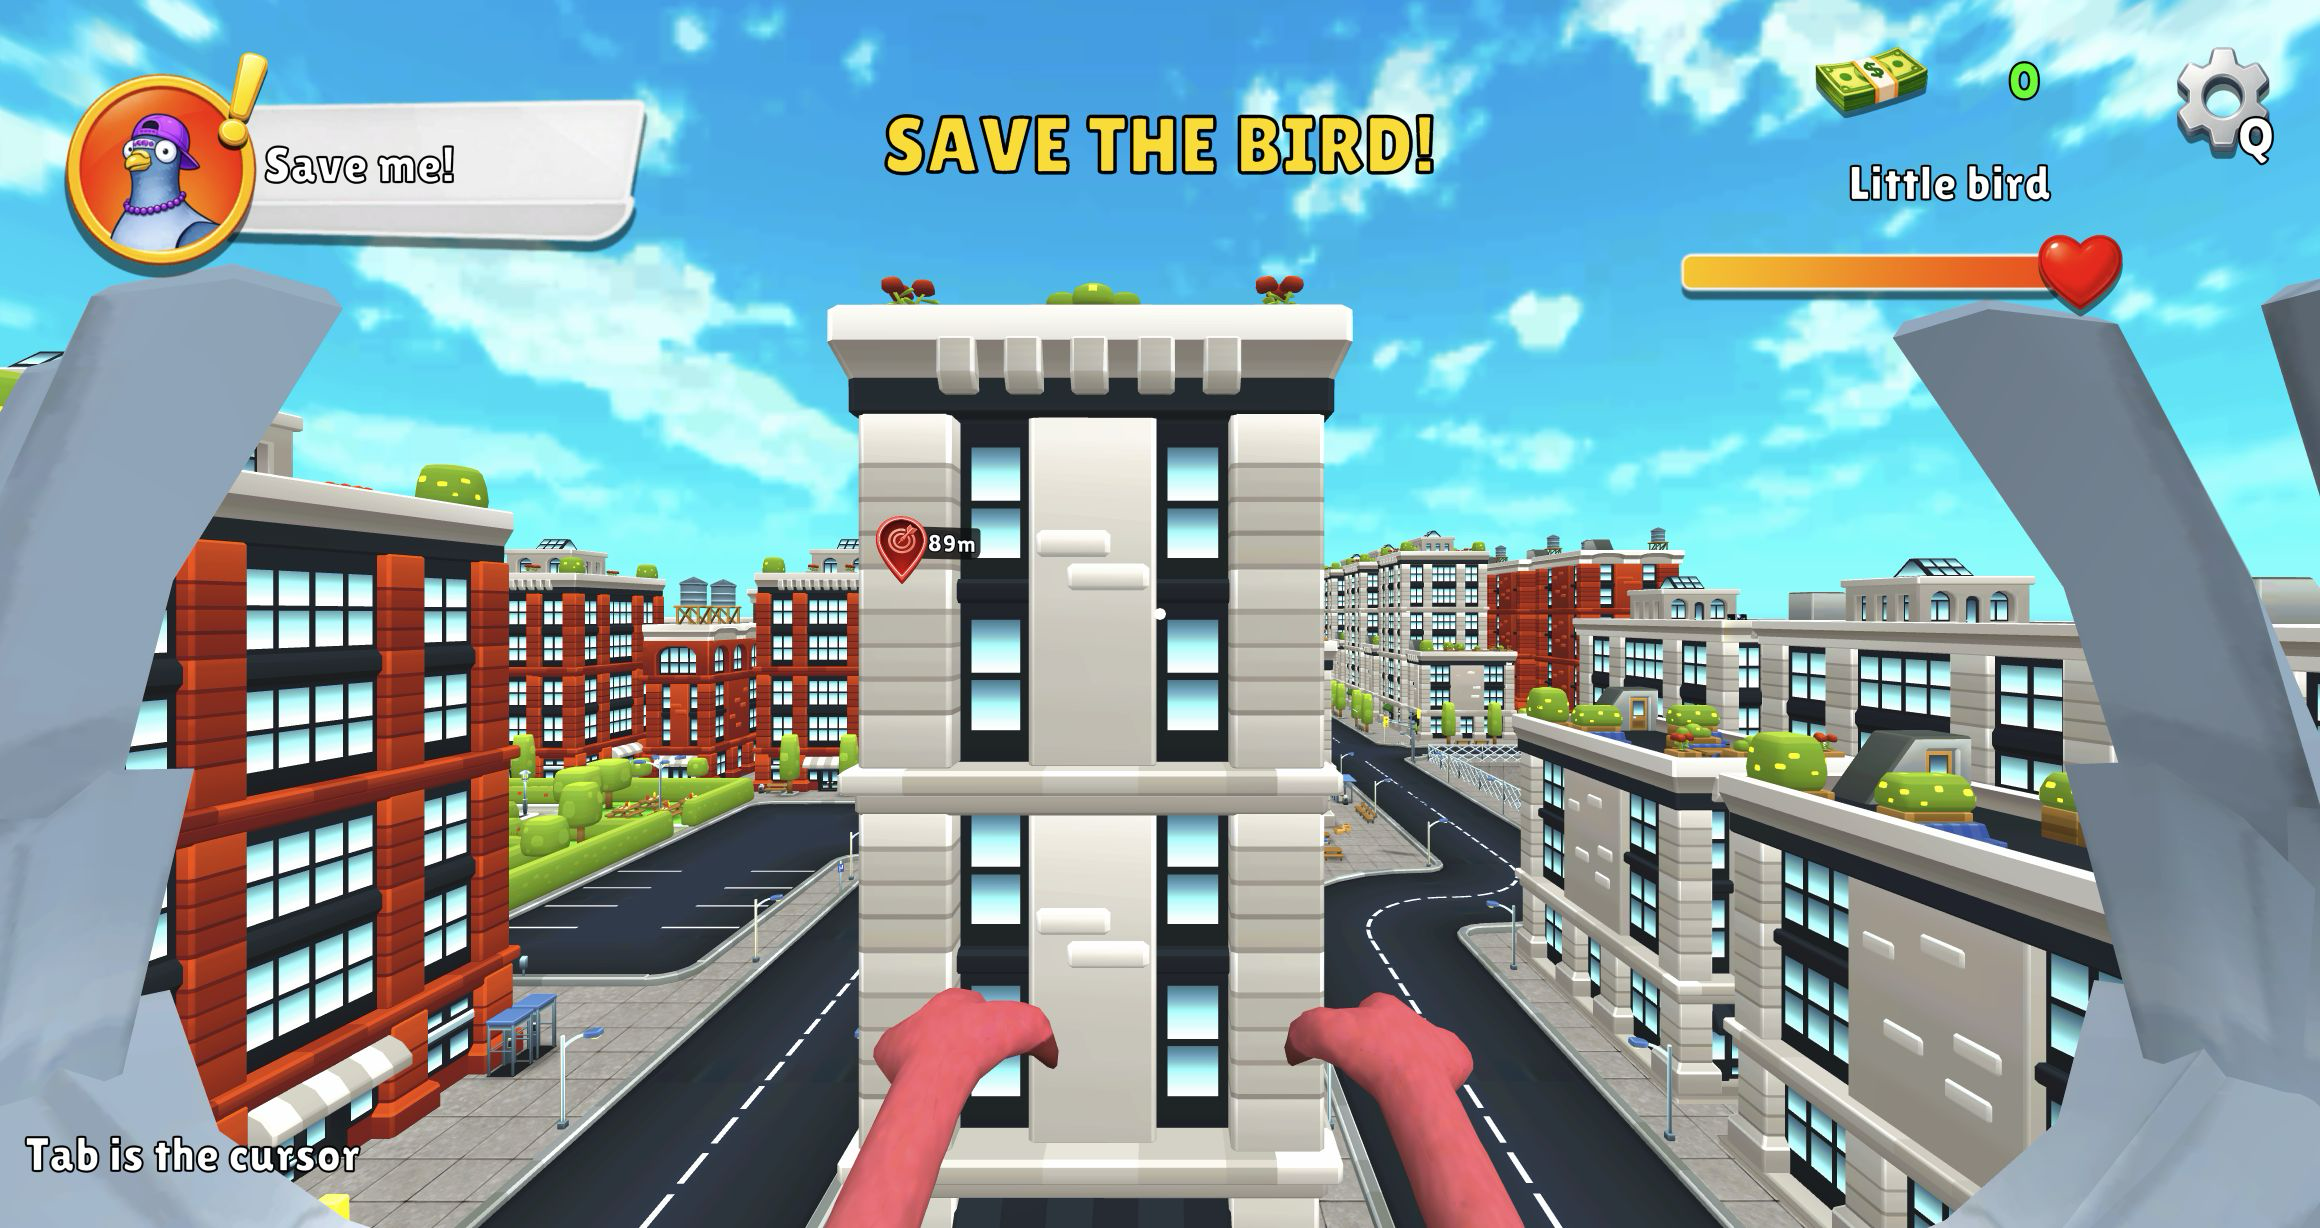
In I am Crazy Bird the strongest desktop route reached 70 meters from a rescue that began 91 meters away, then stalled against the city's navigation and flight feedback. The rescue remained unfinished on desktop. Mobile exposed the harder limit: no joystick or touch action buttons appeared, while the player still asked for Space and Tab. Its colorful city is appealing, but this evidence supports neither a completed mission nor a best-device recommendation.
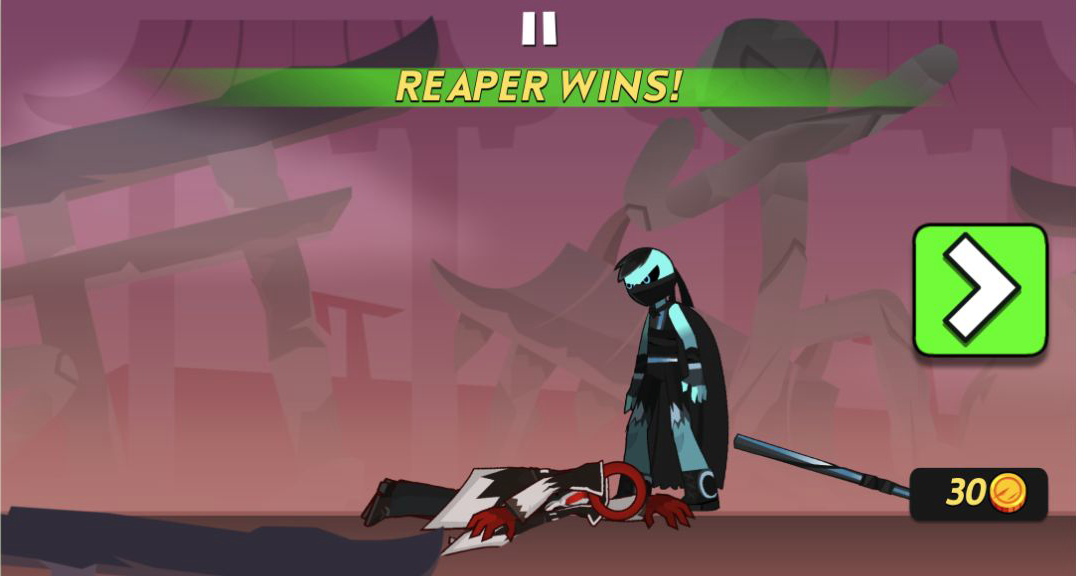
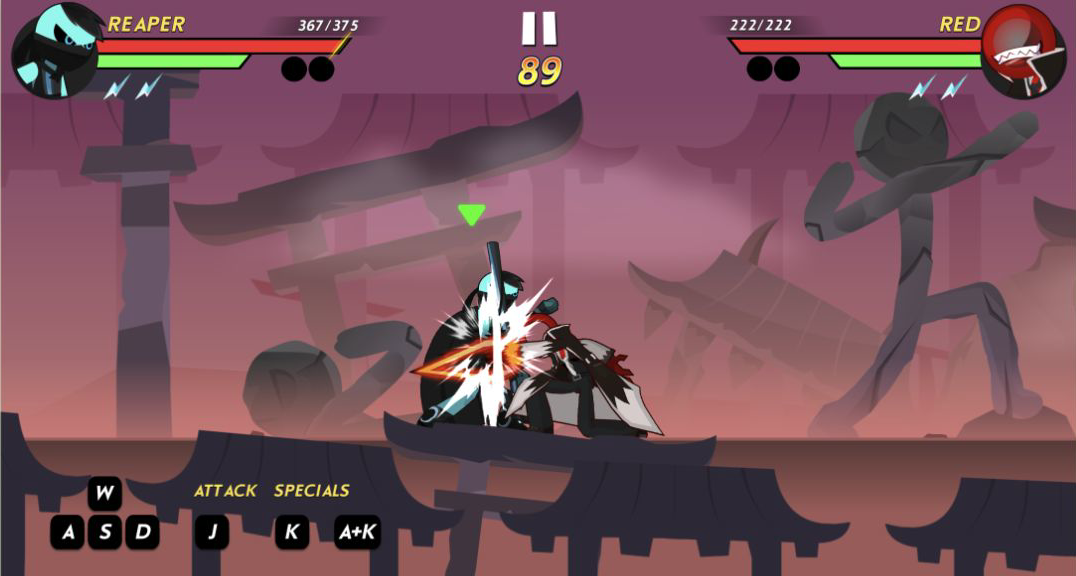
By contrast, Stickman Kombat 2D supplied closure on both routes. The result was a clean REAPER WINS banner and a 30-coin reward on desktop; another complete touch match also reached REAPER WINS. Short steps, a basic J attack, and a reserved K special made the spacing lesson readable. The caveat is a portrait presentation that is technically playable but physically cramped: the wide arena, health text, and touch buttons shrink into a narrow band. Among these additions, it is the clearest pick for a complete short fight, especially on desktop.
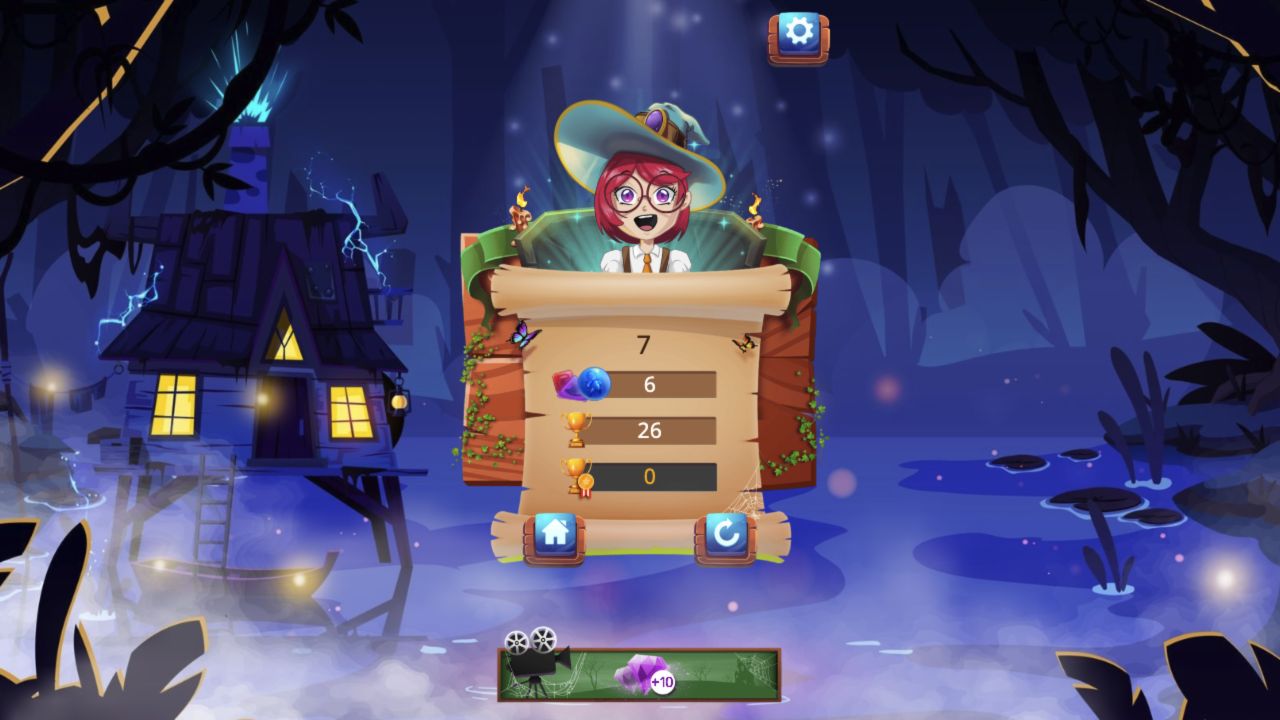
In Magic Potion School For Witch, its first desktop brew ended with 7 at the top, an ingredient row of 6, 26 trophies, and 0 medals; a longer 390-by-844 portrait run reached 43 trophies. Portrait stacked the falling lane, but the record does not establish physical-phone hardware or touch feel. Choose it for a score chase, not a discrete victory.
Bubble Banks, Burger Routes, Gas Stops, and a Mission Clock
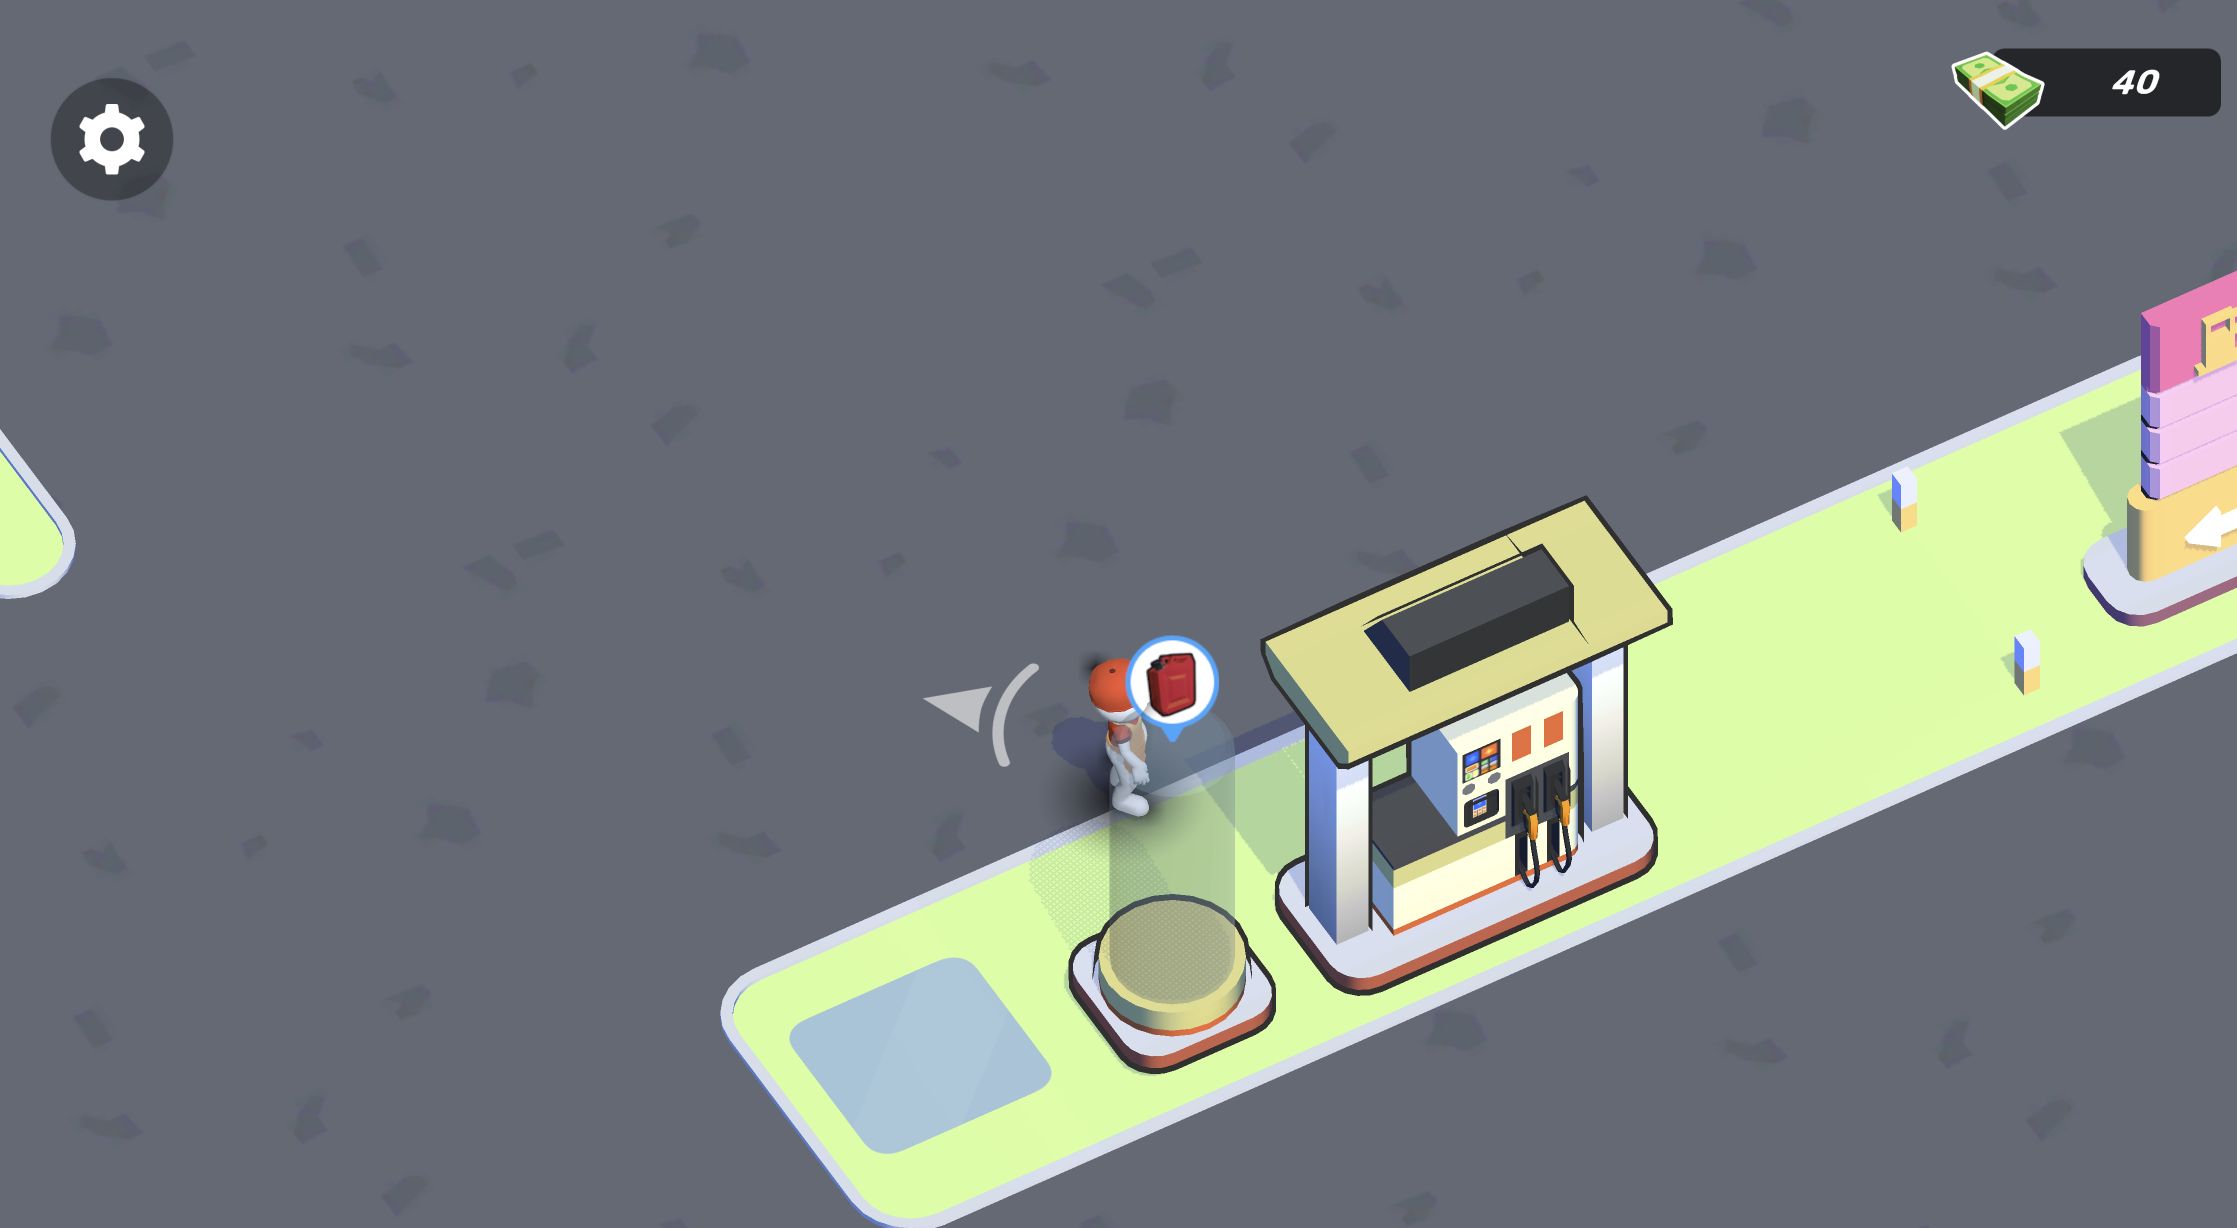
A smaller business loop becomes equally explicit in Gas Station Simulator. Walking over it raised my balance from 20 to 34, an increase of 14. That payout followed a manual pump, fuel-stock, delivery, service, and collection chain rather than passive income. It is tighter than the cleanup route below, but both suit players who want movement to matter as much as upgrades.
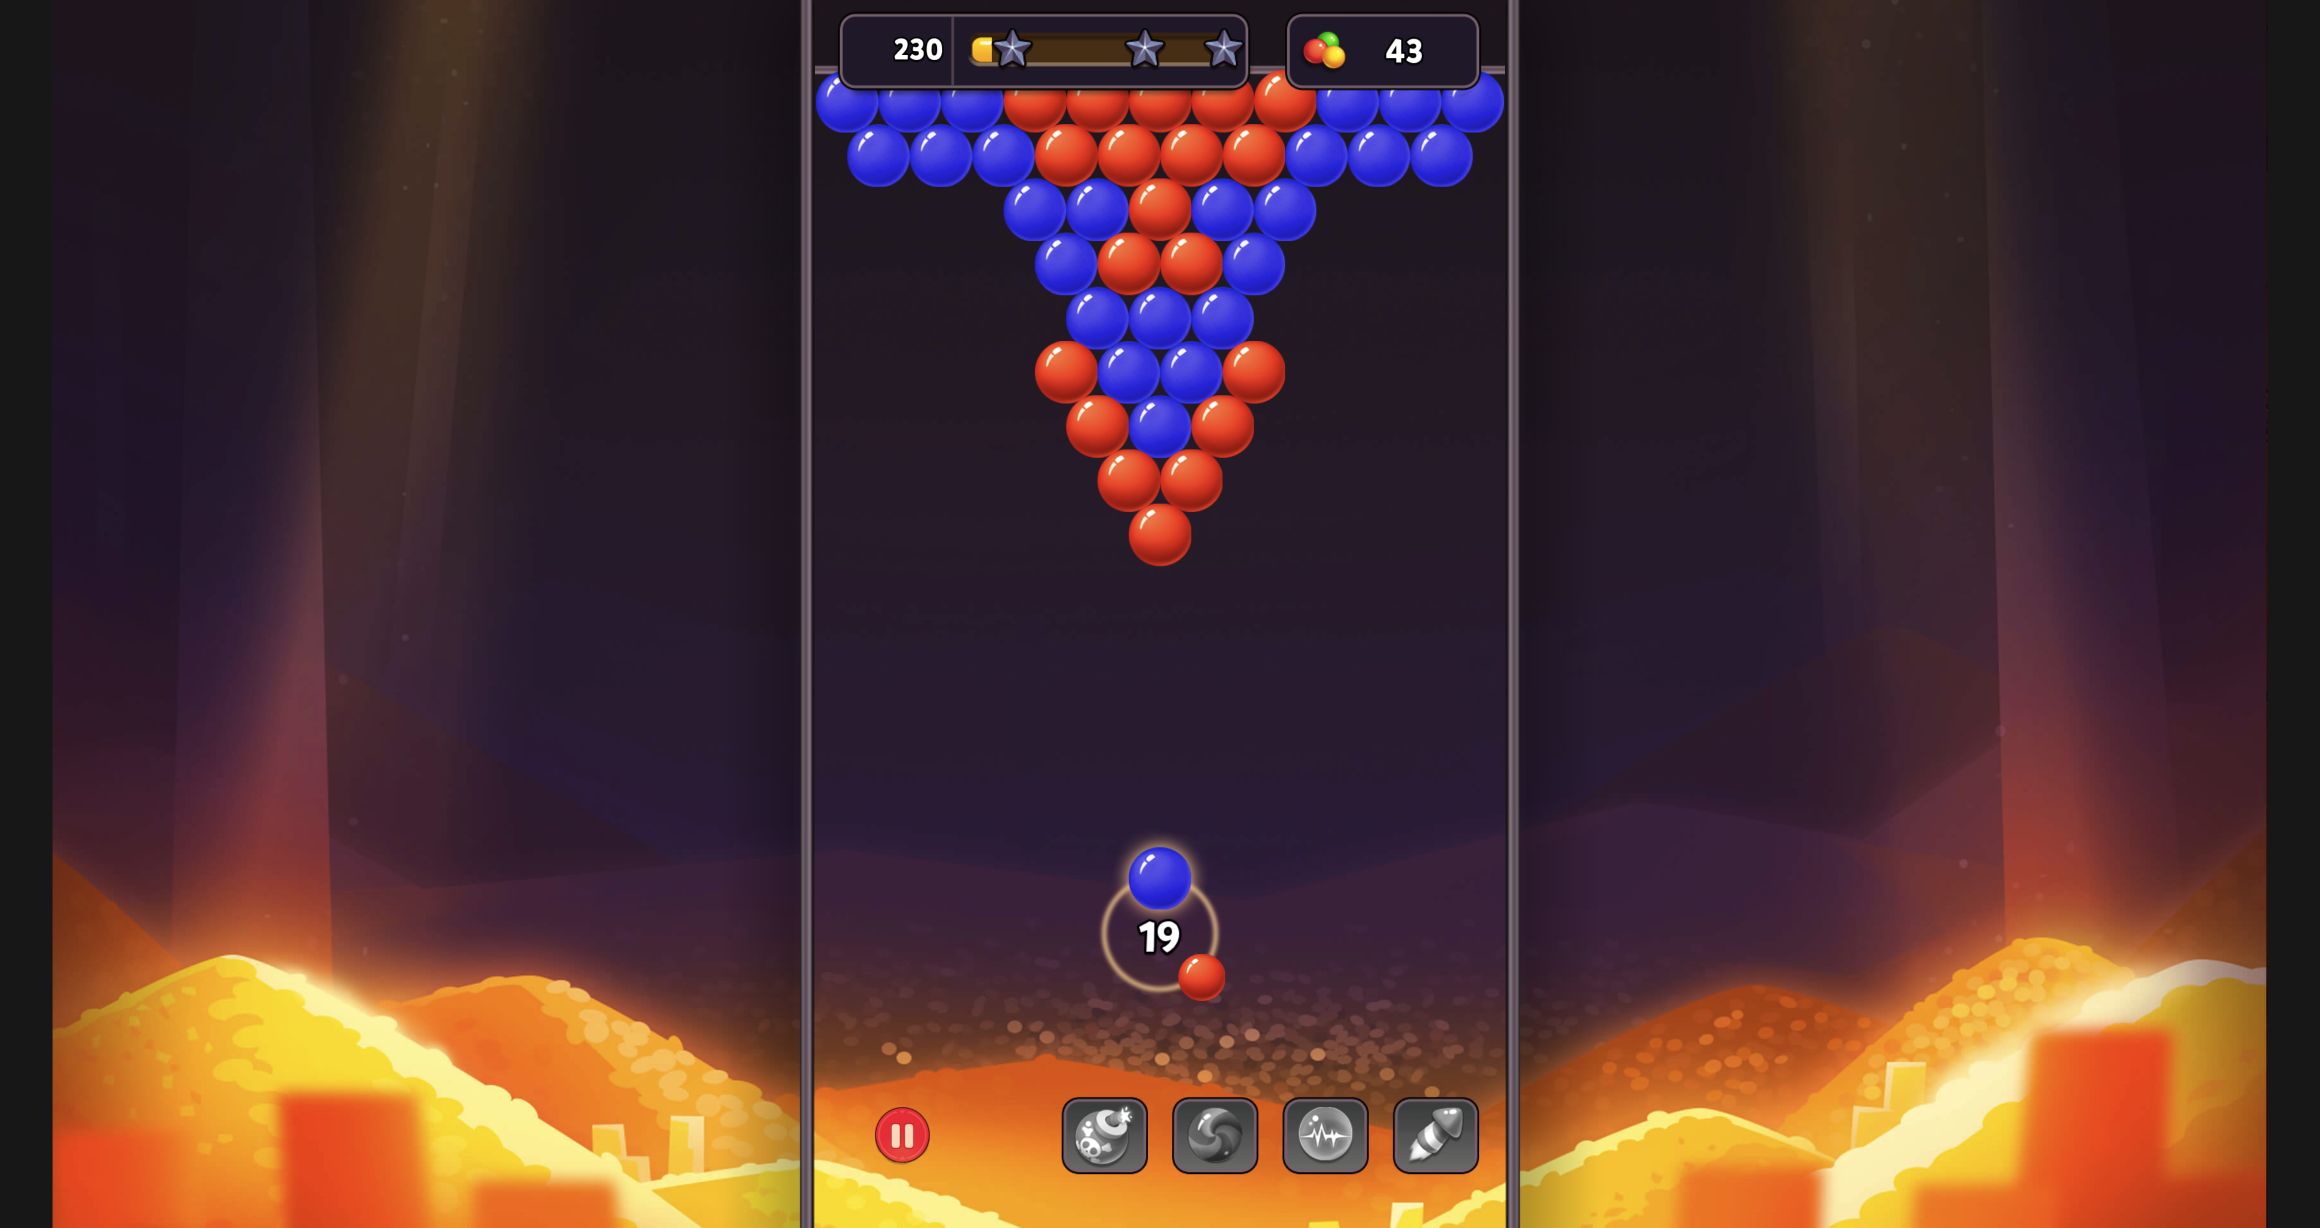
The cleanest new puzzle result belongs to Bubble Shooter: Tap & Pop. The desktop Level 1 panel awarded three stars, a final score of 8720, and chest progress of 1/5; a cleaner three-shot mobile route scored 9900. Both outcomes reward cutting structural supports rather than attaching bubbles to the nearest visible trio. It is the quickest recommendation here for a complete board, an exact result, and an immediately reusable tactic.
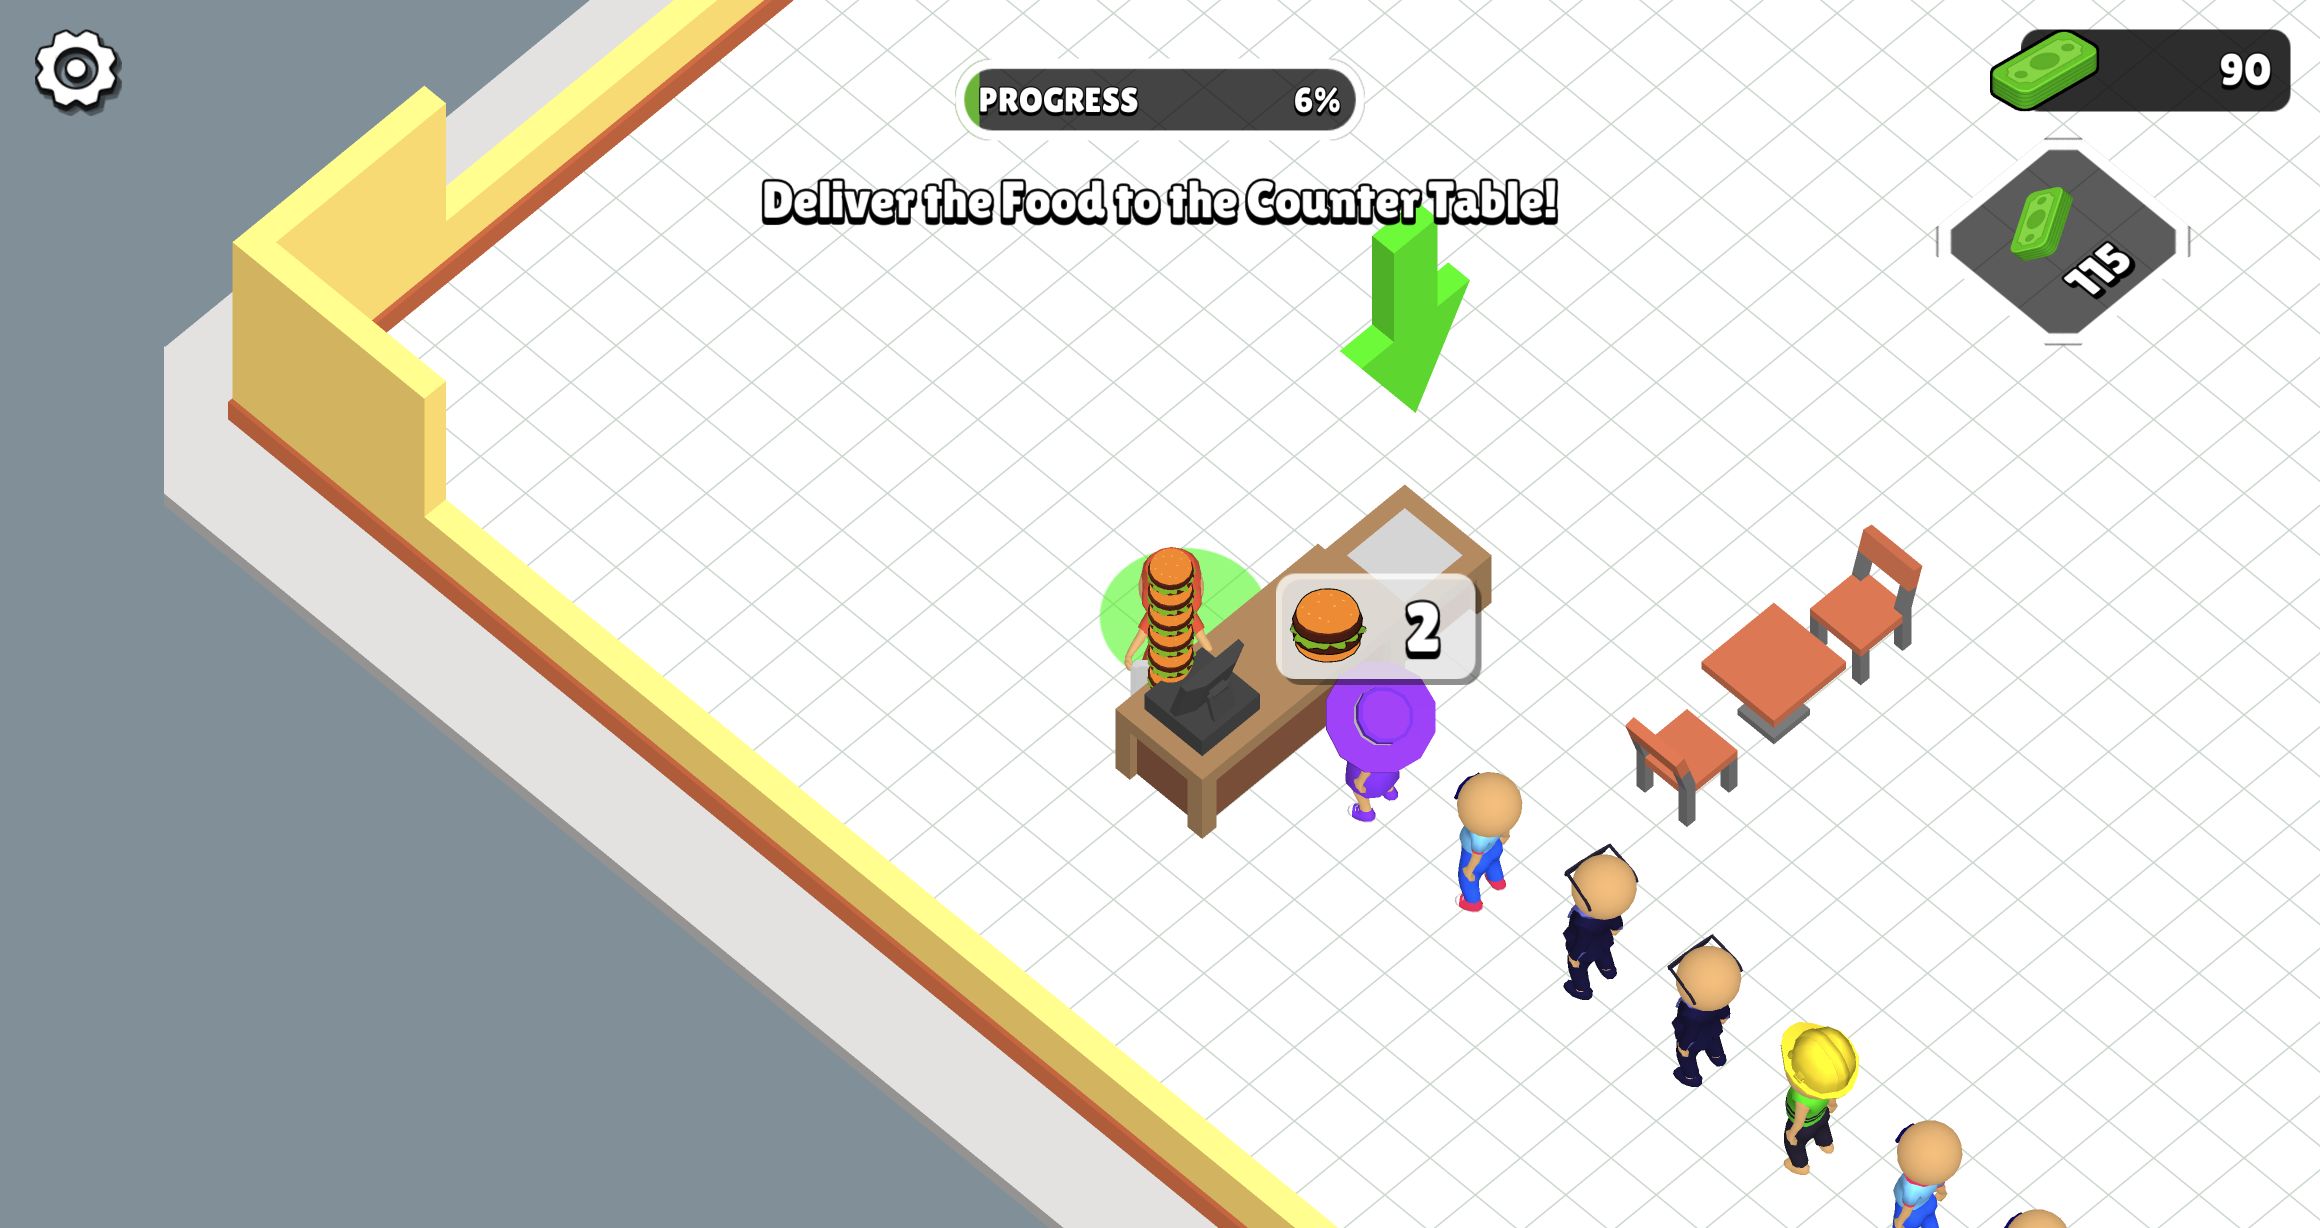
The opening shift in Burger Life is deliberately less instant. My verified result is a 6% restaurant with $120 after the table, counter, and burger machine led to a six-burger delivery, customer service, a NO SEAT warning, and dirty-dish disposal. Desktop verified the build and pickup in a desktop game view; mobile completed service and cleanup. Choose it for a manual, accumulating route where walking and clearing the only table matter as much as buying equipment.
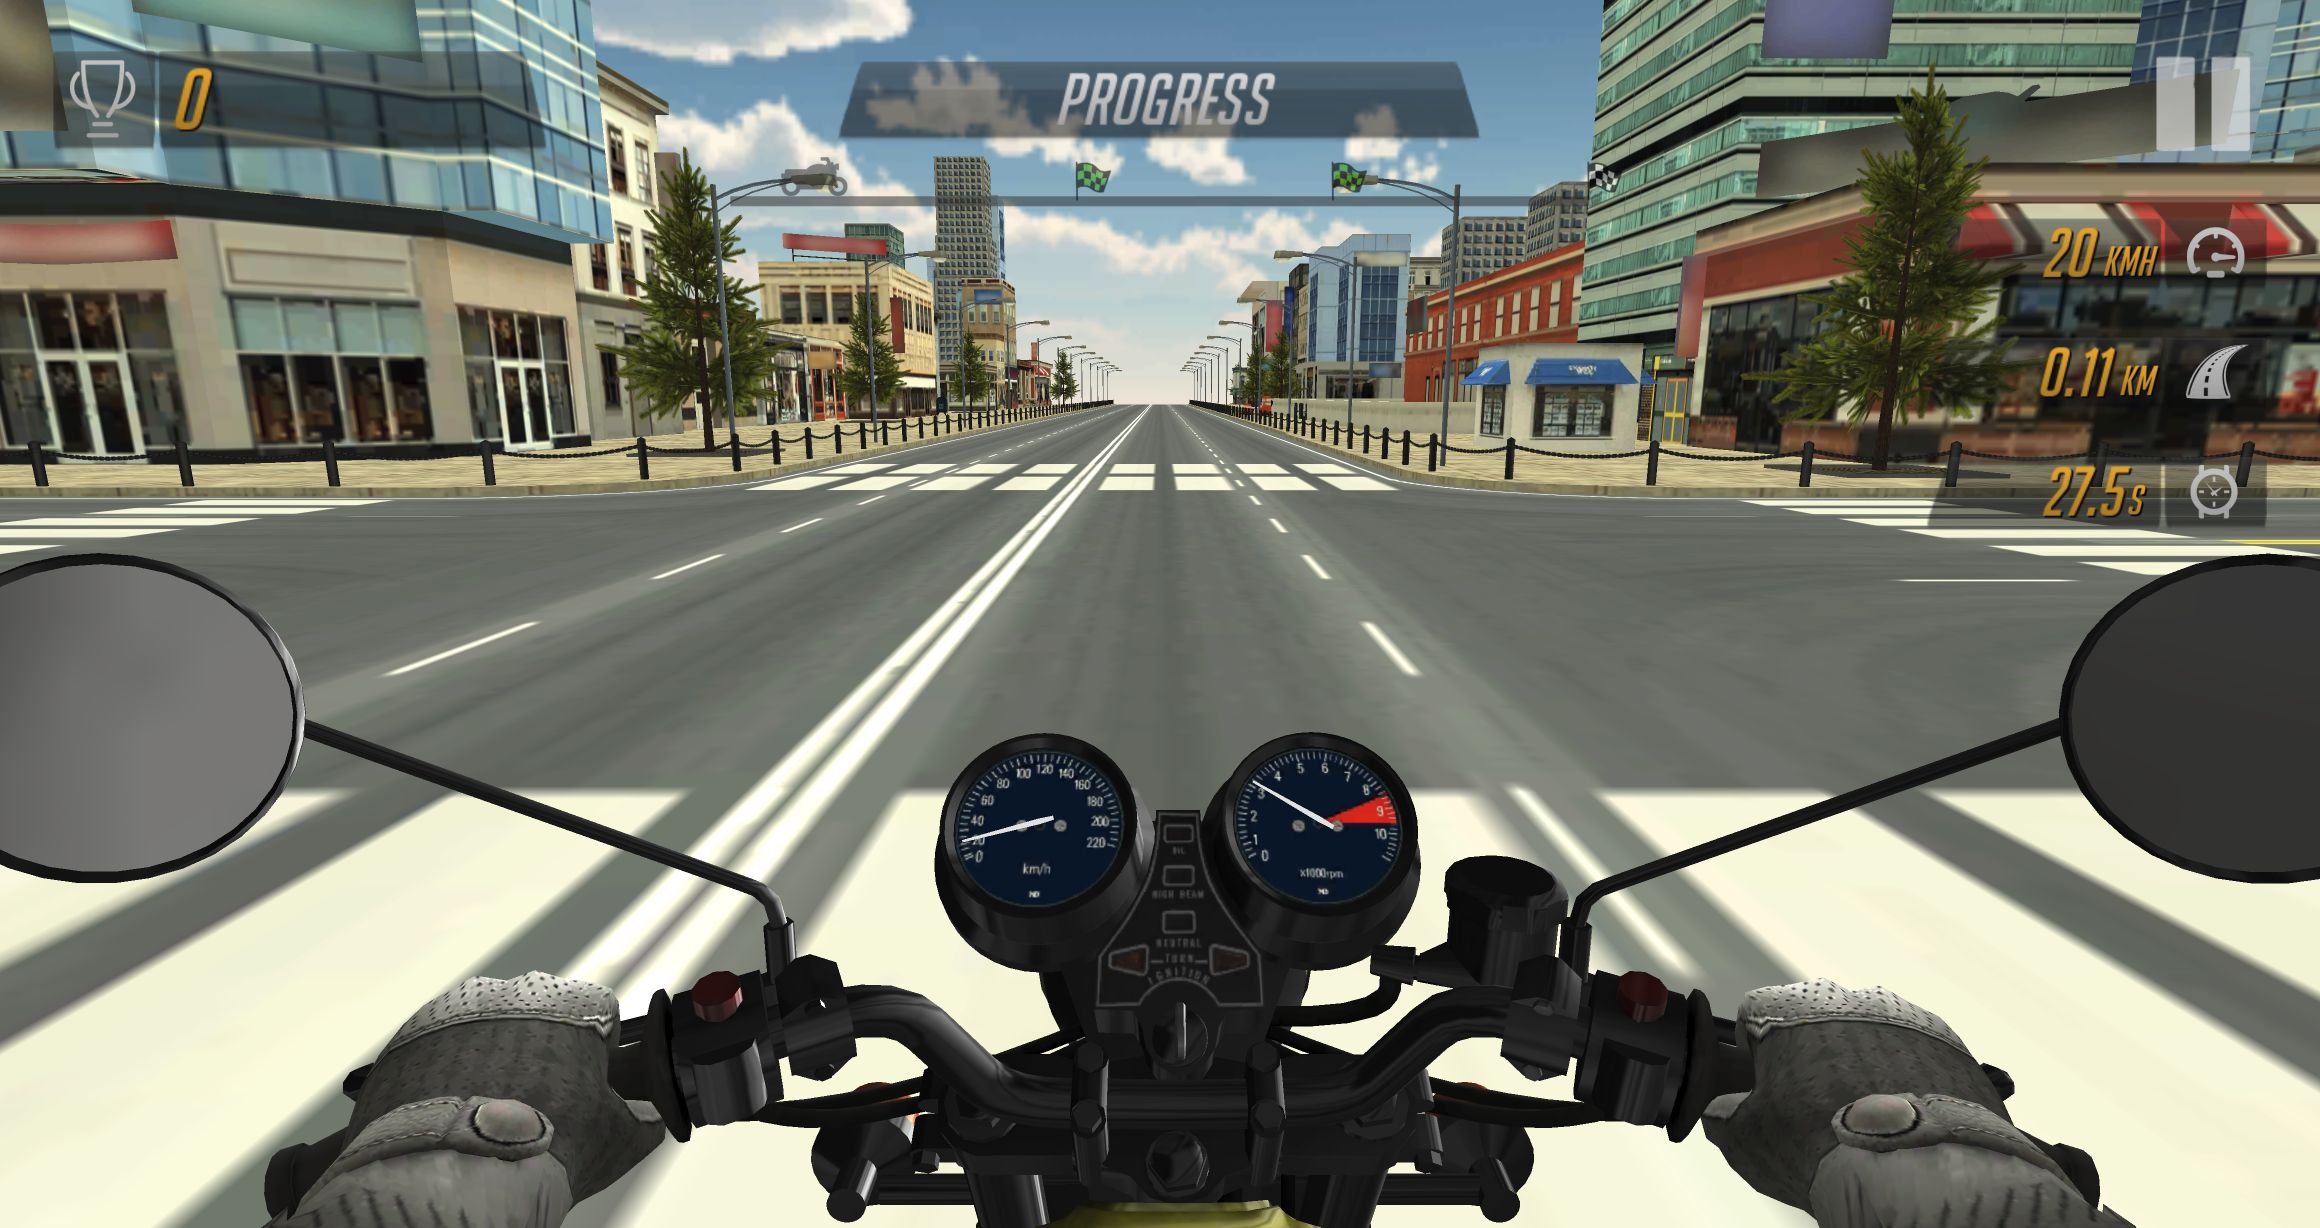
The bounded first-mission test of Motorcycle Racer: Road Mayhem includes the direct desktop summary showing Level 1, Score 0, Time Is Up, total distance 0.33, and a total of 12 $. A September trial of denser short keypresses also timed out at 0.33. This previews failure scoring; it does not establish normal sustained-key acceleration or mission difficulty. The wider layout shows more cockpit context; browser emulation cannot support a physical-phone recommendation.
How We Will Update This Nineteen-Game Arcade Comparison
For immediate board closure, Bubble Shooter and Jewel Magic give the clearest results. Geometry Arrow, Geometry Arrow 2, Basketball Stars, Motorcycle Racer, Snow Rush, and I am Crazy Bird remain qualified retry or blocked recommendations. Deadly Descent now adds one completed downhill course with a separate brake-input caveat. BMG preserves a recoverable driving mistake; Golf Orbit, Chicken Merge, Diamant, both burger games, and Gas Station Simulator preserve useful progress; Stickman Kombat closes a short fight, Basketball Superstars remains strongest as training, and Magic Potion supplies a continuing swipe-led score chase.
We add games after publishing a hands-on review and revisit recommendations when a follow-up changes the result. A completed mobile run could strengthen a desktop-only recommendation; that improvement is never assumed in advance. Each linked review keeps its screenshots, outcomes, and limitations, so you can trace a recommendation to what we actually tested.