The First Three Shapes Raised Both Counters to 13
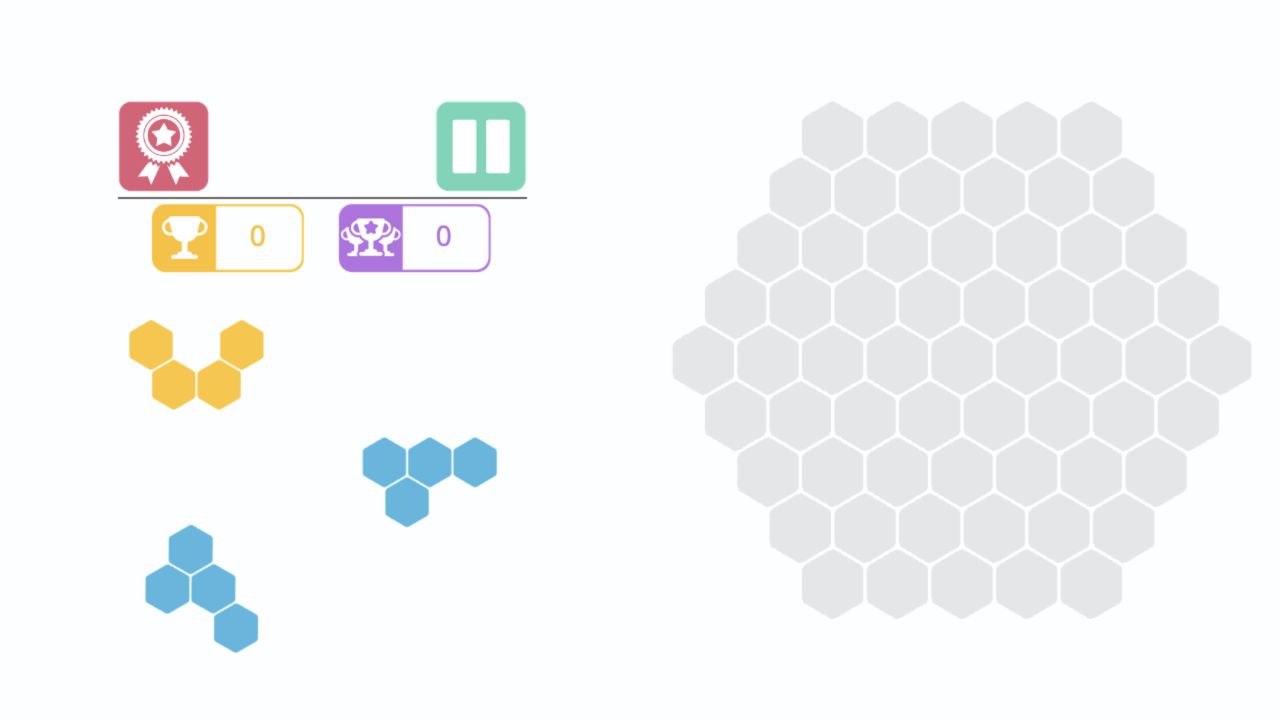
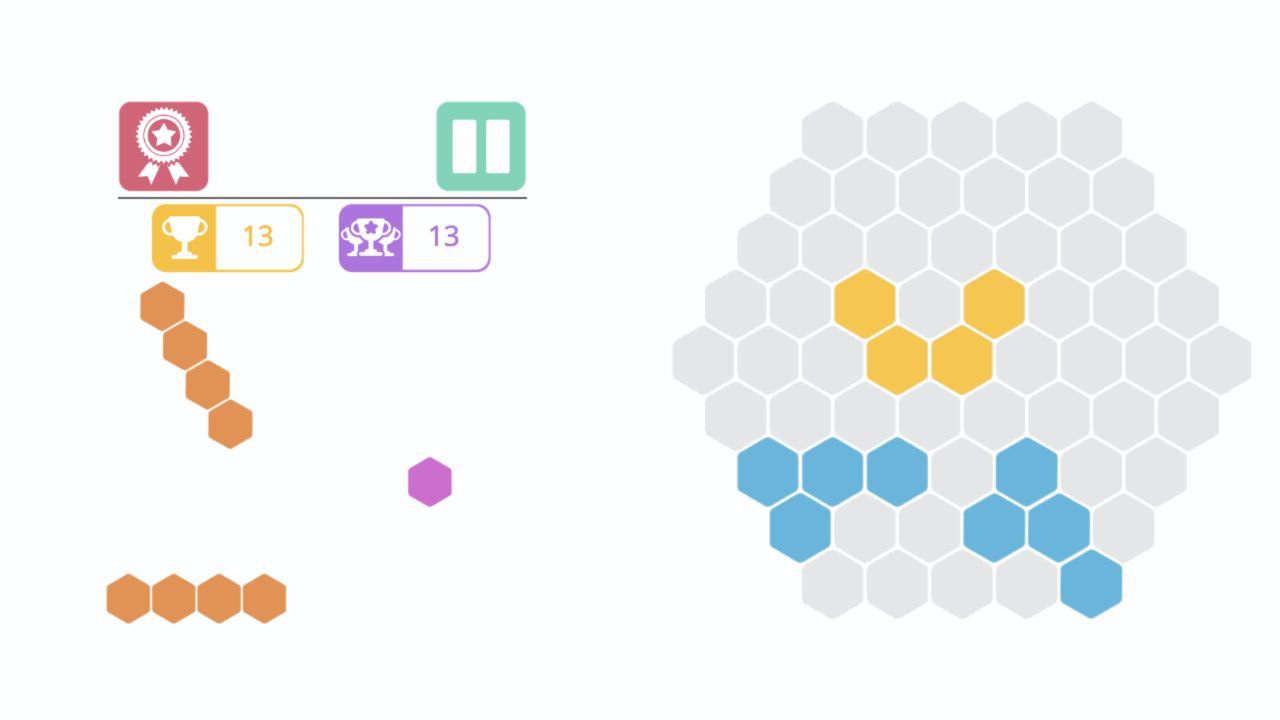
My opening batch contained three four-cell shapes. Placing the yellow piece raised both counters to 3, the first blue piece took them to 8, and the last blue piece finished the batch at 13. A new orange set then appeared automatically. There was no level-complete card because HEX Connect is a continuing score puzzle; completing a batch is the cleanest early loop boundary.
The yellow trophy counter and purple multi-trophy counter advanced together throughout this test. I did not encounter a separate opponent, leaderboard name, or public interaction surface, so the second panel functioned as a matching comparison display in the observed session. The board remained available after 13, inviting continued placement until space eventually becomes the limiting resource.

The Menu Is Almost Completely Visual
HEX Connect begins on a white screen with a large green Play button and a yellow speaker control. There is no written tutorial, mode selector, shop, or story card. That simplicity gets players to the board quickly, but it also means the first drag has to teach the rules through feedback.
The lack of text makes the game easy to approach across languages. It also places more responsibility on color and spacing. Gray cells define the playable hexagon, offered shapes sit outside it, and accepted placements inherit their source color. If a drag returns the piece to the supply area, the target either was not aligned to a cell center or would not fit.

A Four-Hex Yellow Shape Established the Drag Rule
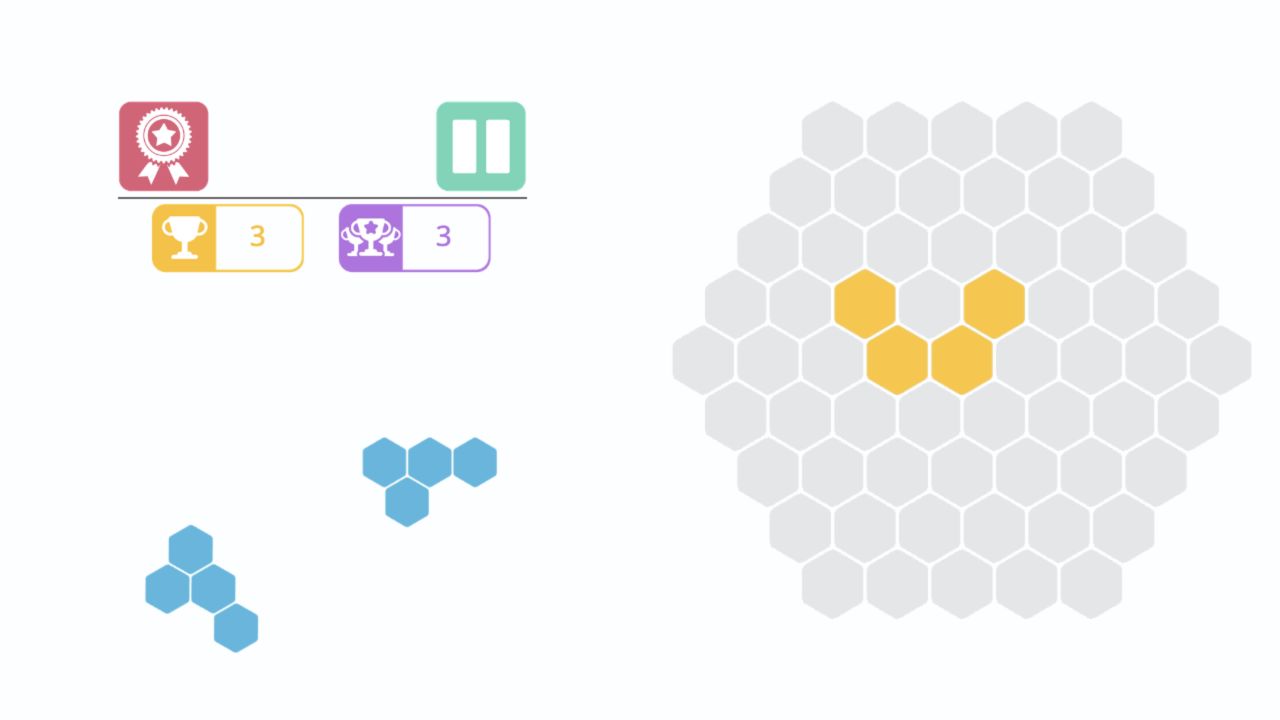
The first yellow piece resembled a shallow W made from four hexagons. Dragging one of its cells onto a central gray cell caused the entire shape to snap into the board and disappear from the supply. The score became 3. Starting near the center made acceptance easy, but it also occupied flexible cells that many later shapes could have used.
For a longer run, edge-first placement is safer. Large connected shapes should follow the board's outer contours, leaving a broad central area for awkward pieces. Drag from the middle of a visible hex rather than the empty space between cells, and release directly over a gray center. Small alignment errors are rejected without penalty, so precision matters more than speed.
The Second Placement Demonstrated Shape Anchoring
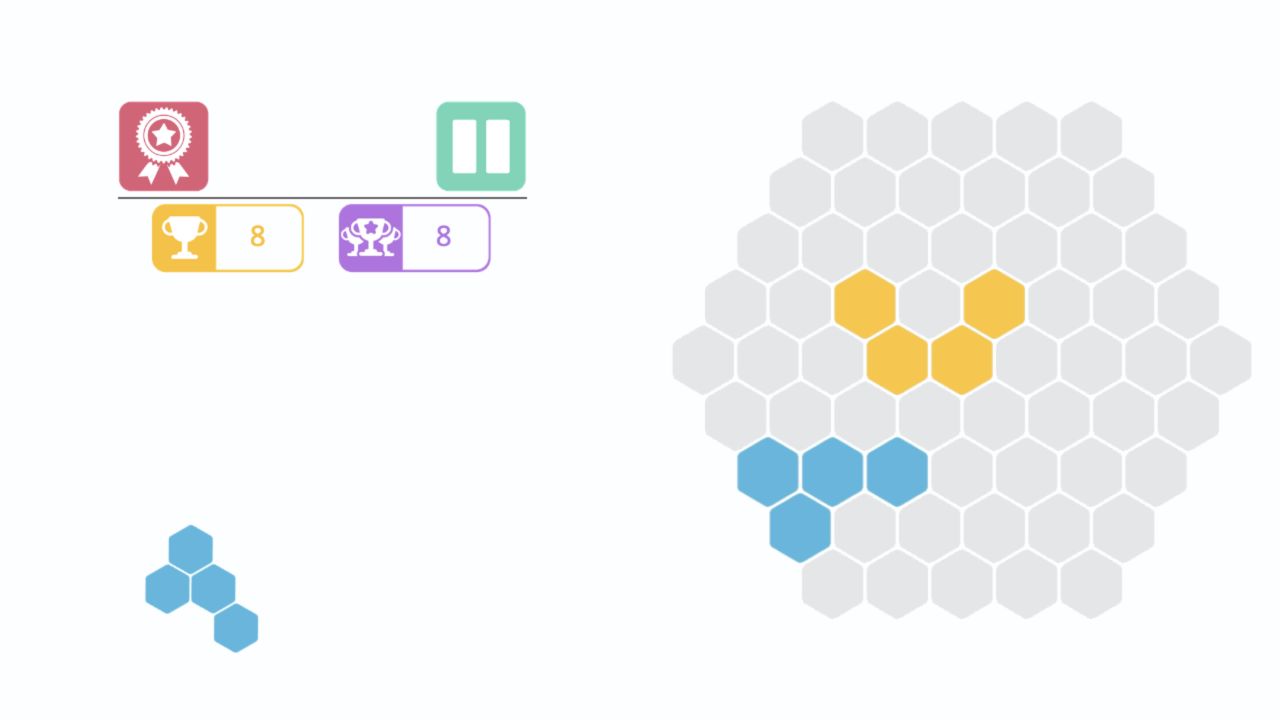
My first attempts to move the blue piece failed because I grabbed an outer cell and released between board centers. Selecting one of the piece's middle hexagons gave a more predictable anchor. It then snapped into the lower-left area and raised the score from 3 to 8.
This is the main usability lesson HEX Connect never states: the cell under the pointer is the anchor, so changing the grabbed cell changes how the rest of the shape hangs around the destination. When space gets tight, choose an anchor whose neighboring cells map cleanly onto the intended pocket. That mental translation is the real puzzle beneath the simple drag gesture.
The First Board Offered Three Different Packing Problems
The opening supply already presented three different packing problems: a shallow yellow W, a blue piece with three cells across and one below, and a bent blue chain. None could be rotated in the tested interface, so the board had to accommodate their fixed silhouettes. Seeing all three before the first move makes planning possible; placing one immediately without considering the other two can create a needless pocket.
Portrait mobile stacks the counters, full board, and three-piece supply vertically, which is easier to survey than desktop's wide layout with pieces scattered beside the grid. Dragging with a finger does cover the chosen cells briefly, but the board is large enough to aim. I prefer mobile for ordinary play and desktop for careful anchor experiments. On both, protect the center, place rigid bars early, and save single cells for repairs rather than spending them immediately.