The first mystery is a five-object ship-deck sweep
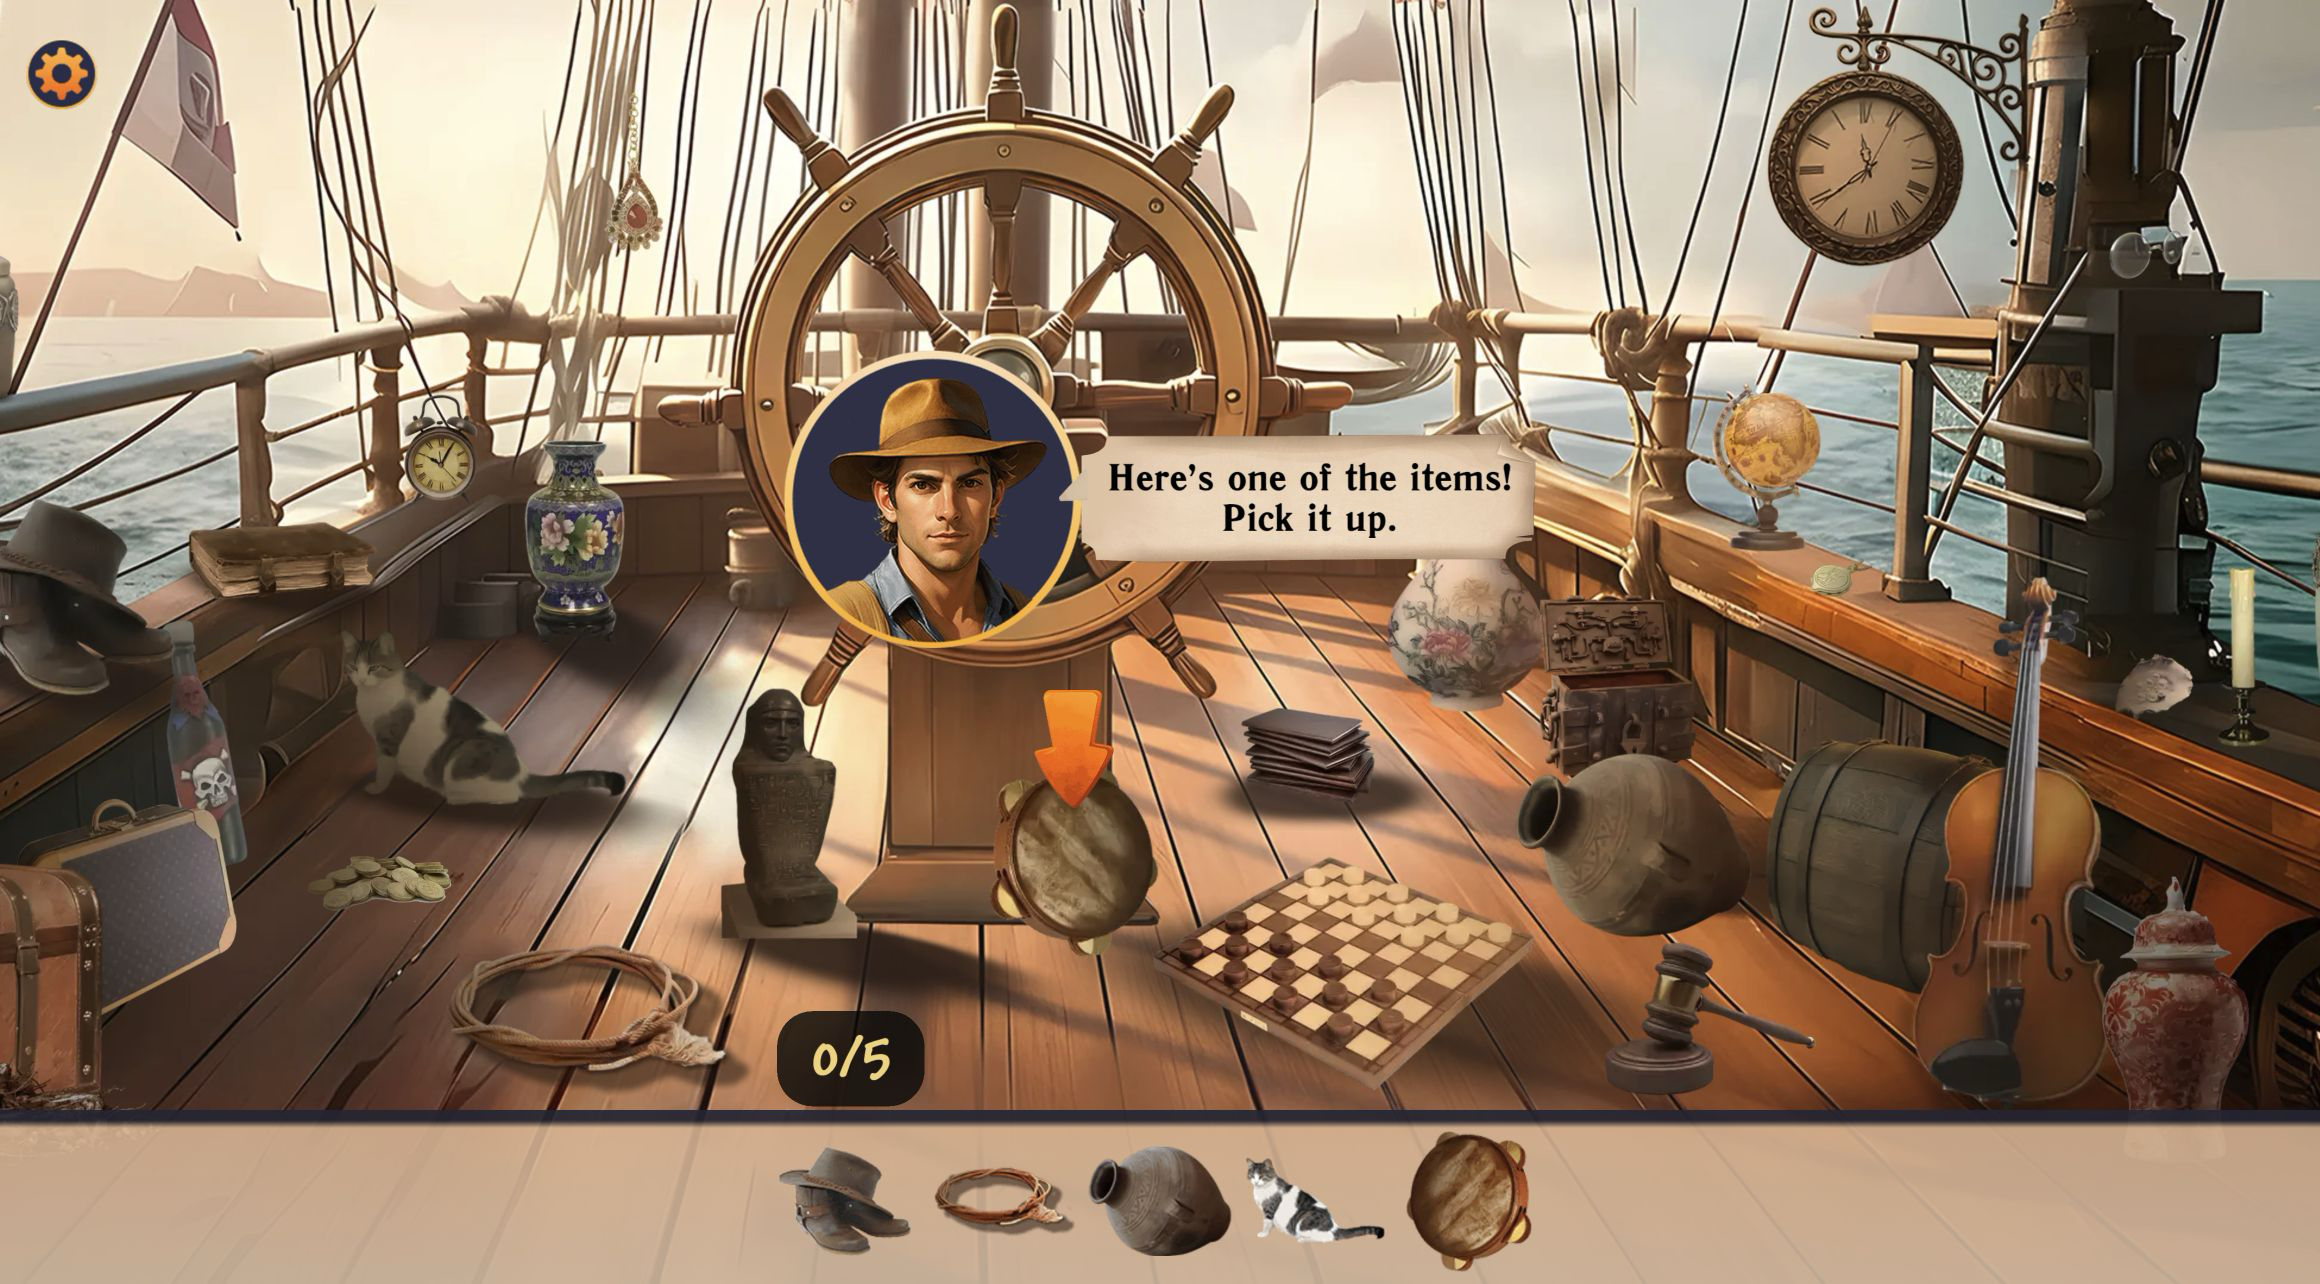
My completed Hidden Objects: Island Secrets session began on a golden title screen framed by ruined stonework, then moved straight to a bright ship deck. The opening task was pleasantly specific: find five objects scattered among the wheel, rigging, luggage, pottery, a chessboard, and other nautical clutter. A guide appeared beside the wheel and pointed to the first target. I did not have to decode a long rules page; the 0/5 counter and the row of object pictures at the bottom explained the job immediately.
The first list showed a boot, rope, pottery jar, cat, and tambourine. Using pictures instead of written nouns makes the search quick to understand, although it also asks you to compare silhouettes and colors closely. The tambourine was singled out by the tutorial, which provides an easy first success before the game leaves you to read the fuller scene. That gentle start fits the stage: it teaches the basic click-to-collect rhythm without pretending that the entire deck will remain equally obvious.
Wheel zoom changes what counts as background clutter
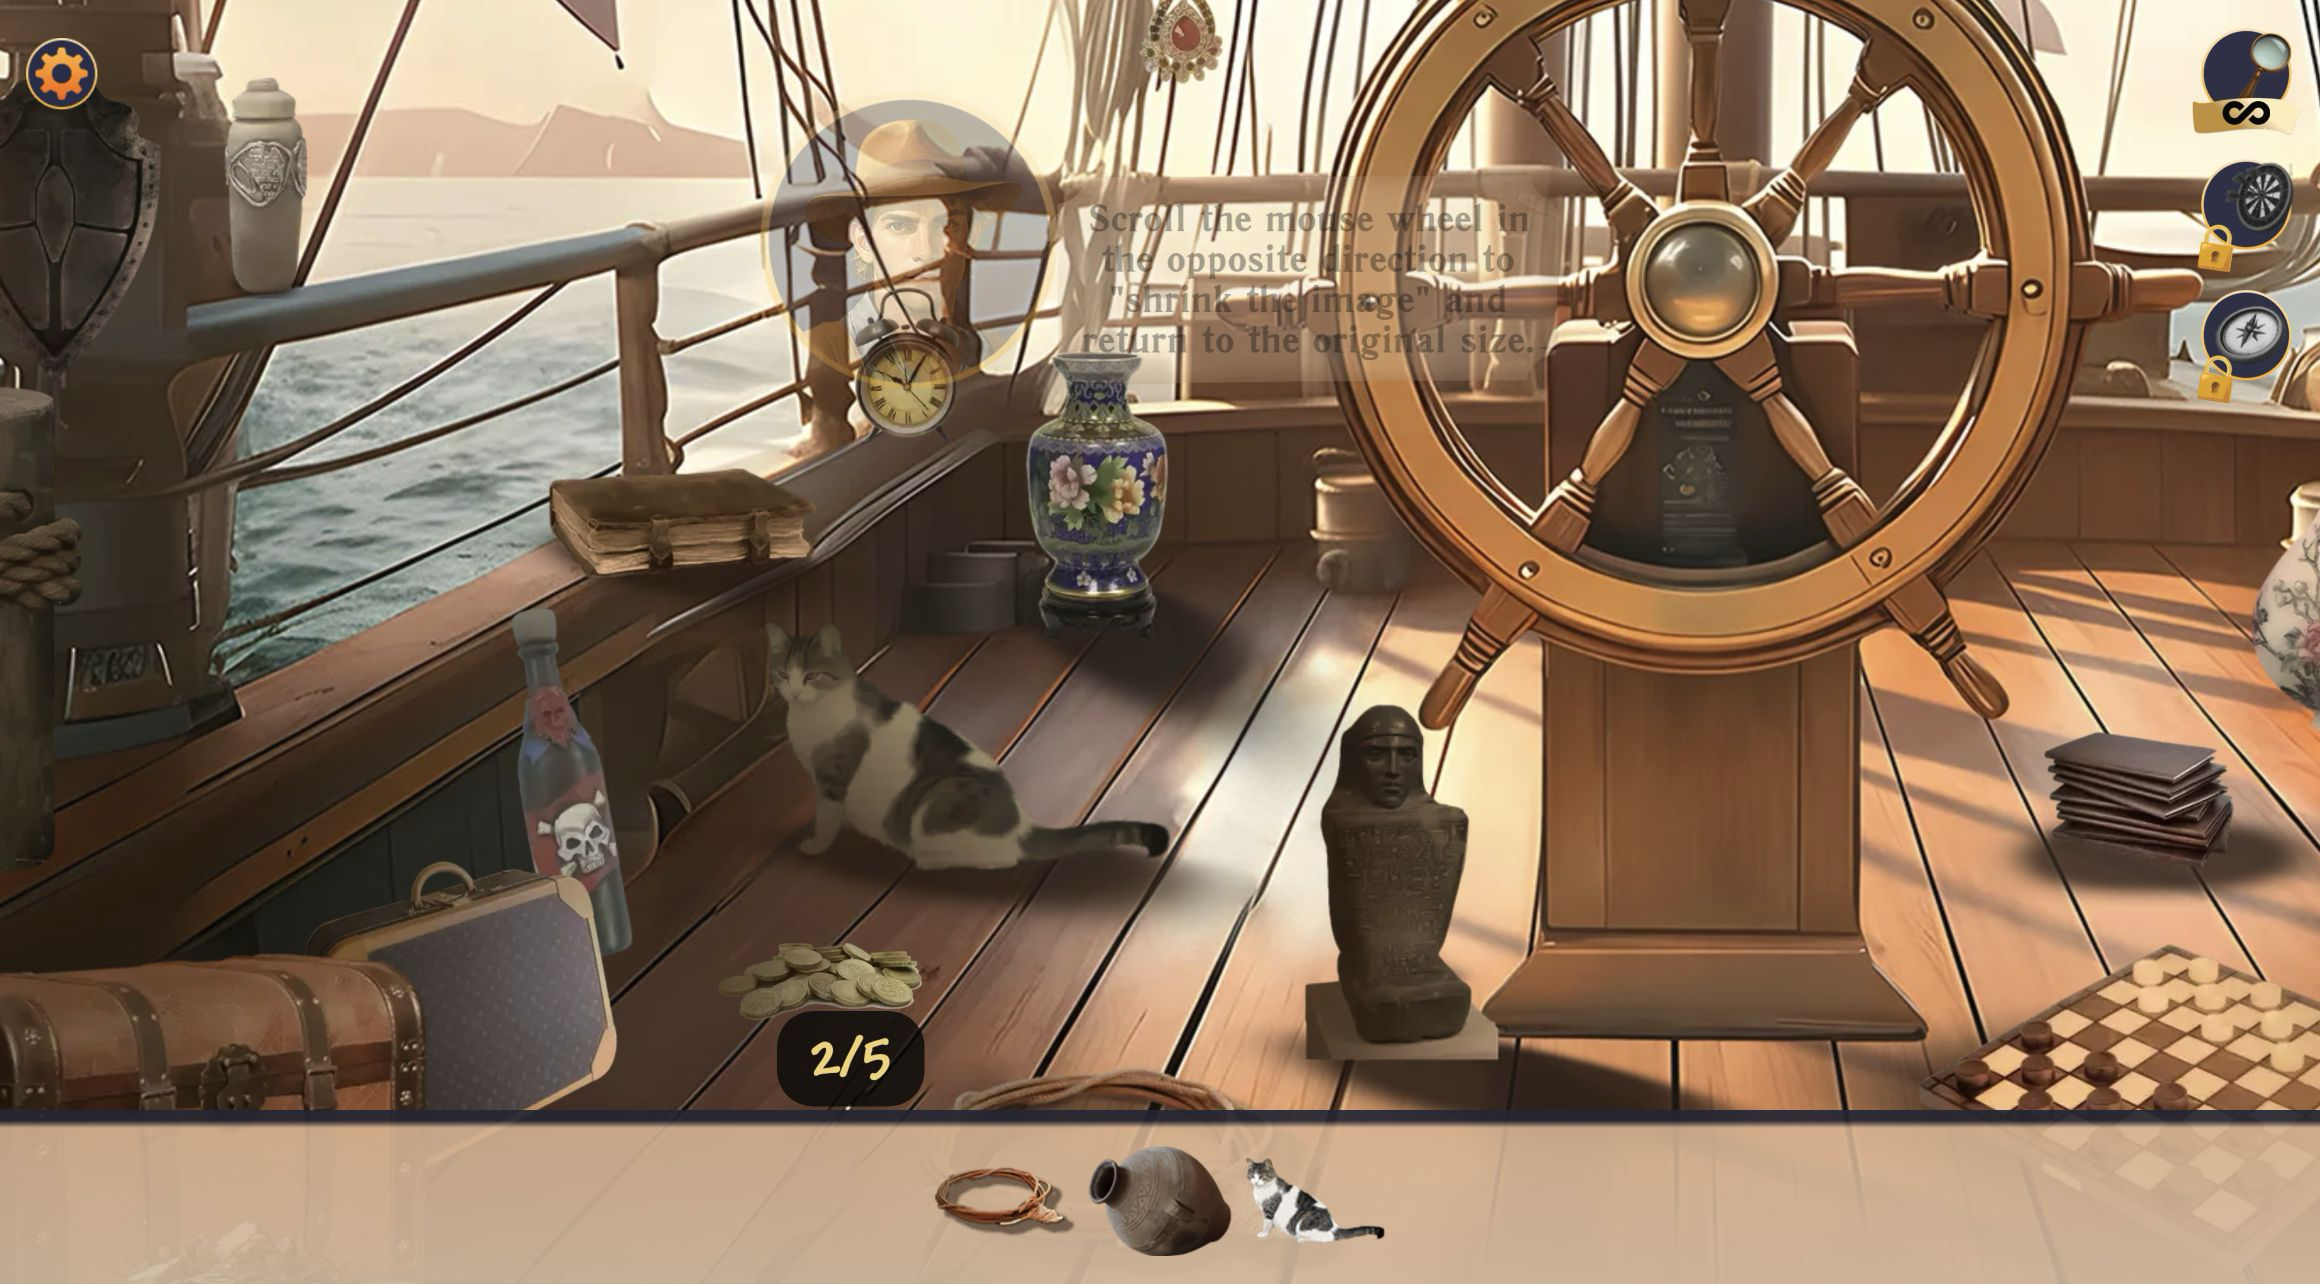
After two finds, the guide introduced mouse-wheel zoom. The close view enlarged the left side of the deck: the vase, cat, skull-marked bottle, suitcase, coins, and books became easier to separate, while part of the wider scene dropped out of view. The on-screen instruction also explained how to roll the wheel in the opposite direction to return to the original size. It is a simple tool, but it matters because many props share the same warm brown palette as the planks, railings, and wheel.
Zoom was most helpful as a confirmation step rather than a way to stay magnified throughout the search. I could inspect one dense cluster, then pull back and re-establish where the remaining targets might be. The tradeoff is visibility: enlarging details reduces context, so a player can spend time studying the wrong half of the deck. My best rhythm was wide scan, short zoom, selection, then wide scan again. The scene remains calm, with no visible timer pressuring that process.
The disappearing picture list is the clearest progress report
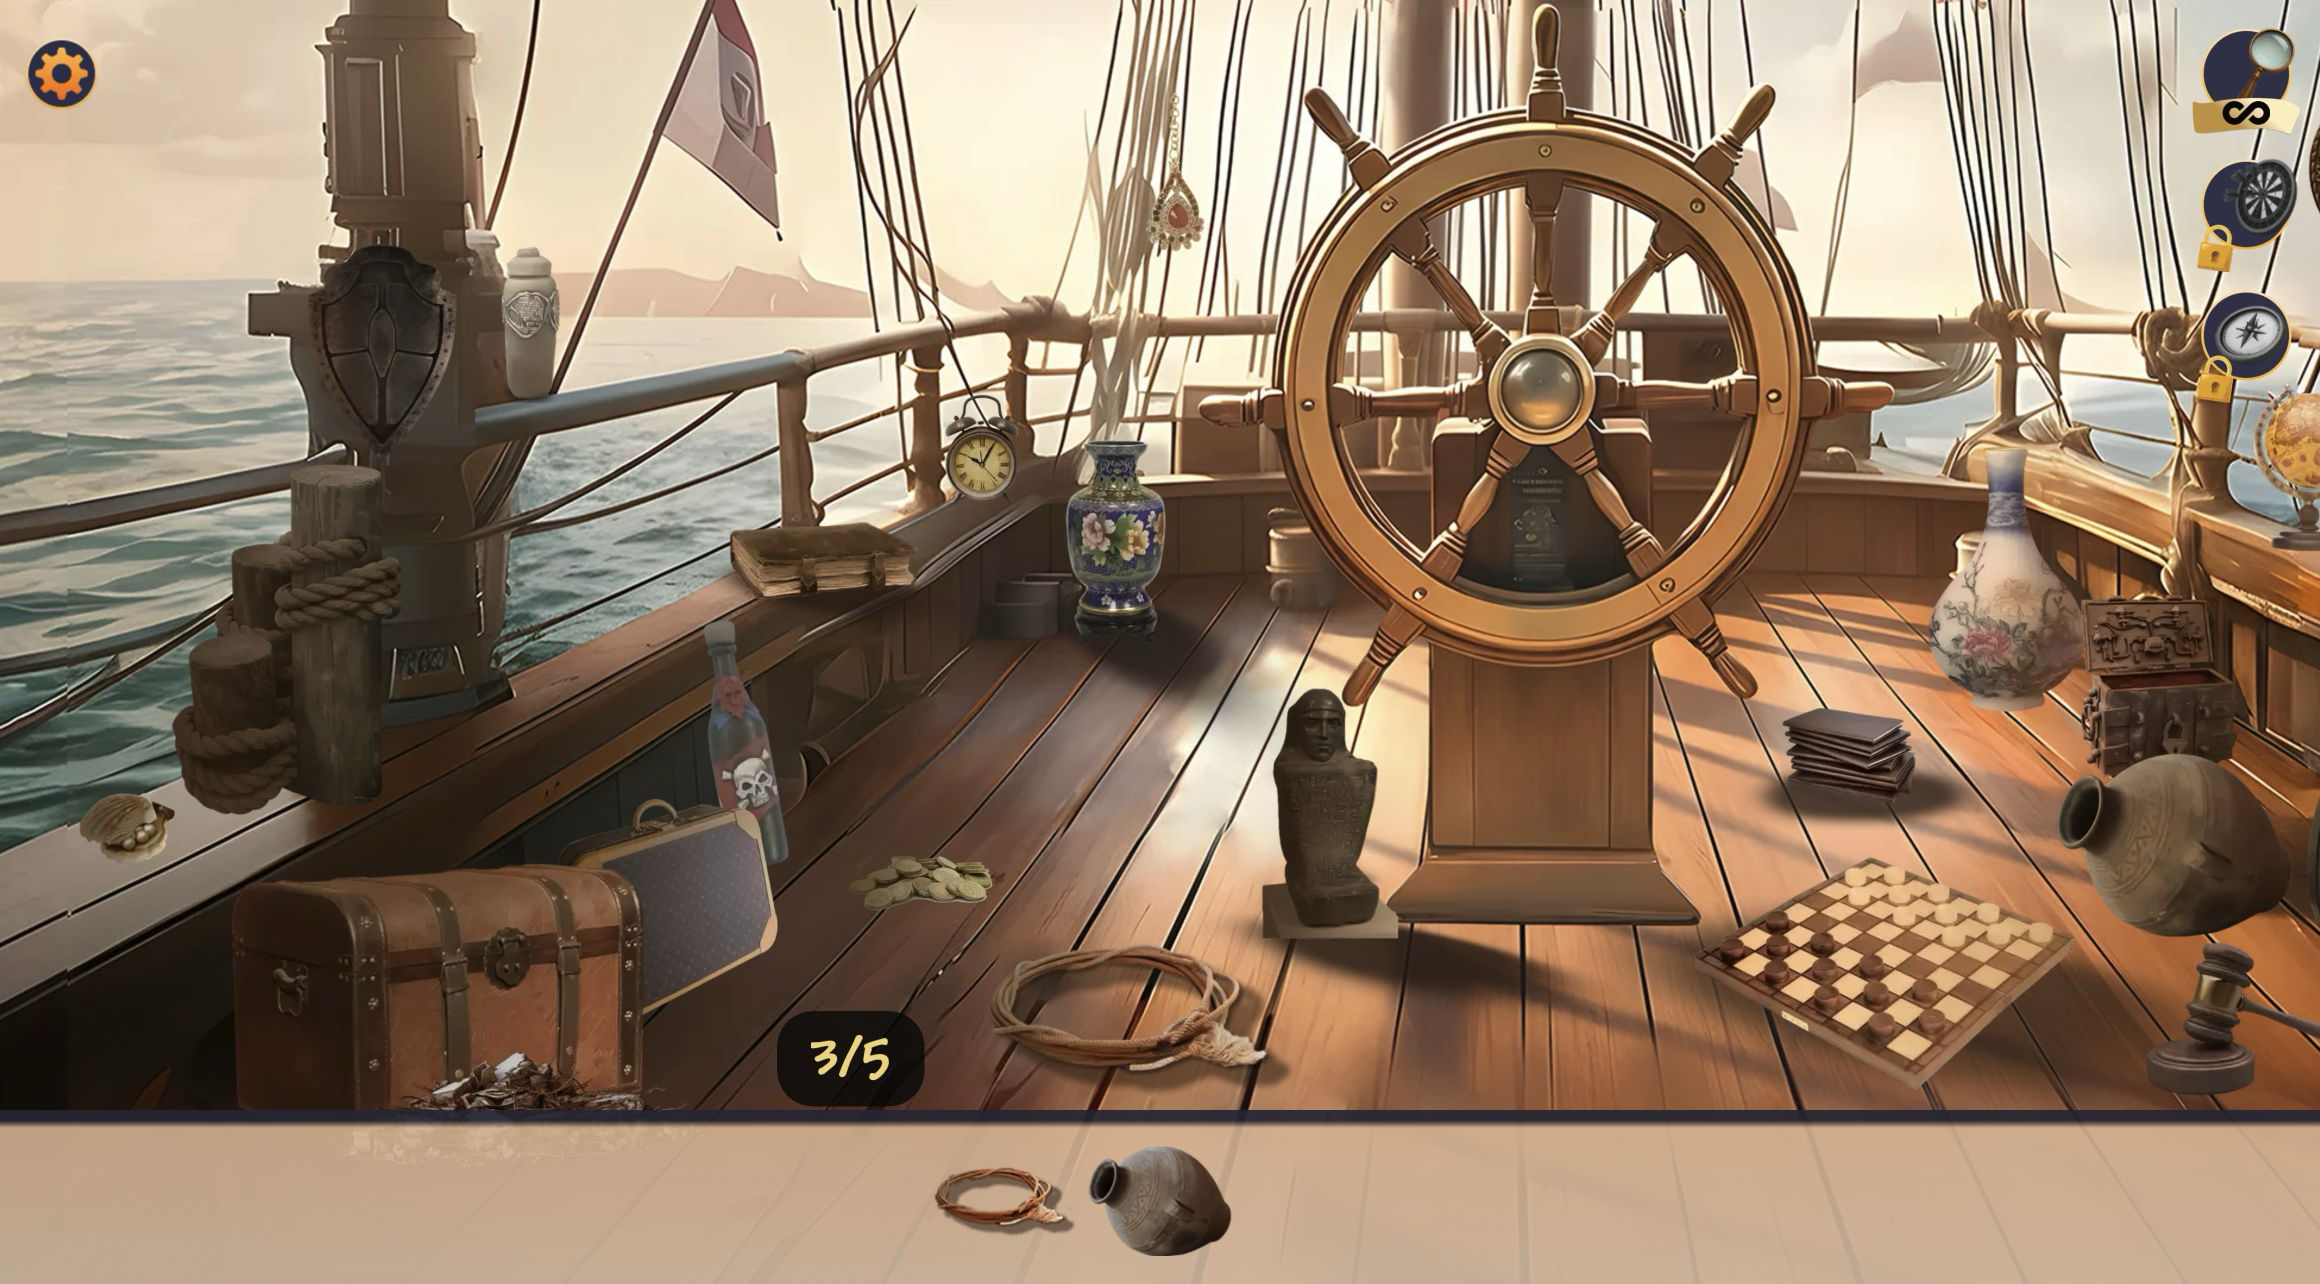
Every correct find immediately simplified the bottom tray. By 3/5, only the rope and pottery jar pictures remained. That is more useful than a score animation because it turns the last part of the stage into a focused comparison: one coiled shape and one rounded clay vessel. At 4/5, the jar stood alone in the tray, while the counter confirmed that exactly one selection was still needed. There was never any uncertainty about whether a click had registered.
The artwork creates fair camouflage through resemblance rather than darkness. Rope appears naturally among rigging; containers sit among vases, barrels, and deck fittings; the cat blends into a strip of warm shadow. Yet each target is still visibly drawn rather than buried behind an opaque object. The first stage therefore rewards methodical attention more than random clicking. I found it useful to compare the target outline first, then sweep from left to right instead of repeatedly returning to the large central wheel.
Horizontal movement is part of the puzzle, especially at 390x844
I repeated the opening search through the local Playflaming page at a 390x844 pointer viewport. Pressing Play opened the fullscreen modal, identifiable by its back control at the upper left and the Playflaming title footer below the game. The same ship deck became a much narrower window. Moving horizontally exposed the right-hand objects—the floral vase, small chest, large jar, barrel, chessboard, and gavel—that could not all fit beside the wheel in one portrait view.
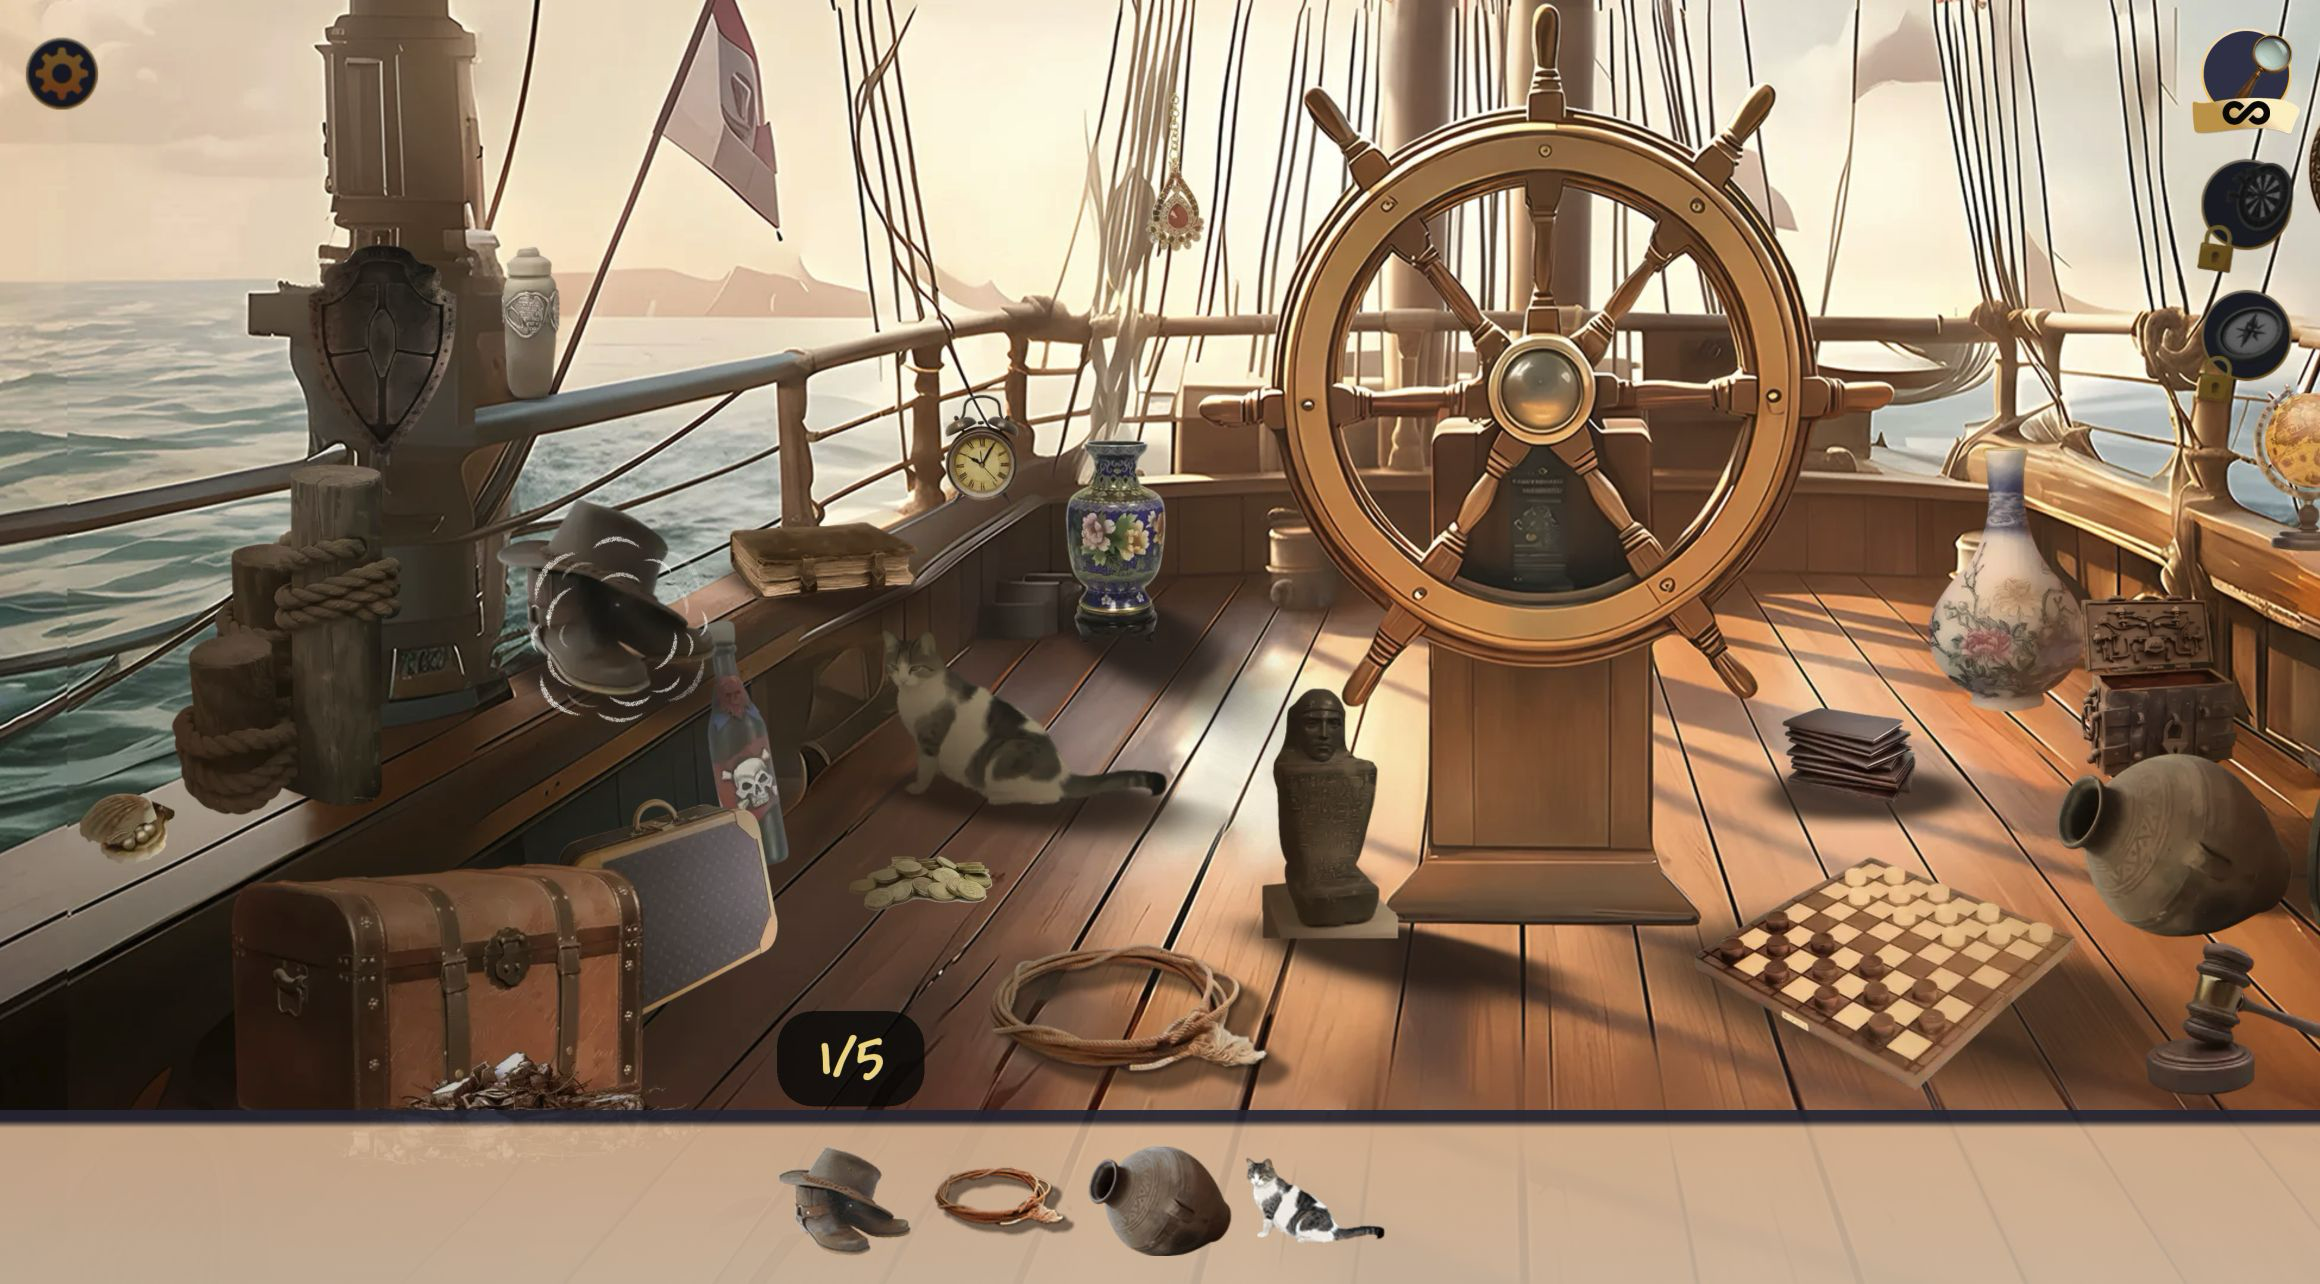
That narrower composition makes navigation a larger part of the hunt. It is easy to inspect the visible slice carefully and forget that another section exists beyond the edge. The remaining-object tray and 4/5 counter help prevent that mistake. One testing limit matters: the browser session did not establish touch capability, so I used pointer actions in the portrait modal. This verifies the modal route, layout, horizontal movement, and full five-item loop, but not touch feel or performance on a physical phone.

Hints are available, but the opening scene can be solved by structure
A magnifying-glass control with an infinity symbol is visible at the upper right of the opening search, so help is close when a silhouette refuses to resolve. Two circular controls below it remain marked with padlocks during this first stage. I observed the hint feature in the tested loop, but the deck itself gave enough visual structure to finish without turning the review into a list of exact target coordinates. That is better for the puzzle: the useful lesson is how to scan, not where to click.
For a first attempt, I would divide the deck into three zones. Check the left rail and luggage, inspect the wheel and floor around the center, then move toward the pottery and barrel on the right. Compare the bottom picture after each find, because the shrinking list changes what details matter. If the final object still disappears into the scenery, zoom one cluster at a time or use the visible hint rather than spraying clicks across the whole image.
Five finds produced a clear stage-complete result on both layouts
Selecting the last jar ended the opening stage cleanly. The guide returned in front of the darkened deck and said, “Looks like we’ve found everything here. Time to move on.” I reached that result twice: once across the wide desktop view and again inside the 390x844 Playflaming modal. The completed representative loop was therefore the same in both environments—five picture targets found, a 5/5 result, and an explicit transition message.
Based on that opening stage, Hidden Objects: Island Secrets is a good fit for players who prefer untimed-looking observation, detailed painted scenes, and a little camera management over reflex challenges. Its strongest choice is the responsive target tray: every find removes noise from the task. The main friction is also honest hidden-object friction—the panorama and dense prop placement can keep the last silhouette out of attention. I am not naming a best device because the portrait run used a pointer viewport, not verified touch hardware; what I can say is that both tested layouts supported a complete first search.
