Level 1 Gives You Twelve Shots and One Important Choice
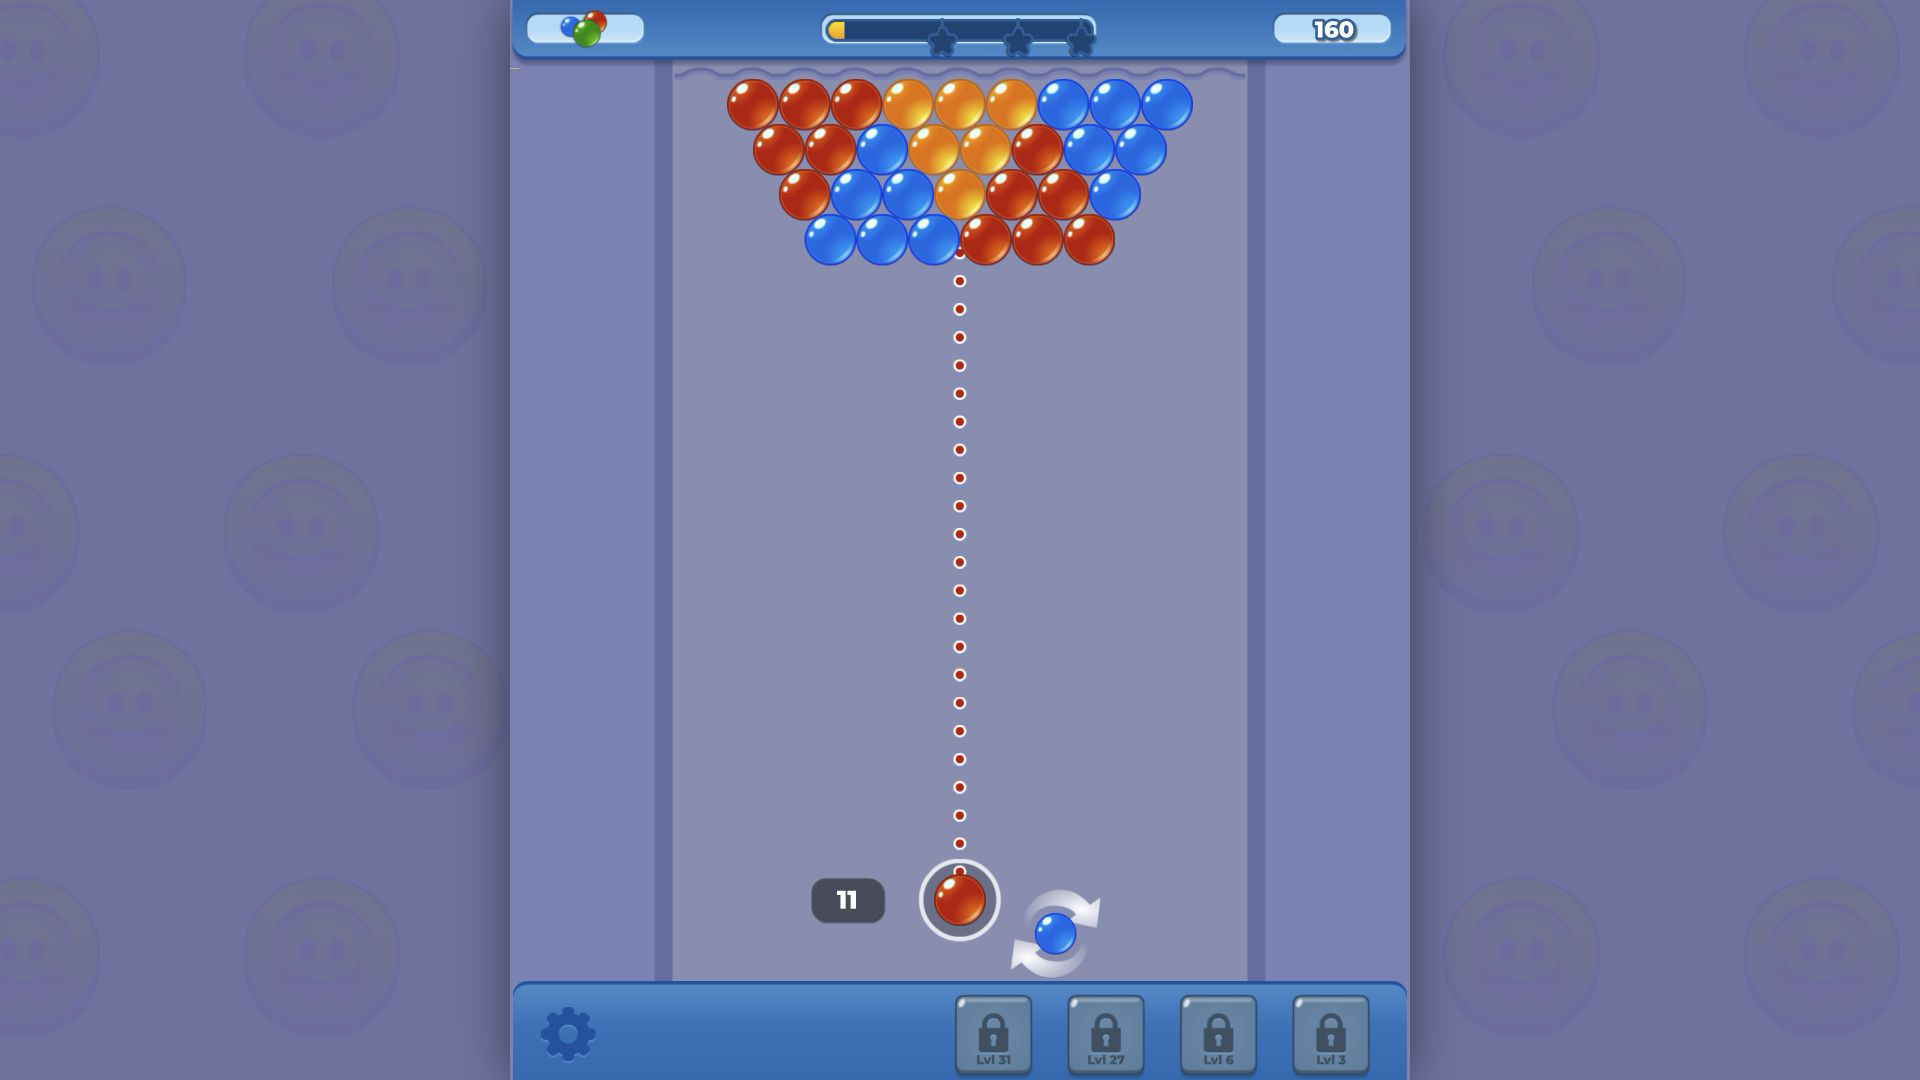
Bubble Blast opens with a familiar bubble-shooter rule: fire a colored bubble into a group of the same color, connect enough of them, and the group disappears. Level 1 begins with twelve shots, three colors, a dotted trajectory, and a small next-bubble preview beside the launcher. The board looks generous, but the limited counter means every harmless attachment is spending part of the solution. My successful desktop run began by treating the lower orange cluster as structural support rather than as free points.
The useful opening question is not simply, ‘Where can this bubble match?’ It is, ‘Which clear exposes the largest useful edge for the next color?’ The dotted line is accurate enough for direct shots and bank attempts, but it does not explain how much of the board will drop when a supporting group disappears. That uncertainty gives an otherwise simple first level a satisfying layer of planning. The local game opened without a login, and I saw no purchase prompt during the completed desktop loop.

The First Clears Build Score, but the Combo Is the Real Prize
My desktop score moved from 160 after the opening clear to 300 after the red group disappeared. Those numbers were useful confirmation, but the more important feedback was the combo indicator. Consecutive productive shots increased the multiplier instead of resetting the board into a slow attach-and-correct rhythm. Once a run reaches Combo ×2, the safest play is usually to continue clearing a visible group rather than force a clever bank shot into a narrow gap.
The next-bubble preview deserves as much attention as the bubble in the launcher. If the preview shows blue while the current red shot can expose a blue edge, that red shot is doing two jobs. By contrast, attaching a bubble to an isolated pair may create a future match but can also block the exact angle needed for the following color. Bubble Blast rewards short plans—usually the current shot plus the next one—more reliably than elaborate five-shot predictions.

A Blue Clear Turned the Board into Two Smaller Problems
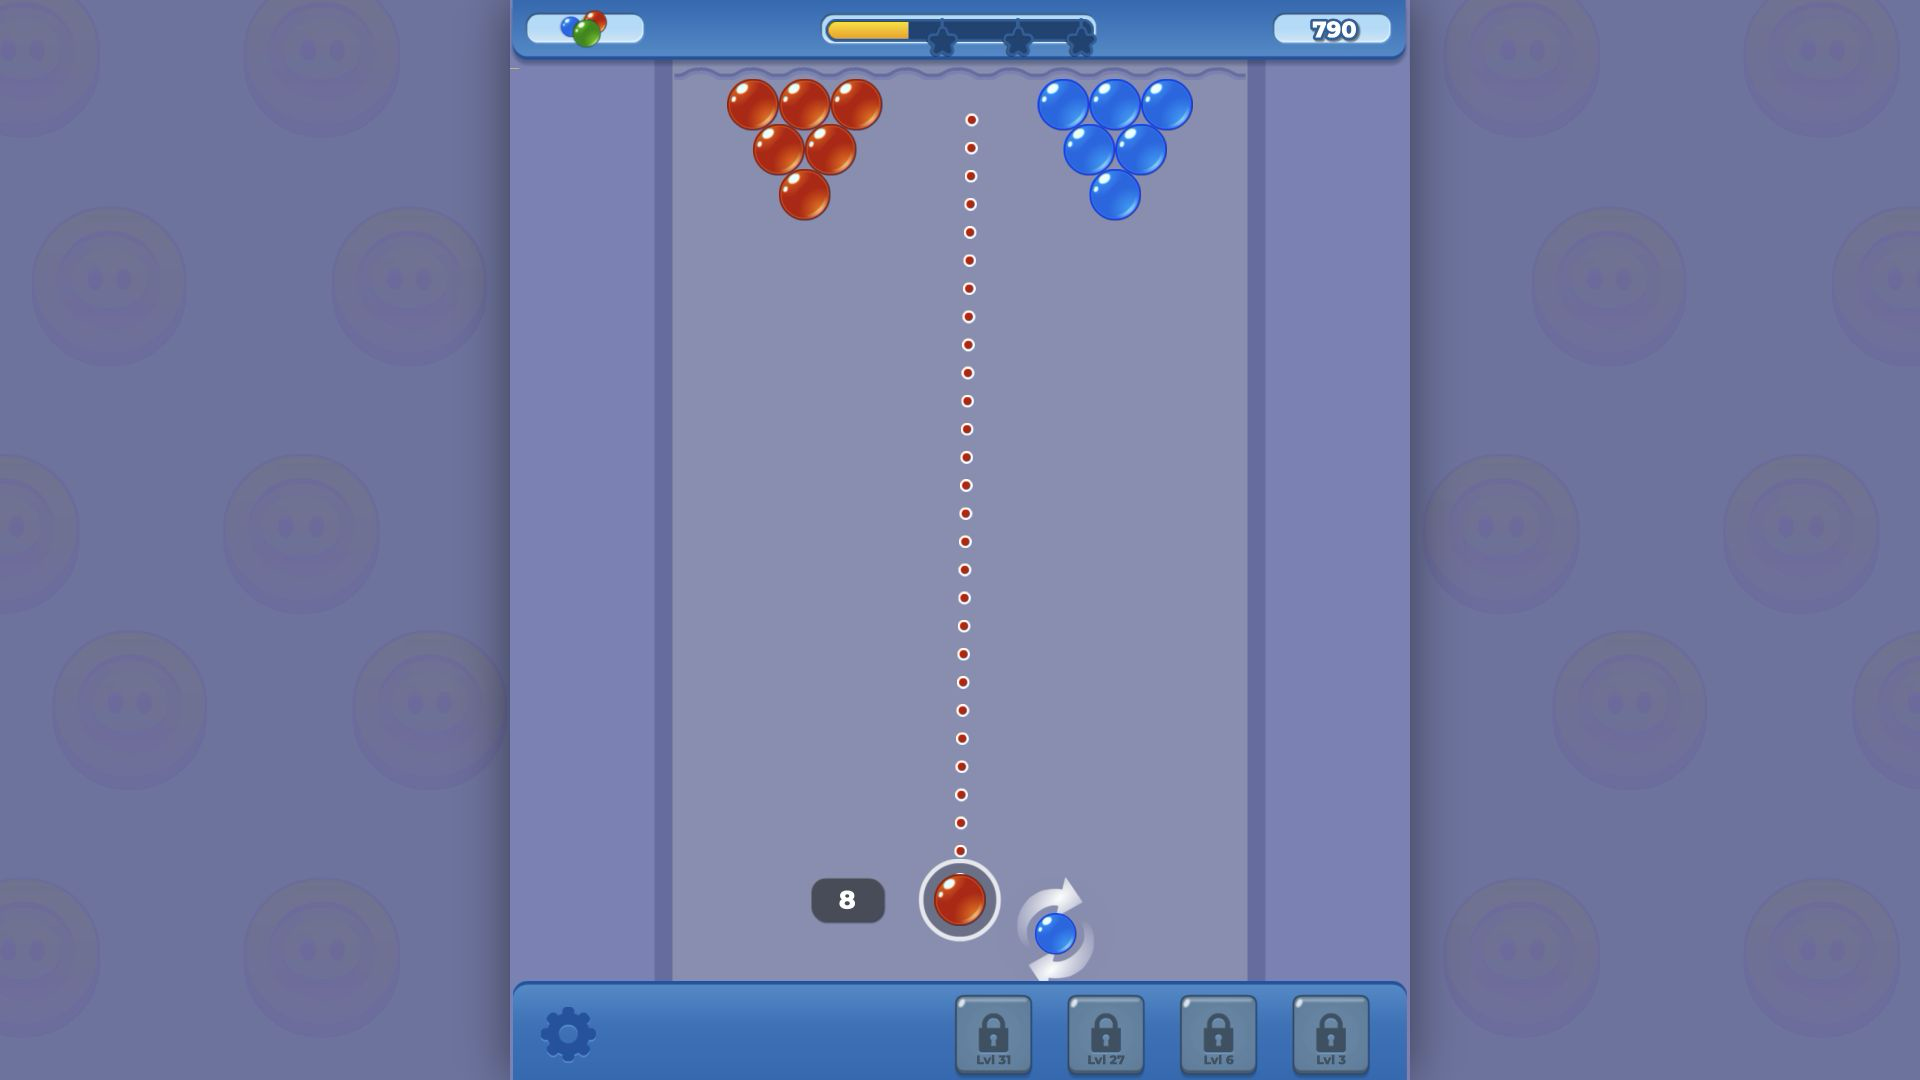
The turning point in the desktop clear was the blue group. That shot raised the displayed combo to ×3 and reduced the broad triangle into smaller color problems. A split board is easier to read because each remaining group has fewer possible attachment points. It also makes misses more expensive: a single off-color bubble can become the bridge that prevents a hanging cluster from dropping.
This is where deliberate pace helps. There was no timer pressuring the shot, so I could wait for score animations to finish and read the new geometry before aiming again. The best beginner habit is to release only after the dotted line reaches a stable endpoint. On touch, I found it easier to place a rough angle than to make a tiny correction; on desktop, the mouse gave me more confidence when aiming between neighboring colors.

Combo ×4 and ×5 Came from Clearing Supports, Not Chasing Loose Bubbles
After the central clears, the score rose through 790 at Combo ×4 and 1,140 at Combo ×5. The efficient shots were not always aimed at the lowest bubble. They targeted groups connected to larger sections, so one match removed both the matched bubbles and anything left unsupported below. That is the core tactical pleasure of the level: the most valuable target is often a hinge rather than the most obvious cluster.
A useful way to scan is from the ceiling downward. Find where each color touches the top rows, then identify the narrowest support. If a red group is carrying blue bubbles underneath it, clearing red may solve both colors. If the next bubble cannot attack a support, use the least obstructive edge rather than firing into the center. Preserving open lanes matters more than squeezing ten points from a bad angle.
The Successful Run Finished at 4,560 with Three Stars
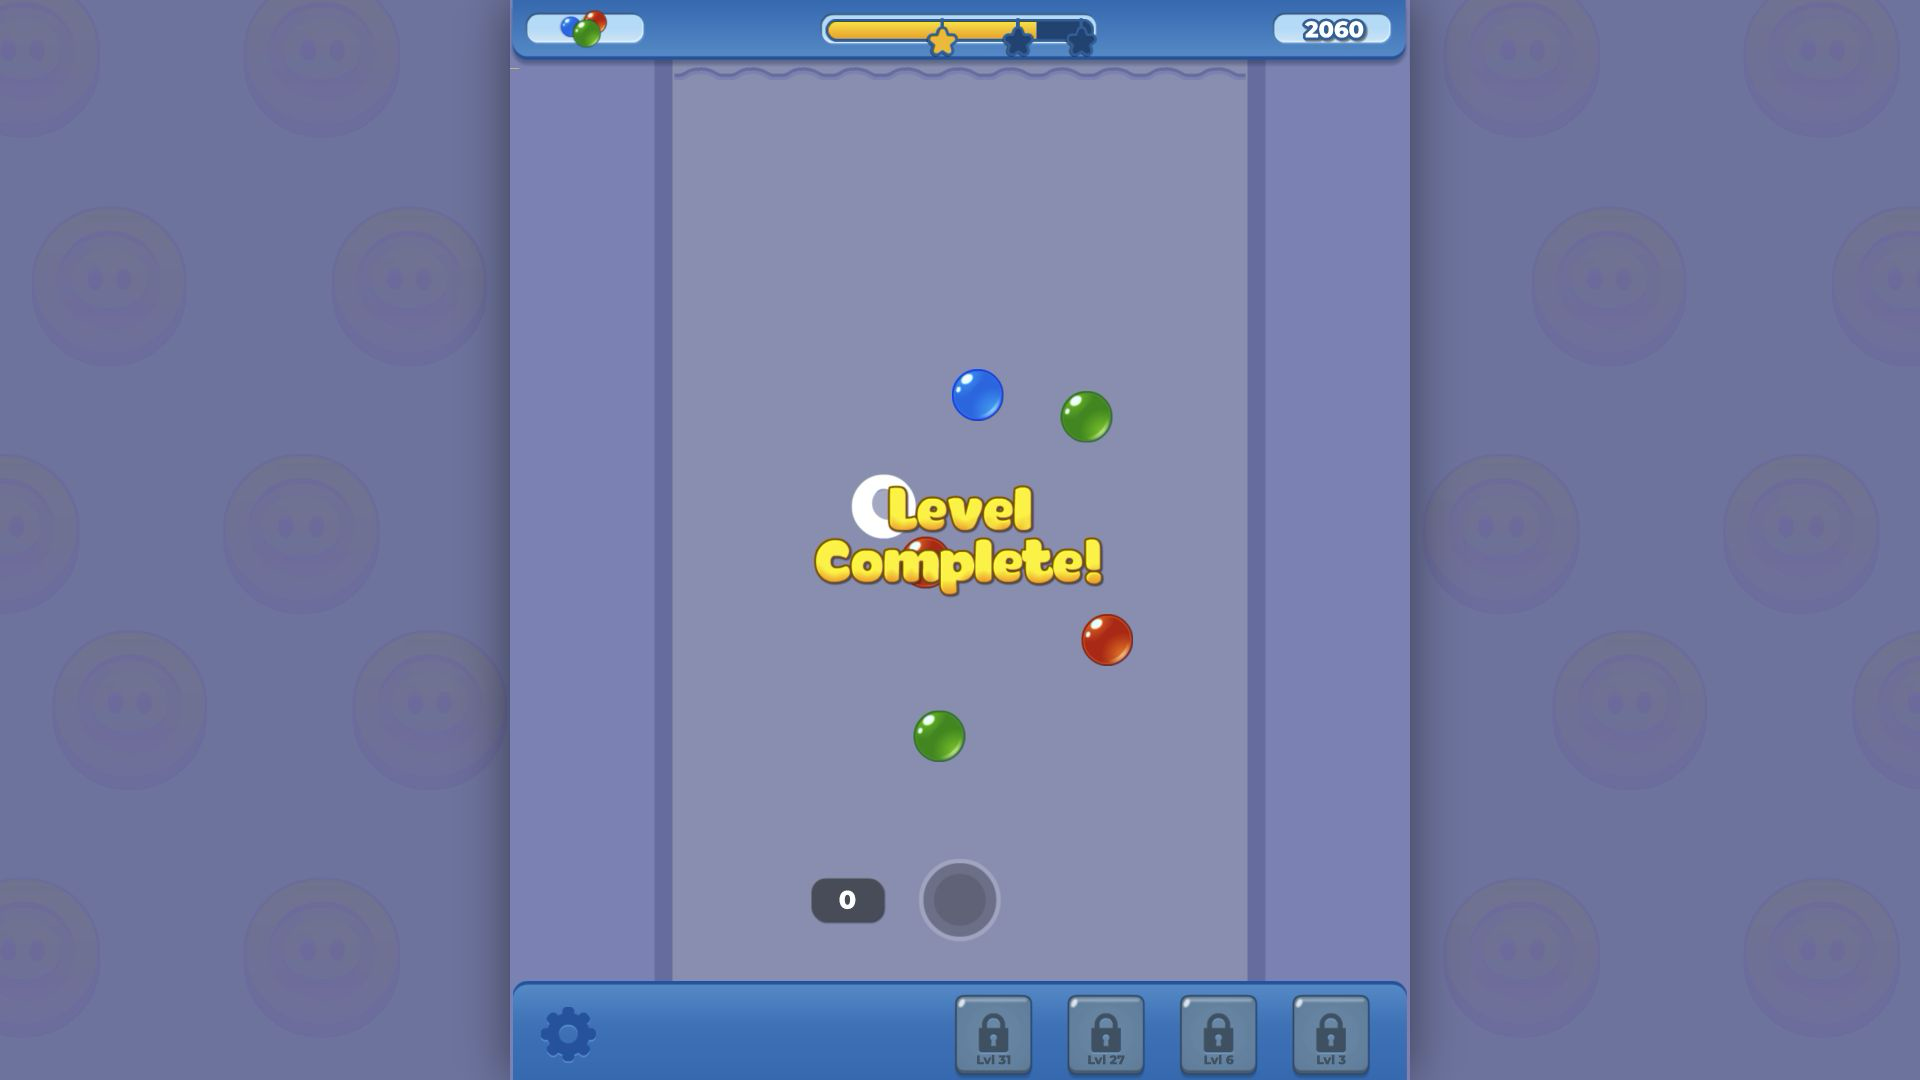
The desktop board cleared before the twelve-shot allowance was exhausted. The immediate score was lower than the final total because the remaining shots converted into a bonus during the result animation. The Level Complete panel settled at 4,560 with all three stars filled. A separate reward screen then showed the Level 1 progress entering a piggy-bank-style container. Those are the verified results from this run; I did not infer a universal three-star threshold from one level.
The clear took fewer shots than my mobile attempt because the desktop route maintained productive matches and avoided isolated attachments. That difference is a better lesson than the raw score. Bubble Blast is forgiving enough to let you experiment, but efficiency compounds: one clean support clear preserves a shot, raises the combo, opens the next angle, and increases the unused-shot bonus at the end.
The Fullscreen Mobile Attempt Exposed the Cost of Imprecise Taps
For mobile QA, I used an iPhone SE device profile, tapped Play on the Playflaming page, and verified that the game opened inside the site’s fullscreen player with the visible Exit game control. The screenshots are captured from that player, not from the page underneath it. The portrait board fits naturally, and the launcher is easy to reach, but several taps attached a bubble beside the intended group instead of completing a match. The attempt spent all twelve turns and ended on the explicit ‘You’ve run out of turns!’ prompt.
That failure does not mean mobile is unplayable; it shows that this puzzle cares about release position. The desktop mouse was my preferred input for precision, while the portrait fullscreen layout was my preferred layout for readability. Players who enjoy score-chasing, short retry loops, and support-clearing puzzles should find a lot to like here. Players looking for a relaxed bubble popper with no move limit may find the turn counter more demanding than the cheerful presentation suggests.

Verdict: Simple Rules, Meaningful Shot Economy
Bubble Blast works because its three systems reinforce one another. The turn counter makes attachments matter, support drops make board reading matter, and the combo plus unused-shot bonus makes efficiency visible. Level 1 is easy to understand without a long rules page, yet my clean desktop clear and failed mobile attempt felt meaningfully different. The game gave me enough information to explain why: the successful route kept opening supports, while the failed route spent turns creating pairs that never became clears.
My recommendation is to play the first attempt slowly, watch the next-bubble preview, and aim for a clear on every shot once the board starts to separate. Use desktop if you value precise placement; use the fullscreen portrait player if you prefer a larger board and are comfortable making deliberate taps. The observed first level is short, replayable, and more tactical than its bright presentation initially suggests.